The manual brakes on most Jeep CJs require some leg work for adequate stopping power. Even a CJ equipped with factory power brakes isn’t much better. In today’s world finding parts for the CJ power brakes isn’t as easy and really, the best option is going for an upgrade. A power brake conversion isn’t a major project and the results are well worth it.
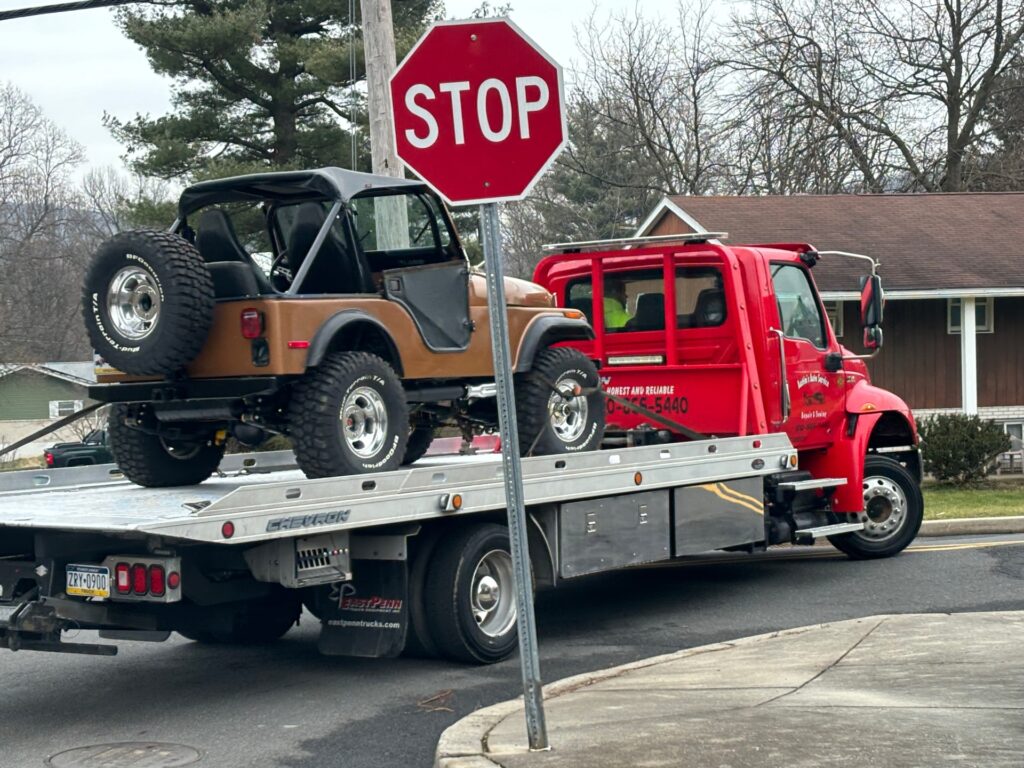
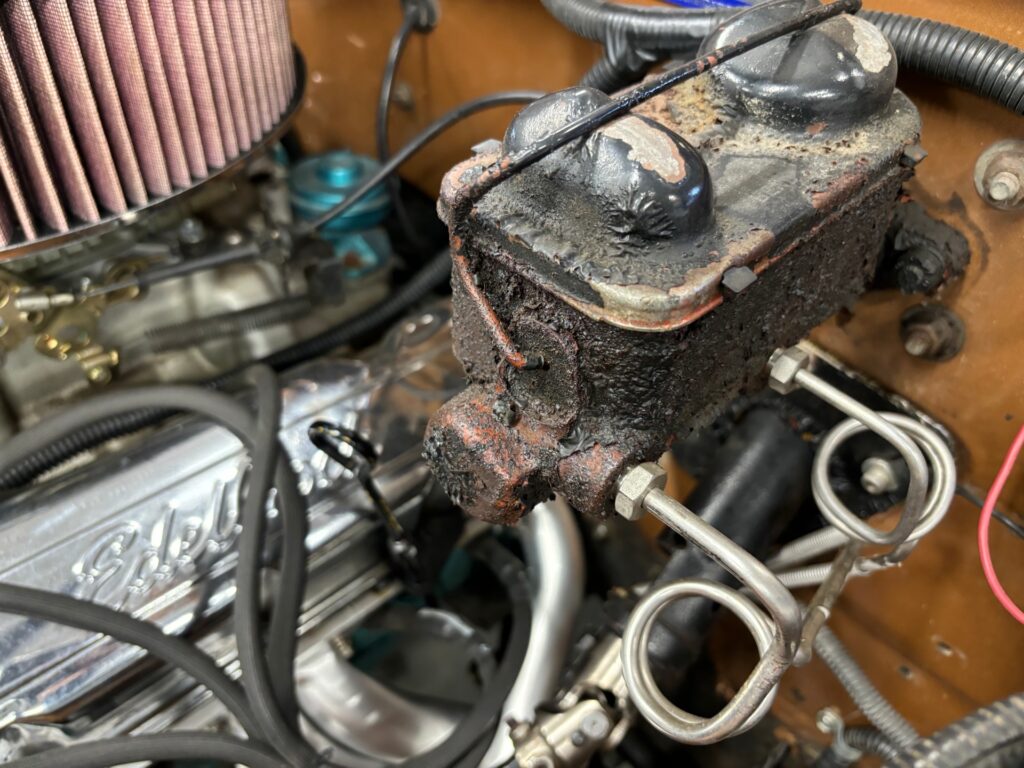
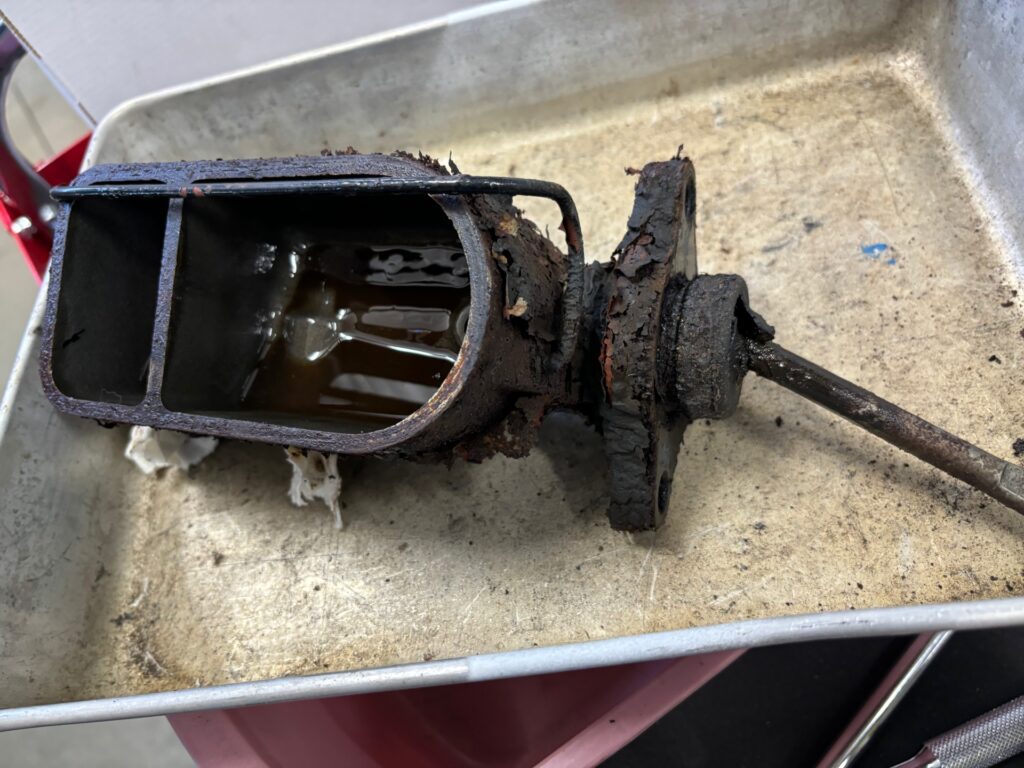
The 46 year old jeepfan.com CJ-5 had a leaking master cylinder which is likely the original to the Jeep. A brake failure led to a ride on a flatbed to get the Jeep back to our garage.
It was decided that an upgrade was due. Collins Bros in Texas makes a power brake conversion kit for 76-86 CJs that is nearly bolt in. The setup uses standard parts for the master cylinder and booster that can be replaced if needed.
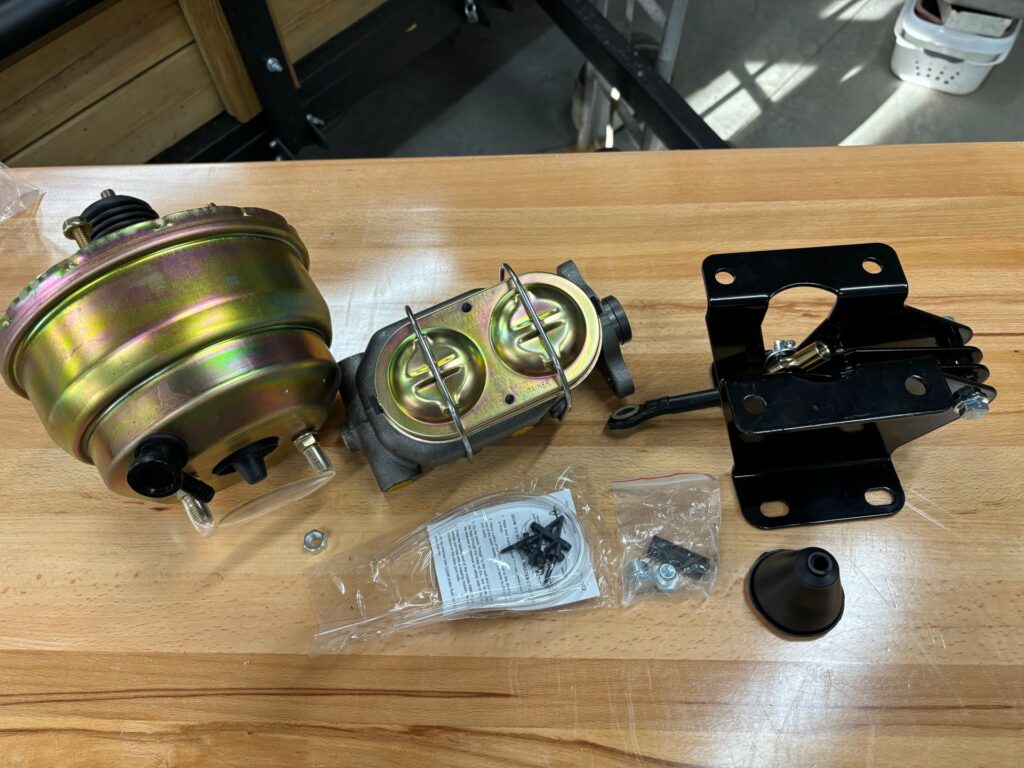
Power Brake Conversion Procedure
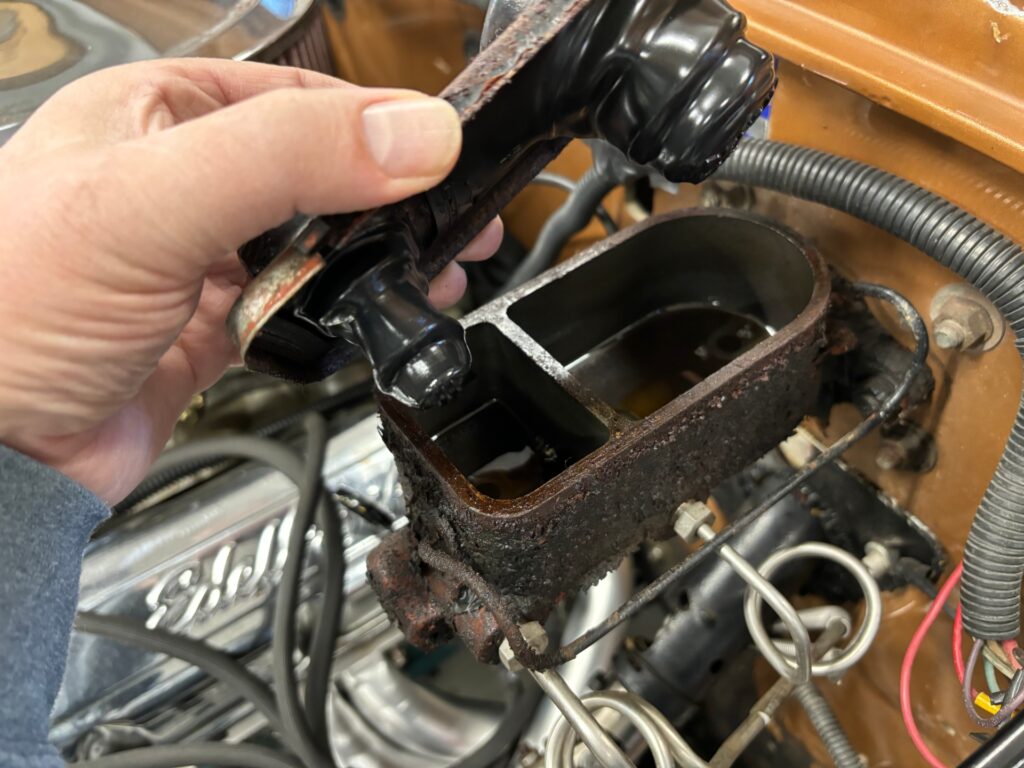
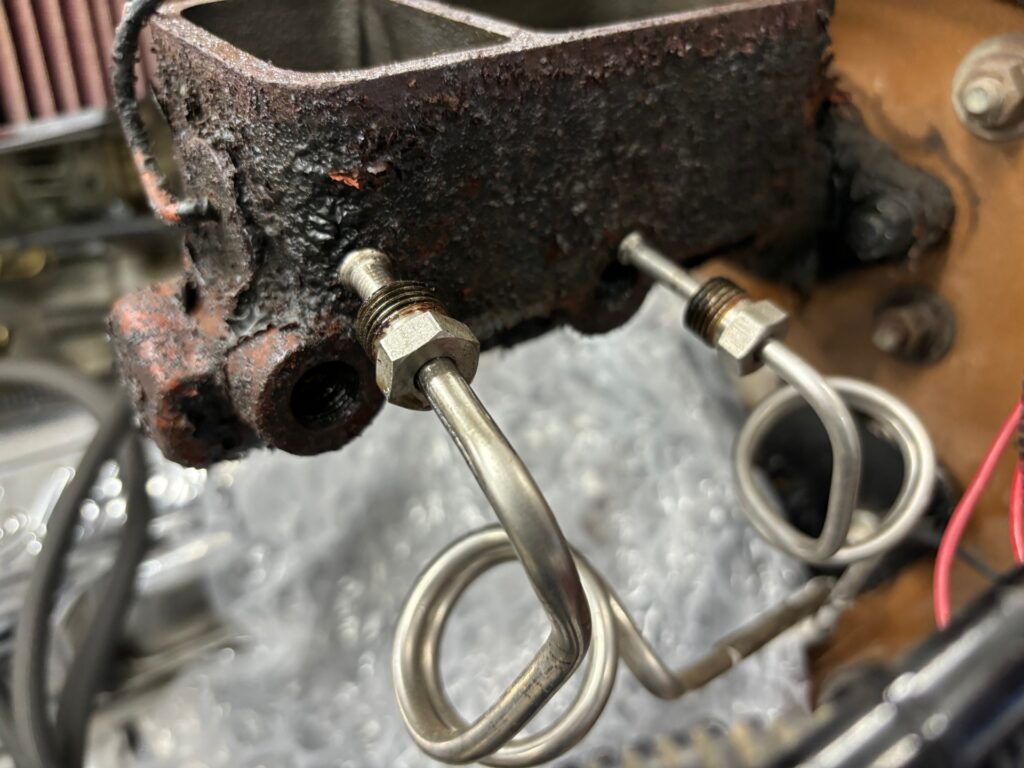
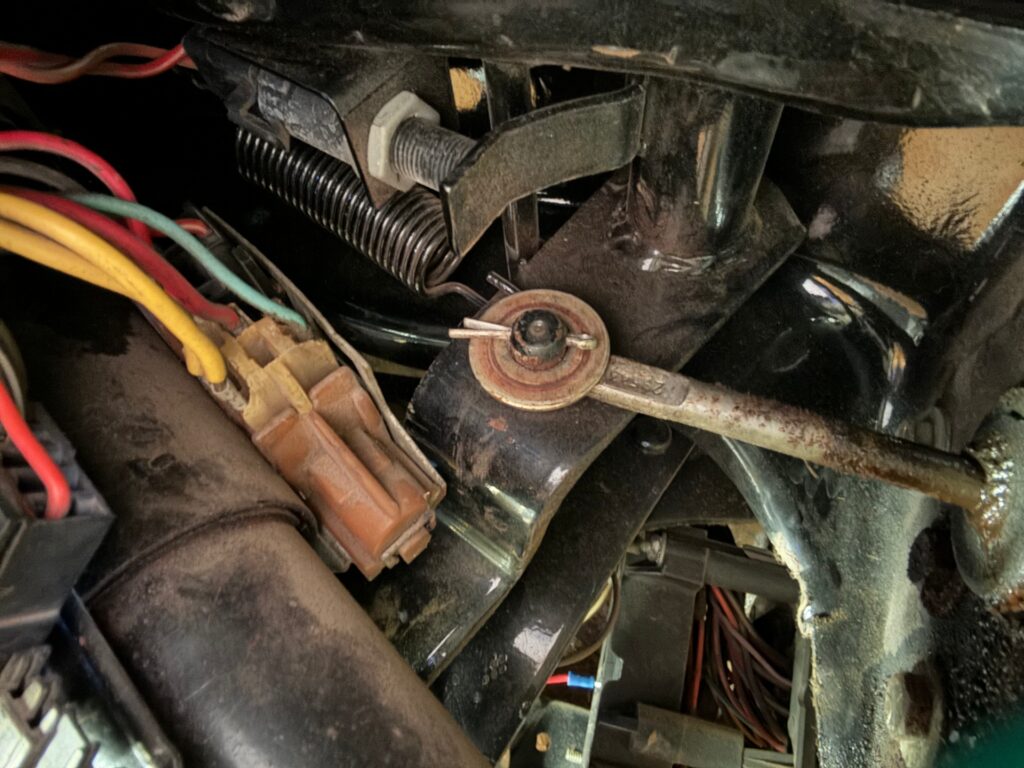
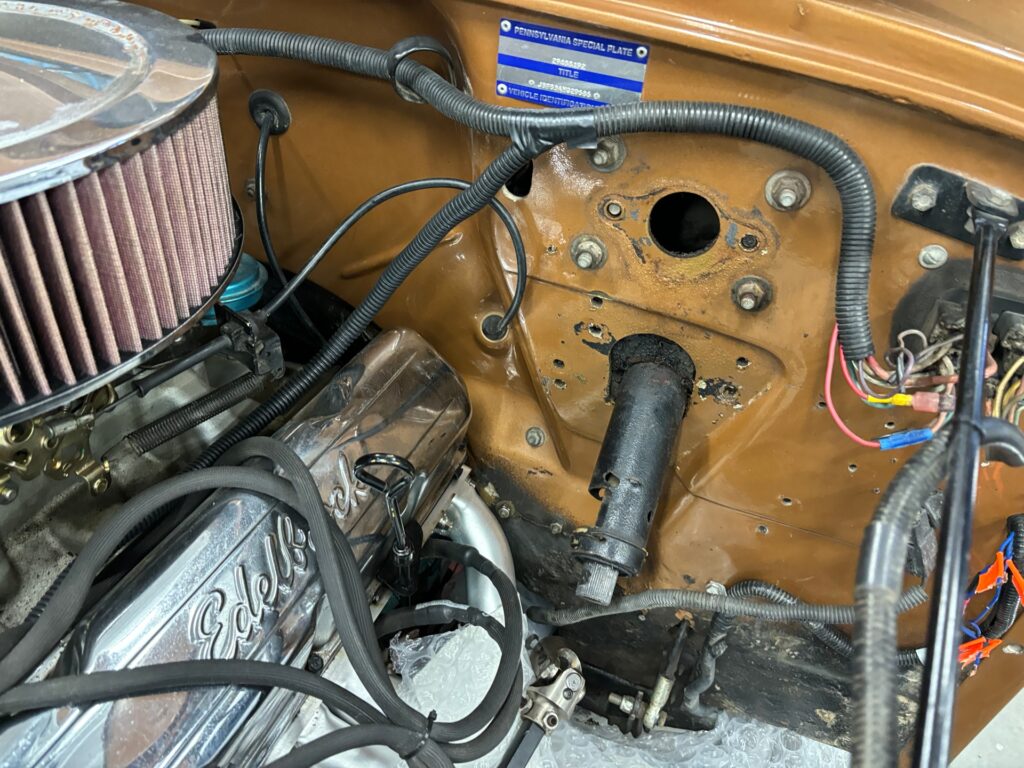
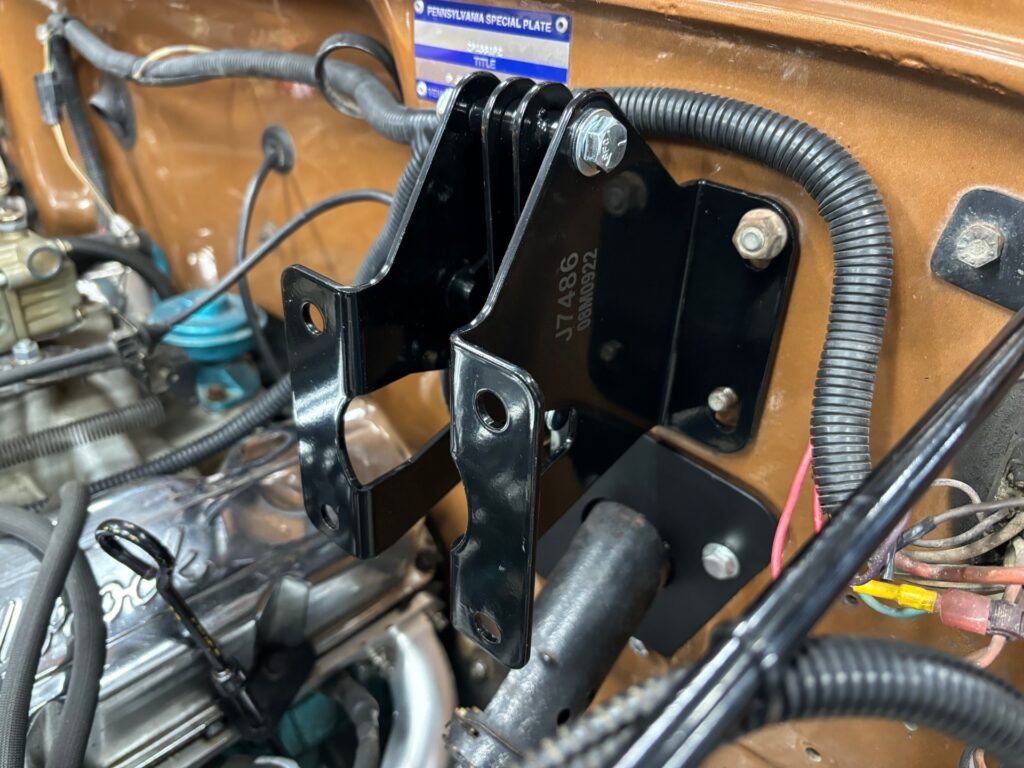
This really isn’t a major project but it does require some thought and some decisions. The first step is to remove the old master cylinder. After removal of the master cylinder the four bolts that hold the steering column in place will need to be removed. These four holes will be used to mount the brake pivot arm. Disconnect the brake lines, push rod and remove the master cylinder. Brake fluid is very good at dissolving paint so make sure you cover areas below the master cylinder.
Test Fitting
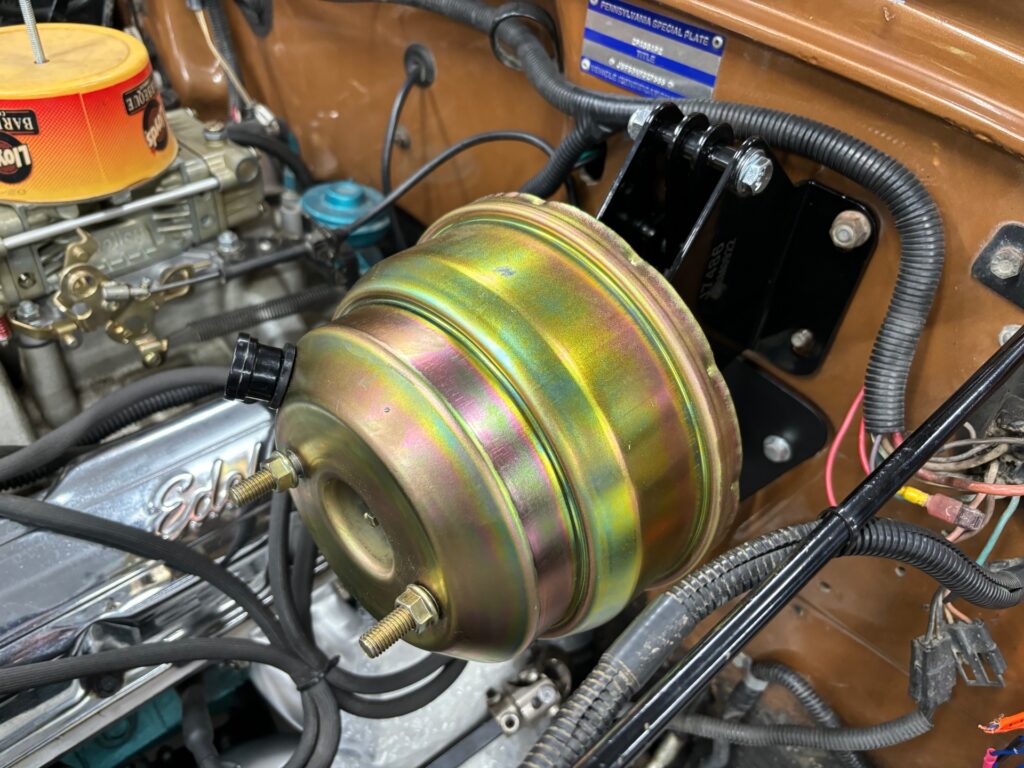
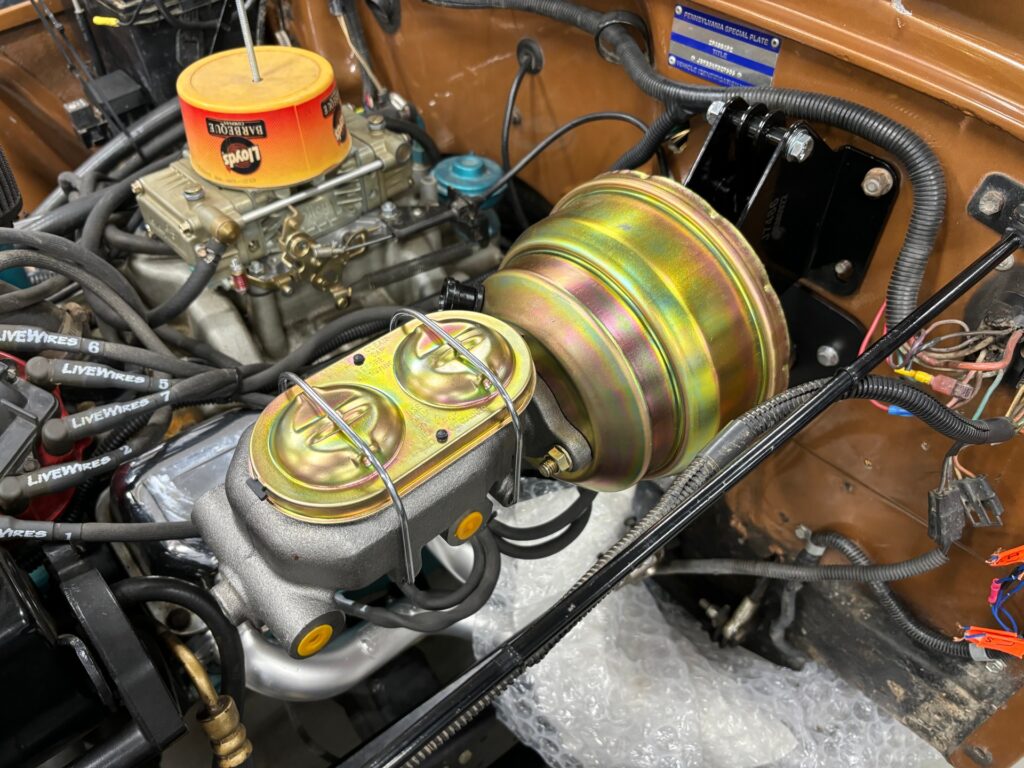
Before tightening bolts it’s best to fit all of the components. The pivot arm assembly can be installed in either direction, but most of the time the pivot is up. Jeeps equipped with different engines may require some extra modification. Often the inline 6 cylinder will need some attention to the carburetor linkage and possibly the air cleaner. Our V8 had no issue.
Brake Light Switch
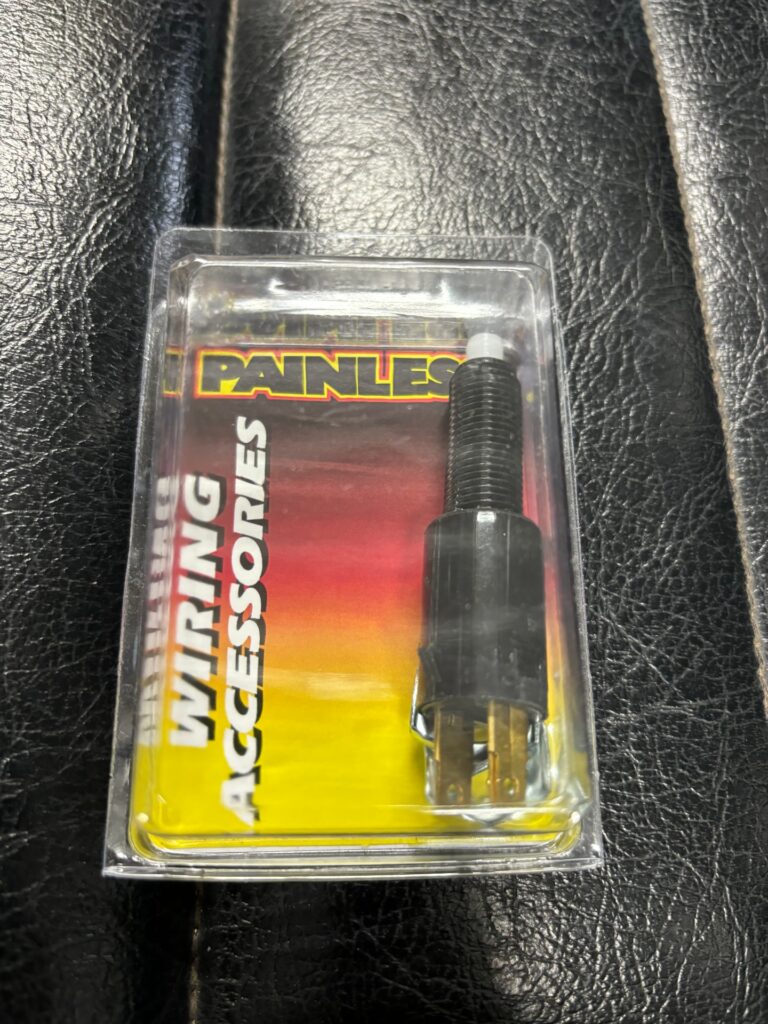
The original brake light switch was very brittle and broke apart upon contact. Painless makes a nice direct fit replacement switch for the CJ.
Brake Lines
The factory manual brake lines will be too short but can be stretched out by the coils to fit the new master cylinder in its new location. Personally the streched out lines look sloppy and it’s best to replace the lines with new lines that are properly sized. We decided to use flexible lines since they would make the install clean and not require bending and flaring. This option will definitely cost more but in the end it was worth it.
The lines we used are stainless steel braided and coated from Allstar Performance. Allstar makes lines in many lengths and many styles of fittings. Most of their lines use AN style fittings that will need to be adapted to the flare style fittings on the master cylinder and proportioning valve. We chose lines with a 90 degree bend at once end for a nicer look and fit.
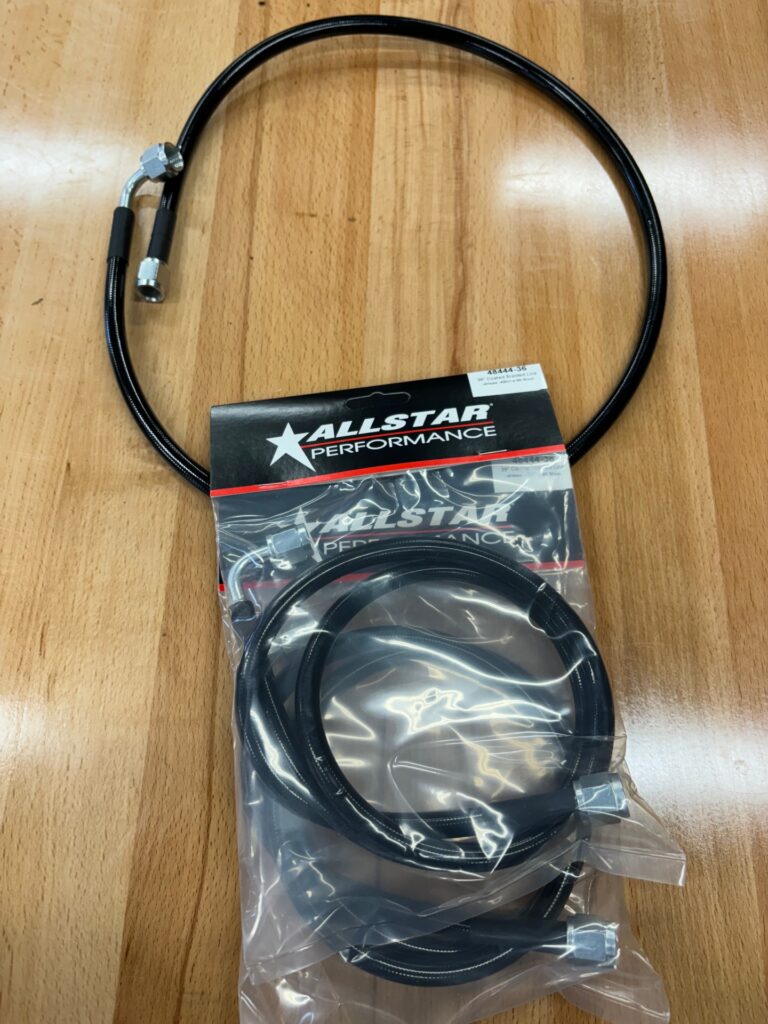
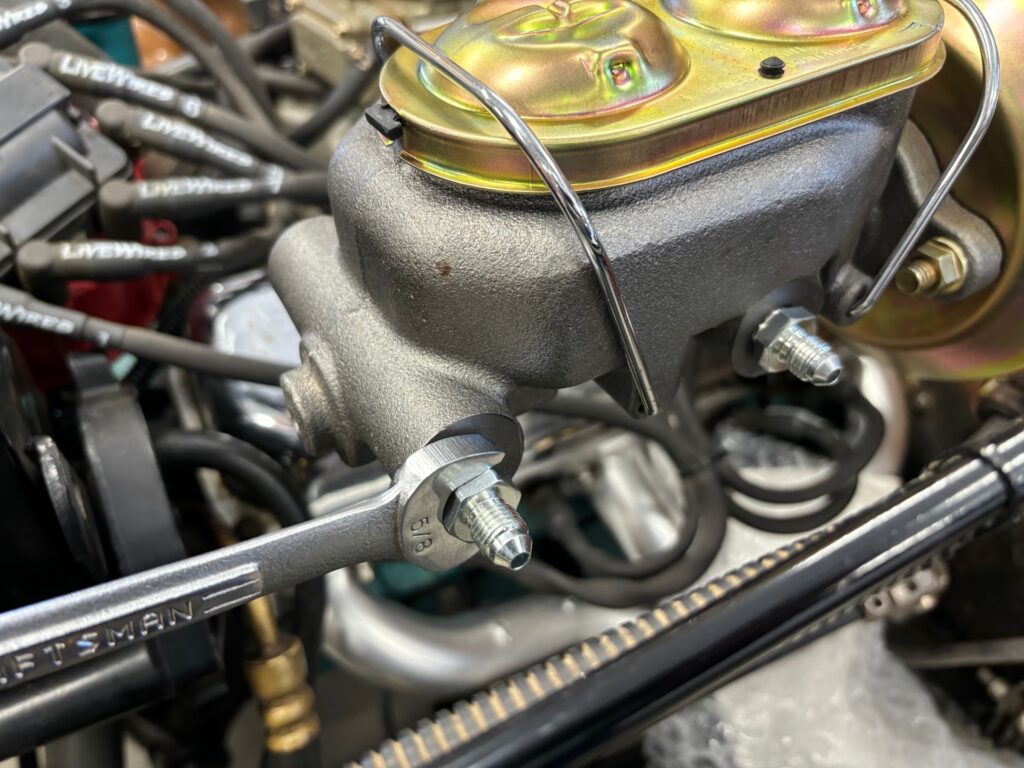
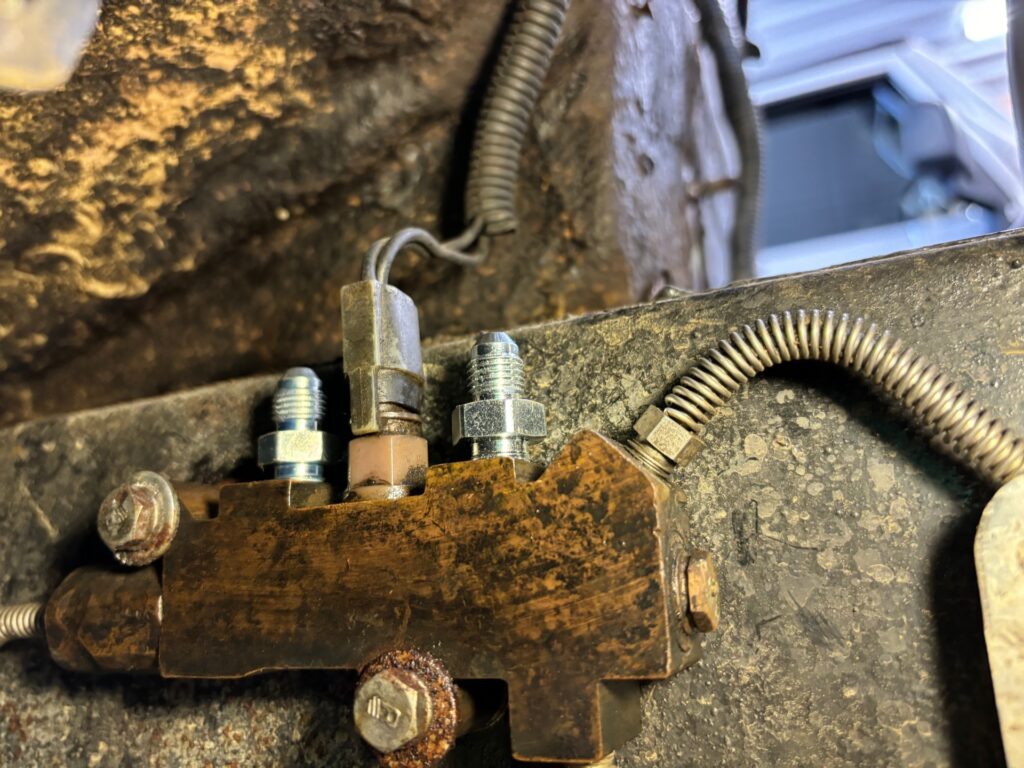
To note the new master cylinder is reversed from the factory one, meaning the front chamber is for the front brakes and the rear chamber is for the rear.
Fittings and Lines Guide
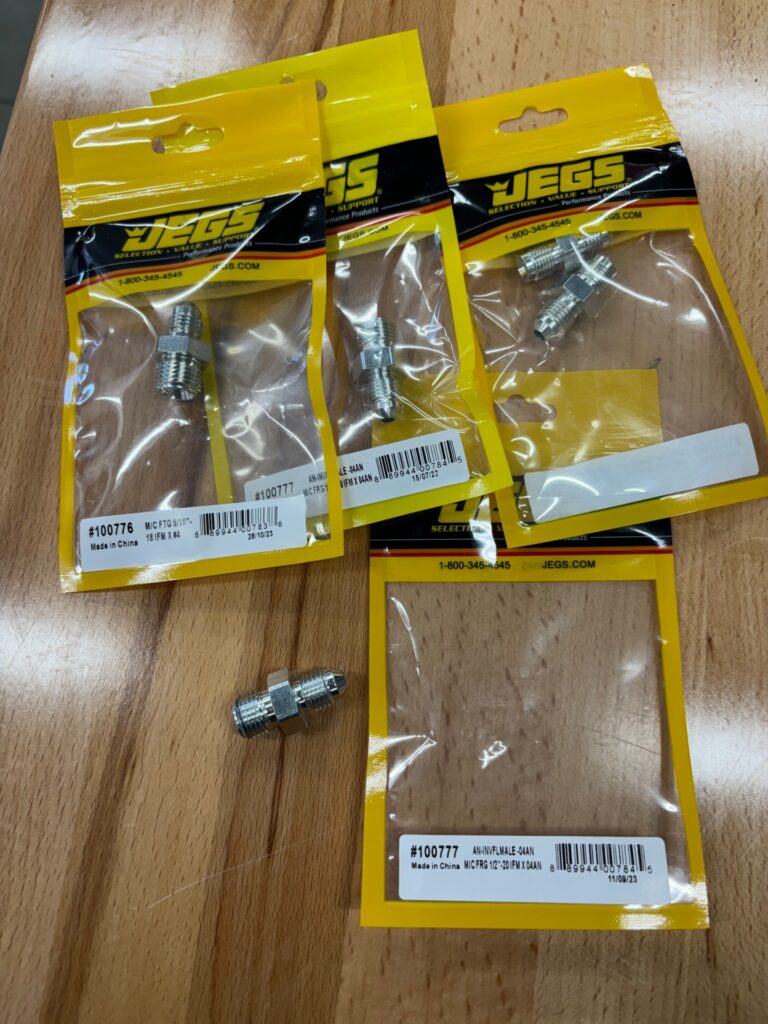
If you decide to convert to the AN lines you will need 4 adapters. Below is a diagram of fitting sizes.
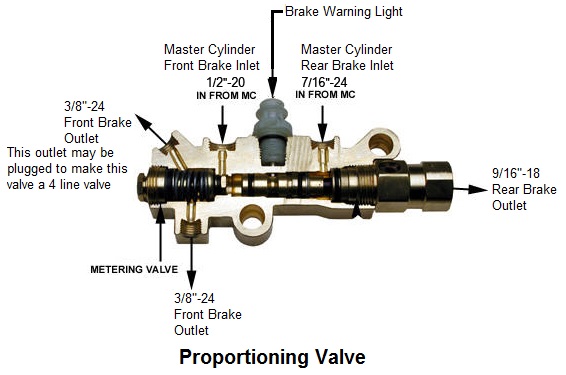
Front – Master Cylinder 1/2 20 (AN-4) to Proportioning Valve 1/2 20 36” (AN-4)
Rear – Master Cylinder 9/16 18 (AN-4) to Proportioning Valve 7/16 24 36” (AN-4)
Parts Needed: 1/2 20 to AN4 (2 needed), 9/16 18 to AN-4 (1 needed), 7/16 24 to AN-4 (1 needed)
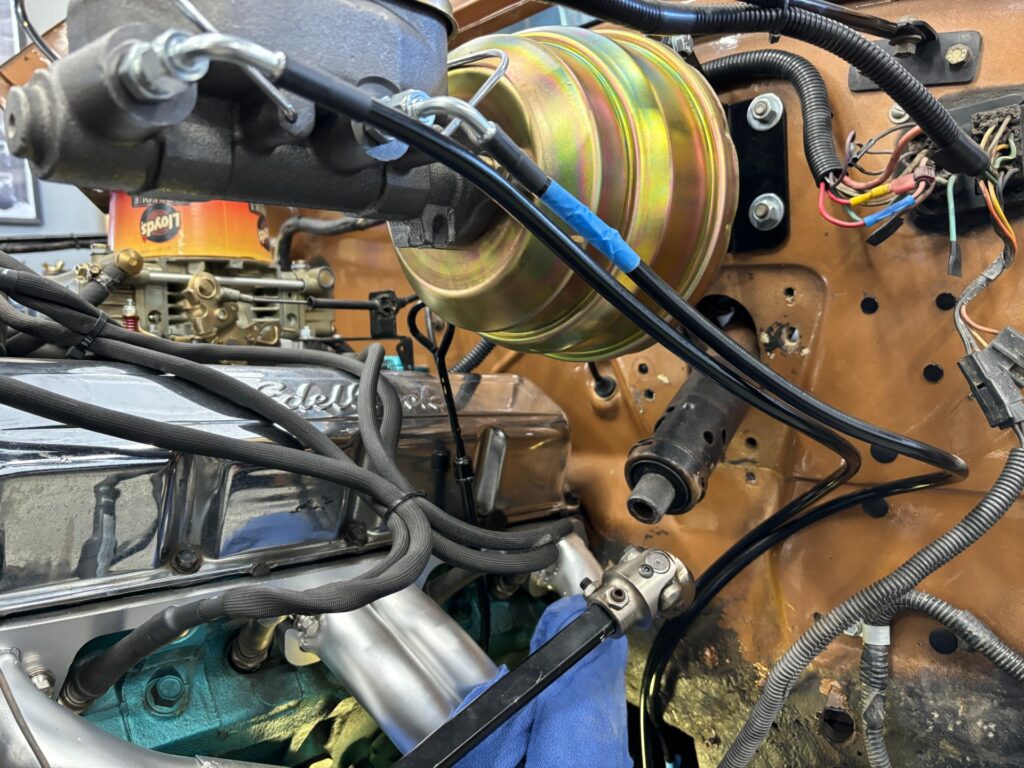
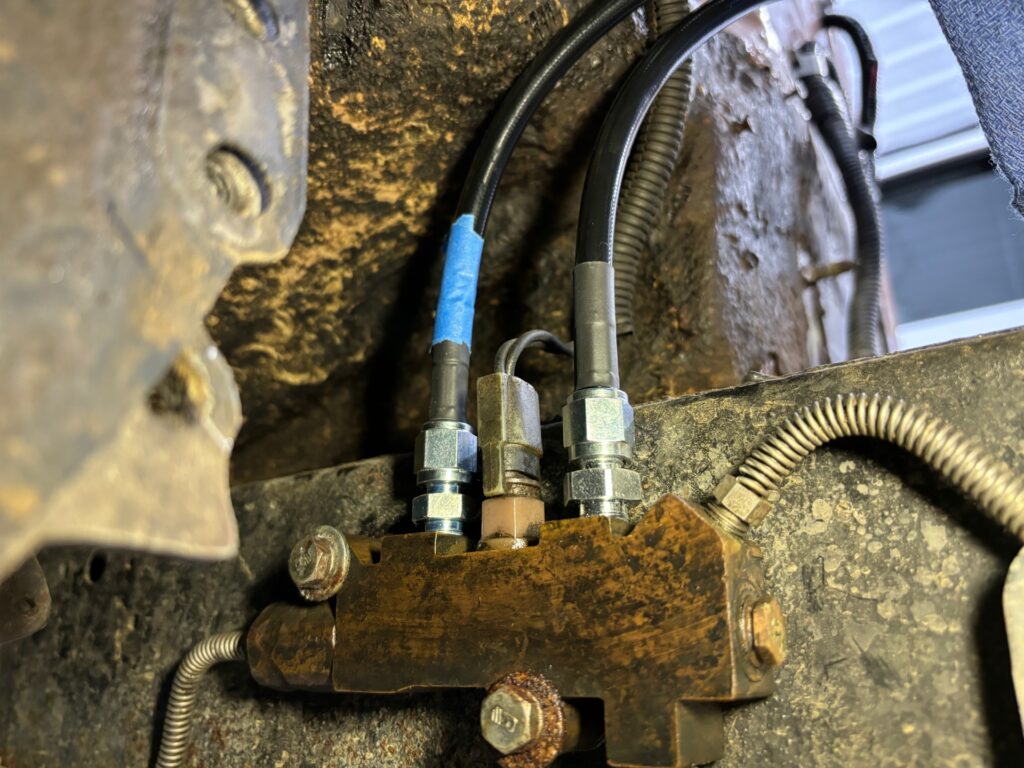
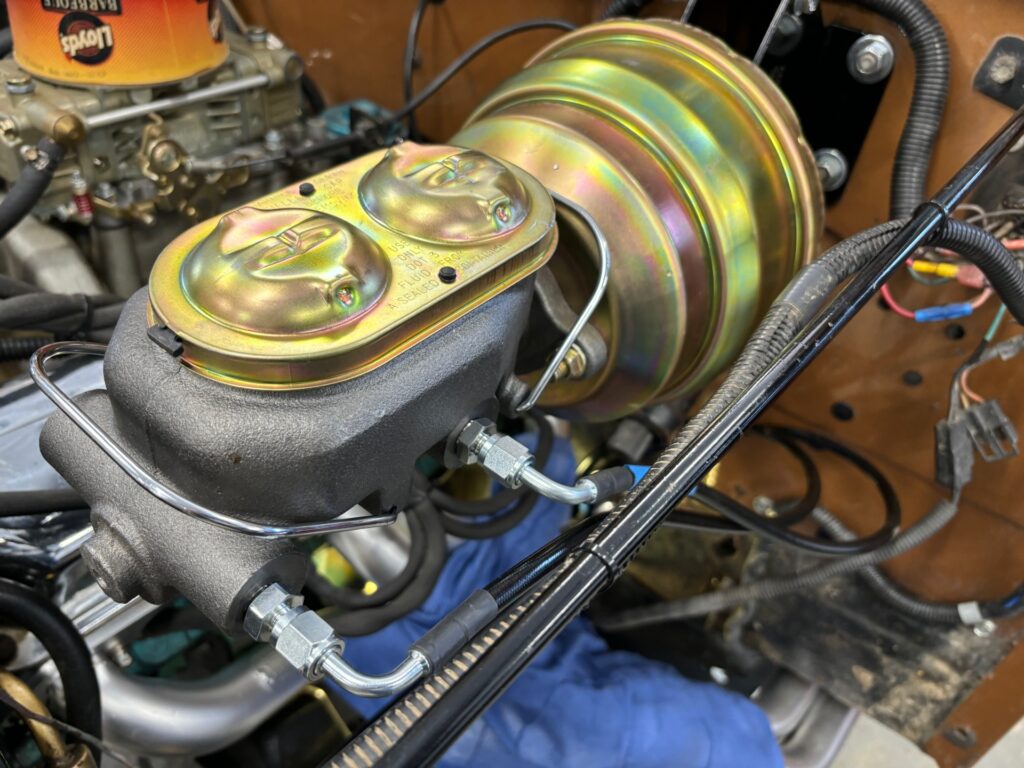
The lines are very flexible and can be routed nicely. The blue tape on the line is just to prevent confusion of which line is which.
Bench Bleeding the Master Cylinder
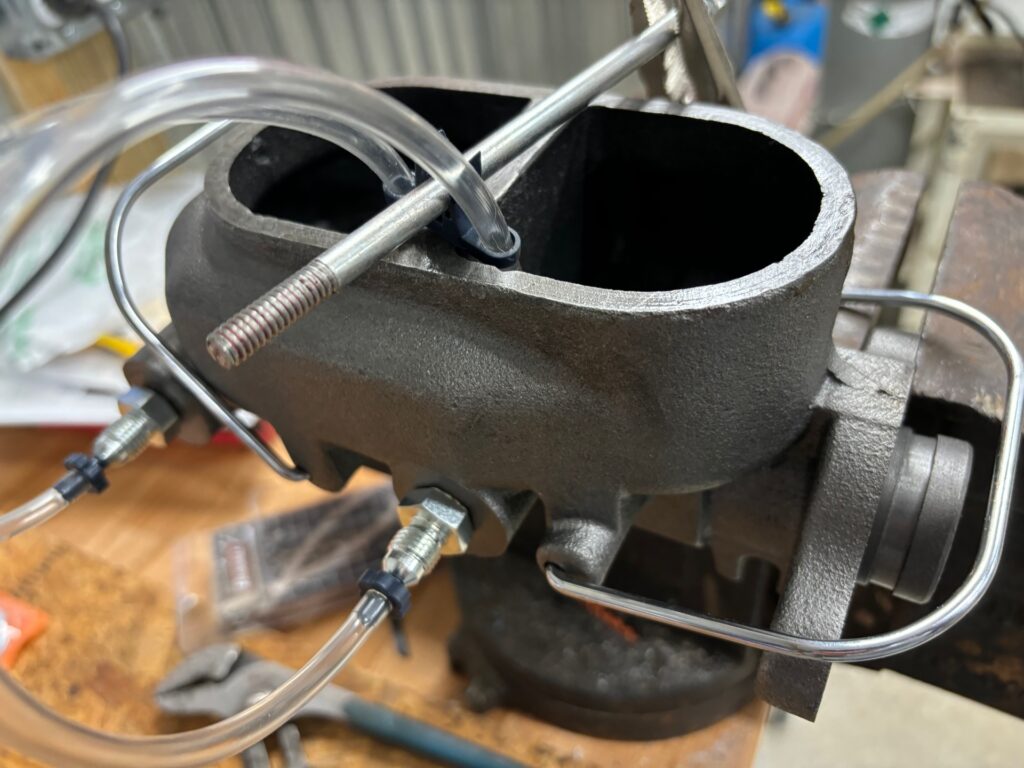
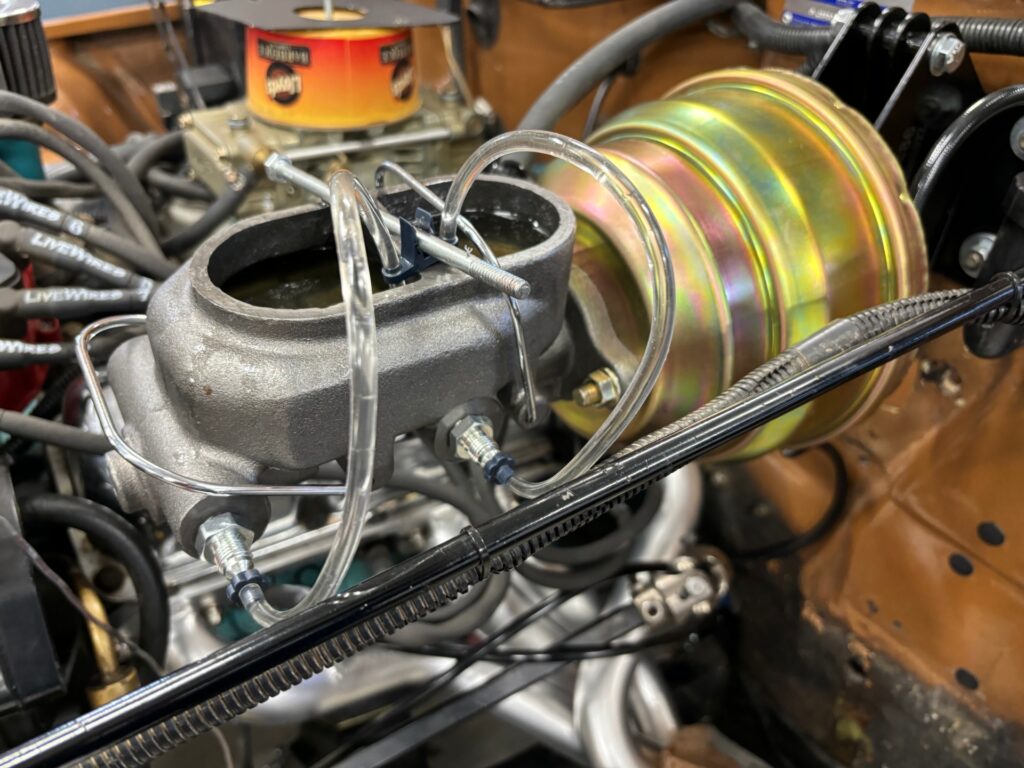
It’s important to do this step and doing it with the master cylinder out of the Jeep is much easier. This process purges the air out of the master cylinder and will give you a head start getting the brakes up and running. Small pieces of hose and some fittings are supplied with the master cylinder that allow fluid to be routed back in to the reservoir. The piston is pressed in forcing fluid to move out the line and back in to the reservoir. Continue the bench bleed process until all of the air bubbles are purged.
A
Make sure the reservoir stays full when bleeding by adding more fluid. After the air bubbles are purged you can install the master cylinder into the Jeep. It’s best to keep the bleed tubes on the master cylinder until you are ready to hook up the brake lines.
Vacuum Boost
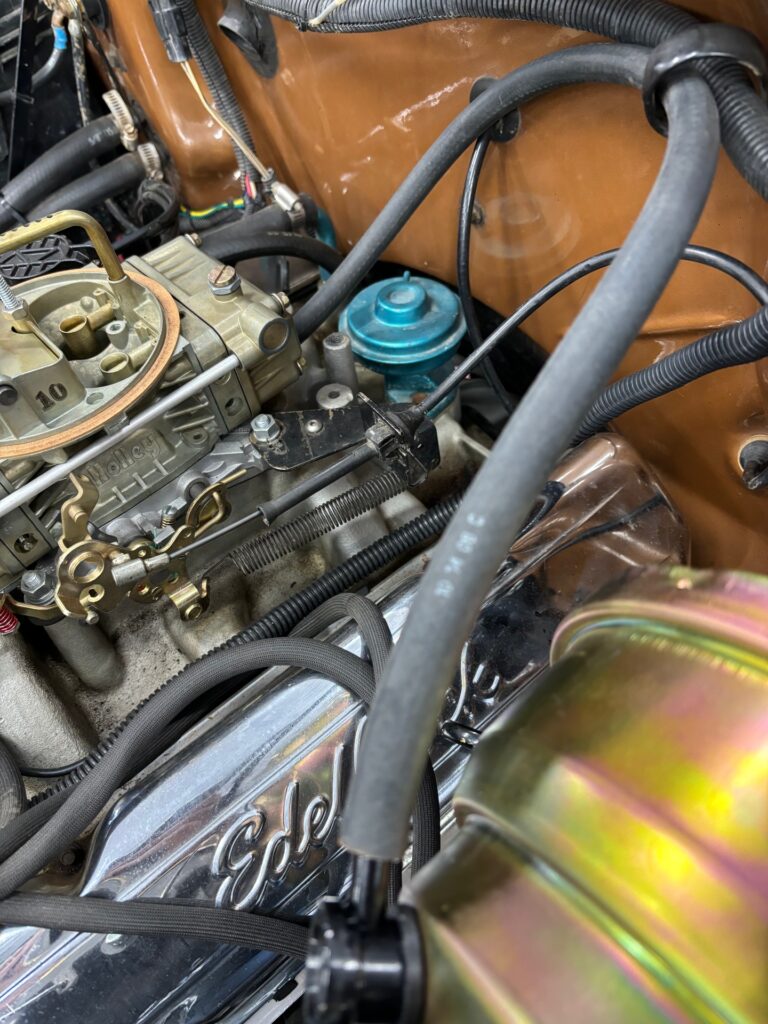
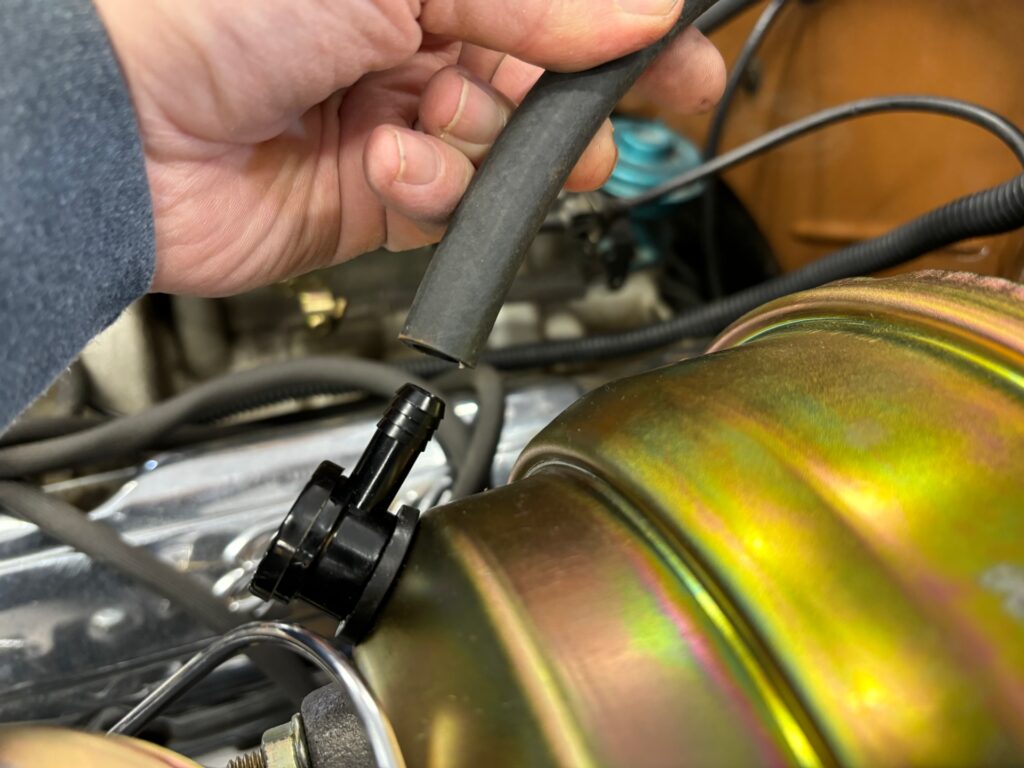
This system uses engine vacuum to boost the braking power. A line must be attached from the booster to a vacuum source. Most intakes and carburetors have this provision. The Holley Truck Avenger on our CJ has a port at the rear flange area.
Brake Line Bleeding
The final item to wrapping up our power brake conversion is bleeding the brake lines. This process can be maddening and there’s many opinions on the correct way of doing it. We find that using a vacuum pump is the easiest way. It’s important to keep the reservoir full when bleeding the system.
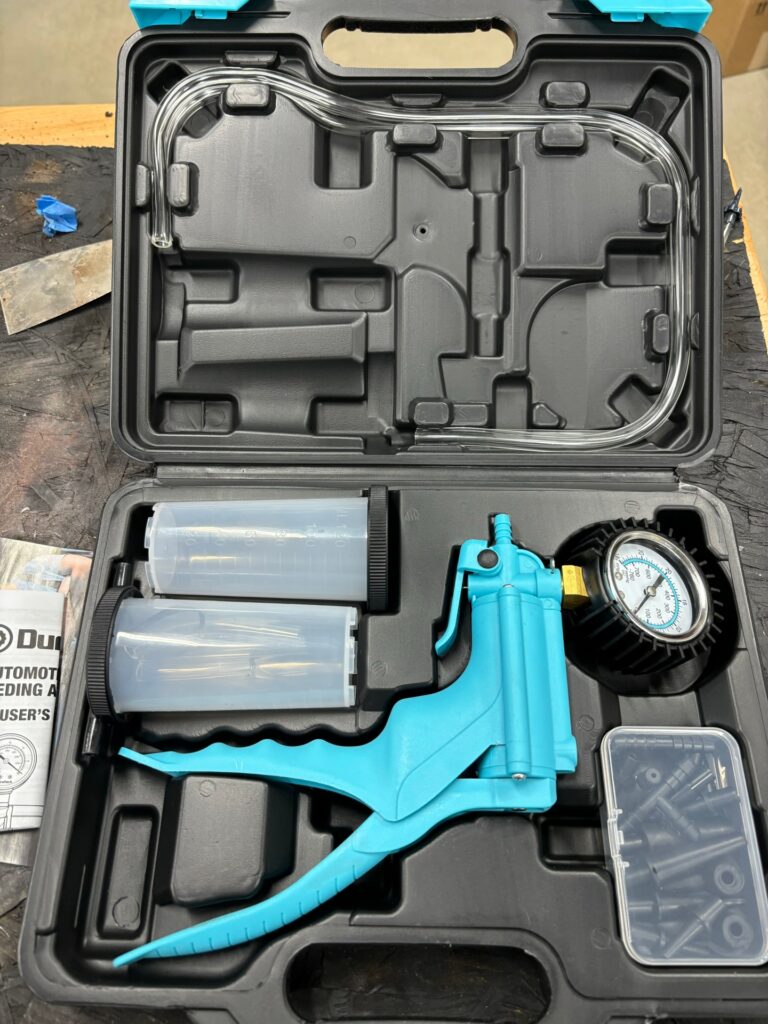
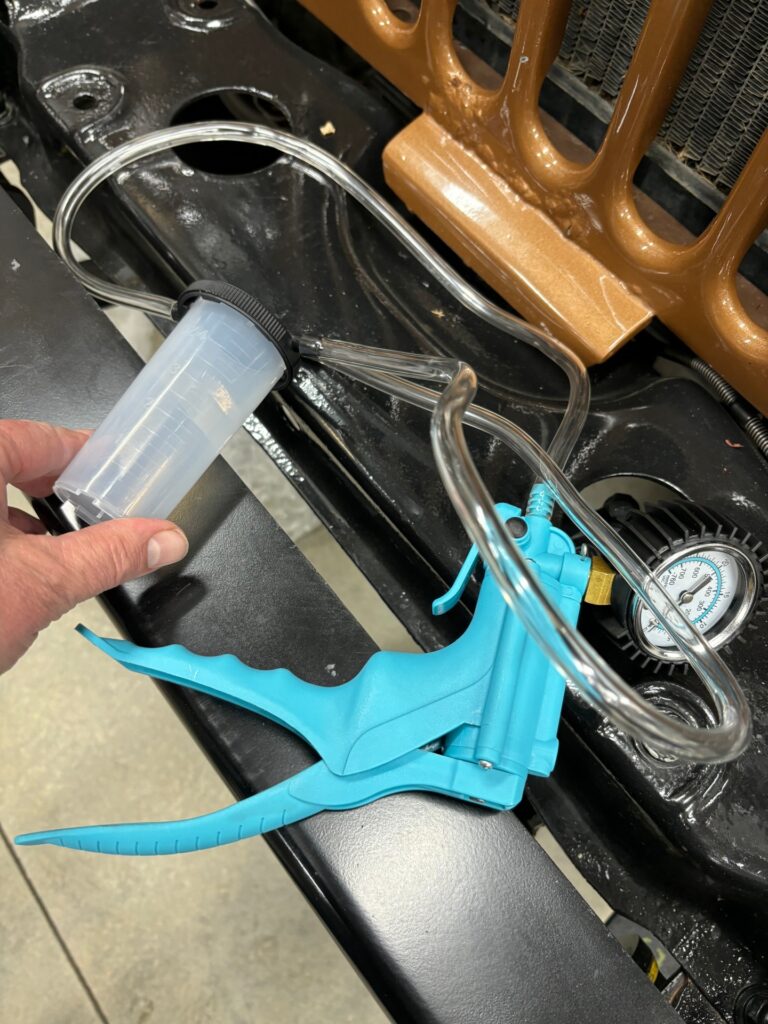
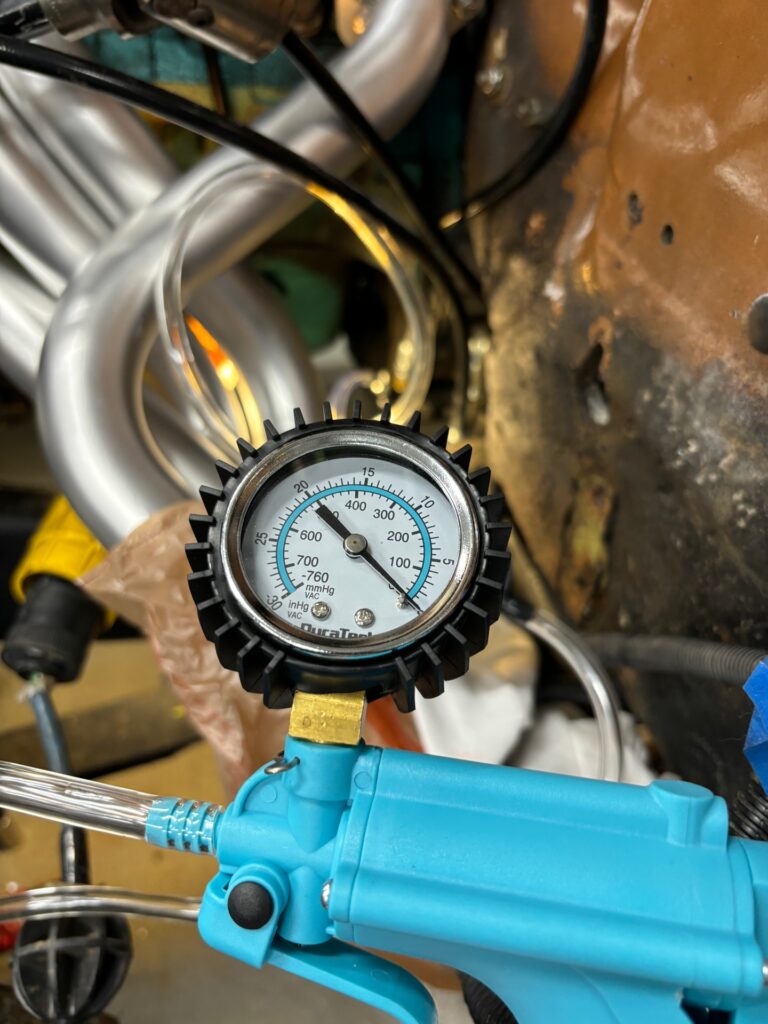
A vacuum pump sucks out the air bubbles instead of having to push them out using the 2 person pump method. To note, the 2 person pump method can be extra frustrating due to the proportioning valve. The vacuum pump is also good for removing the old brake fluid since the vacuum pulls from the end of the line. We aren’t going to outline the full procedure here.
Wrapping it Up
A final part of this project is making sure there is no leaks and giving everything a test. It’s probably best to not drive fully into traffic and do some gentle testing to make sure the brakes are fully working. It’s pretty impressive how good the Jeep’s brakes are now. It has taken a bit of time to adjust to the change since it takes little effort to stop now.
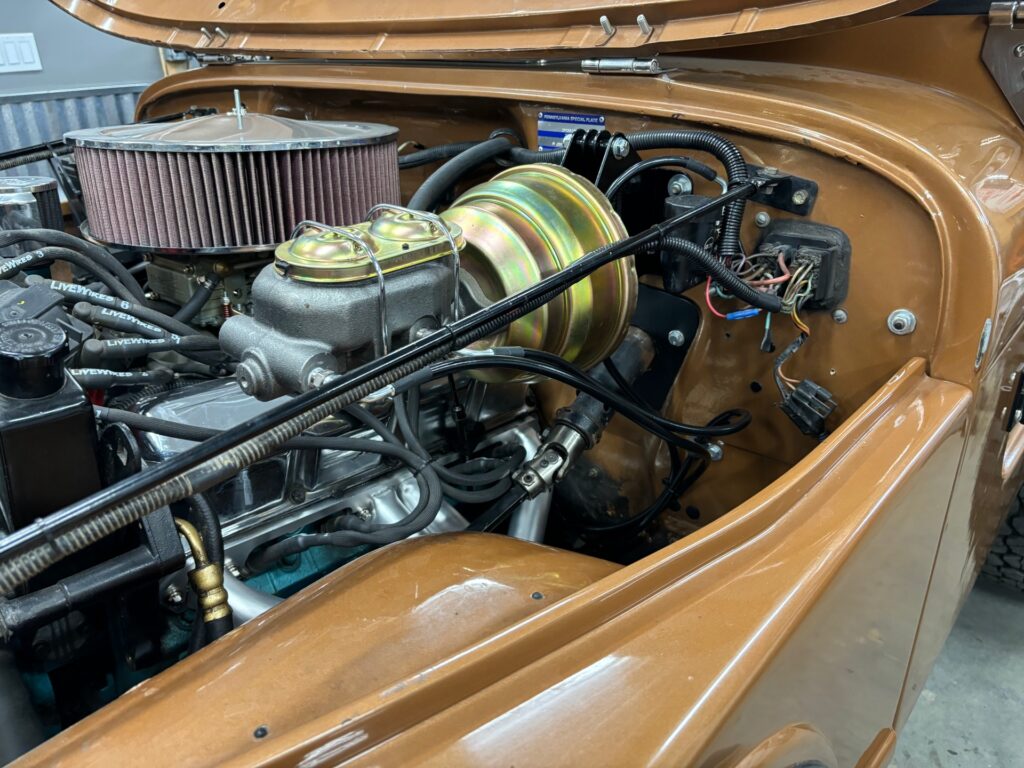
The power brake conversion isn’t really a “cool” modification to the Jeep but the end result adds increased quality to the overall driveability of the Jeep. The kit from Collins looks nearly factory and blends in nicely to the engine compartment.
