Continuing from Part 1. Installing a Holley Sniper 2 on the jeepfan.com 1978 CJ-5 AMC 360 V8. A log time ago the jeepfan.com 1978 CJ-5 had a Holley Pro-Jection throttle body injection (TBI) on its AMC 360 V8 that worked quite well, until it didn’t. At that point the TBI was removed and an old school Holley Truck Avenger 4 barrel carburetor was installed with a Carter low pressure fuel pump.
Starting the Installation
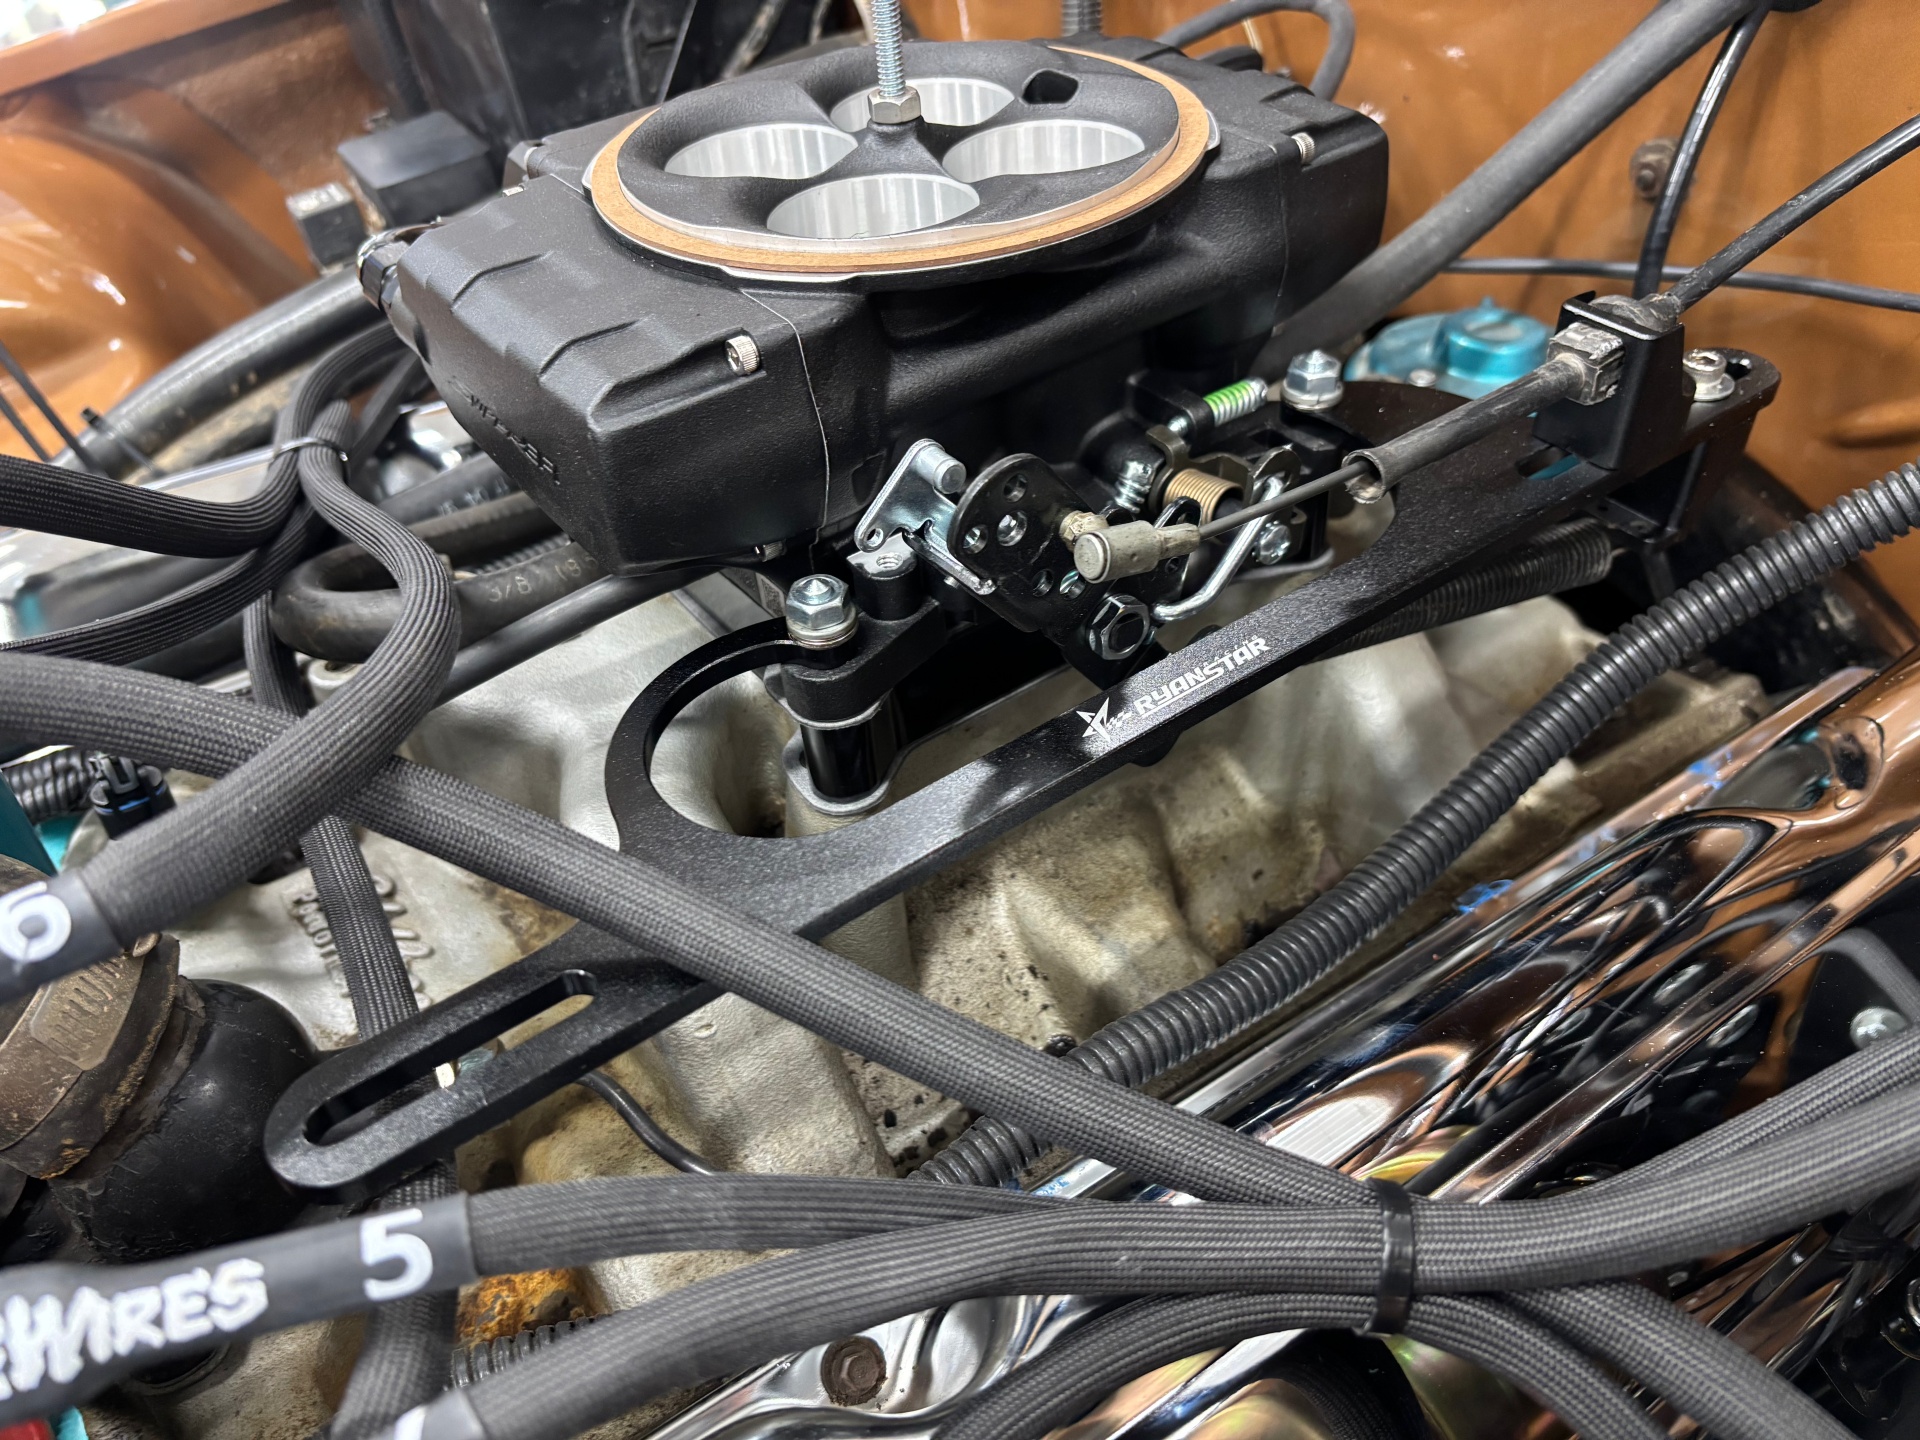
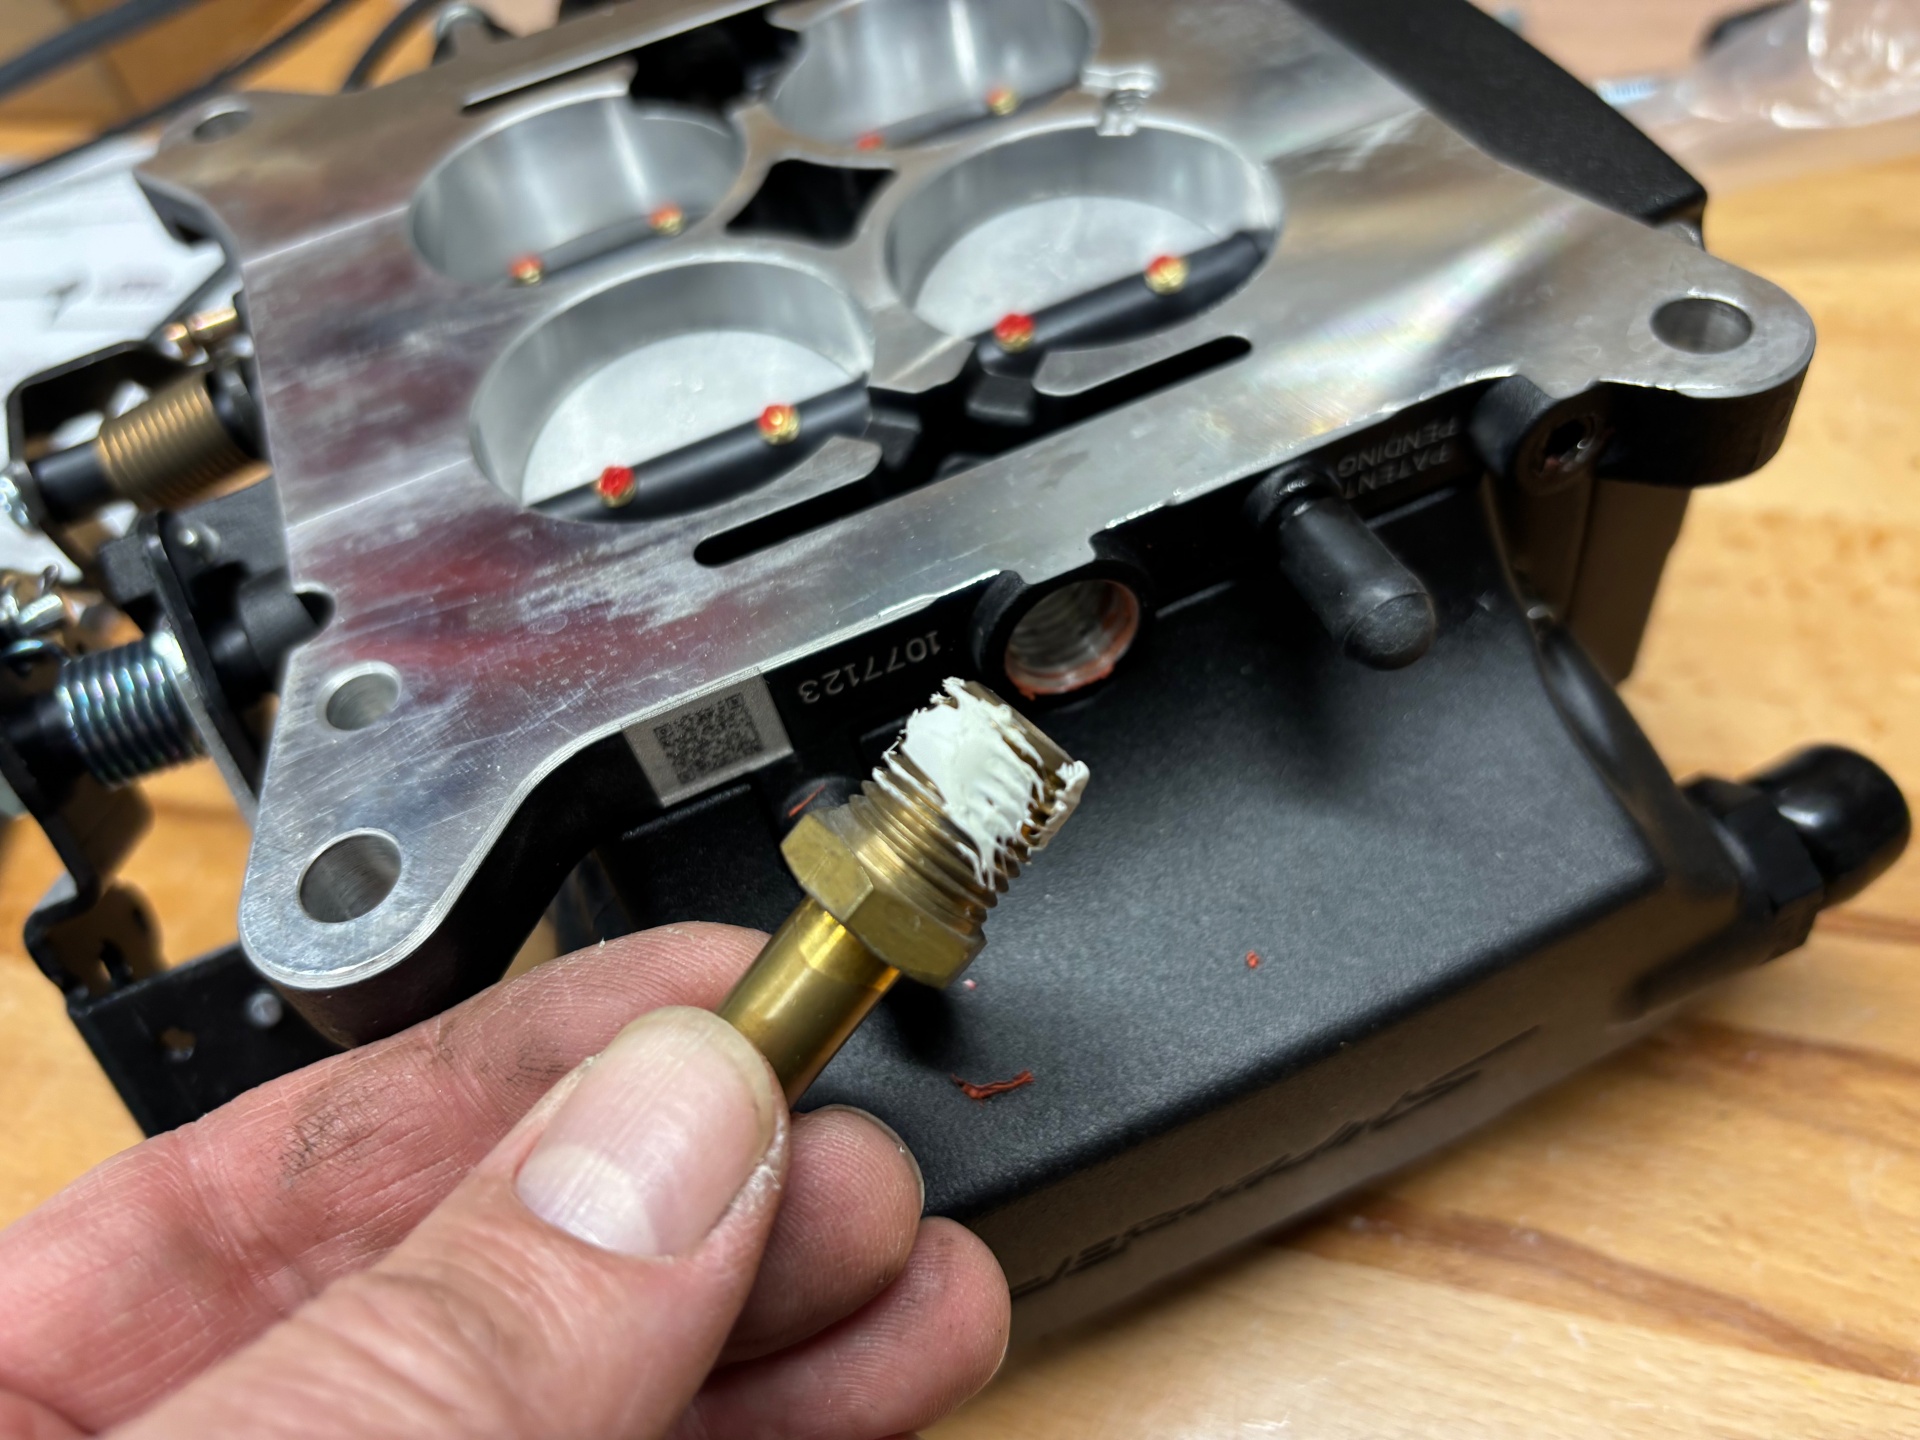
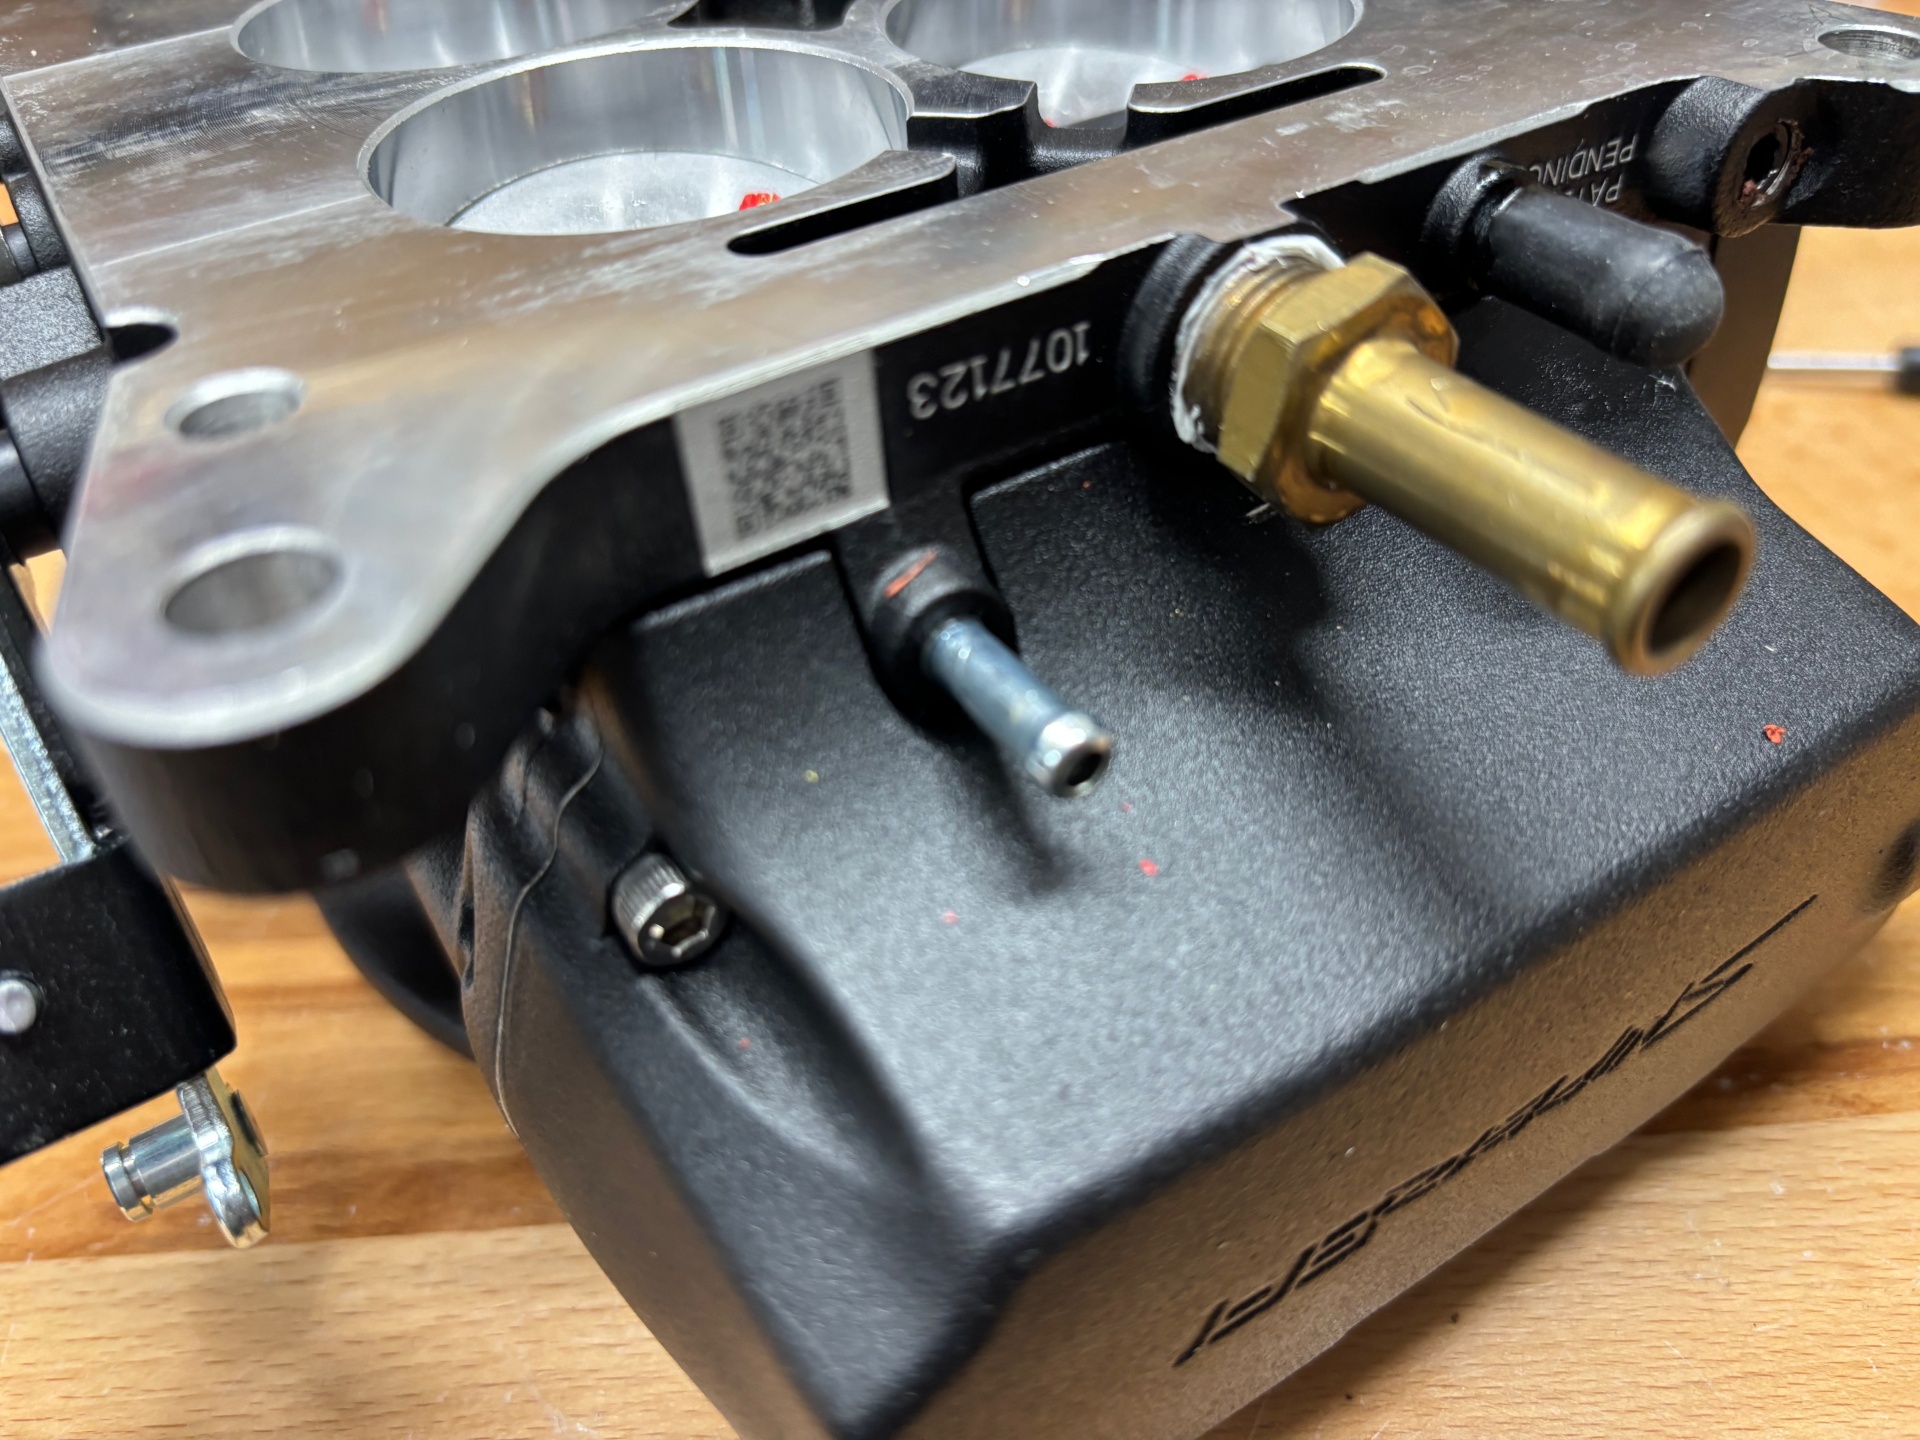
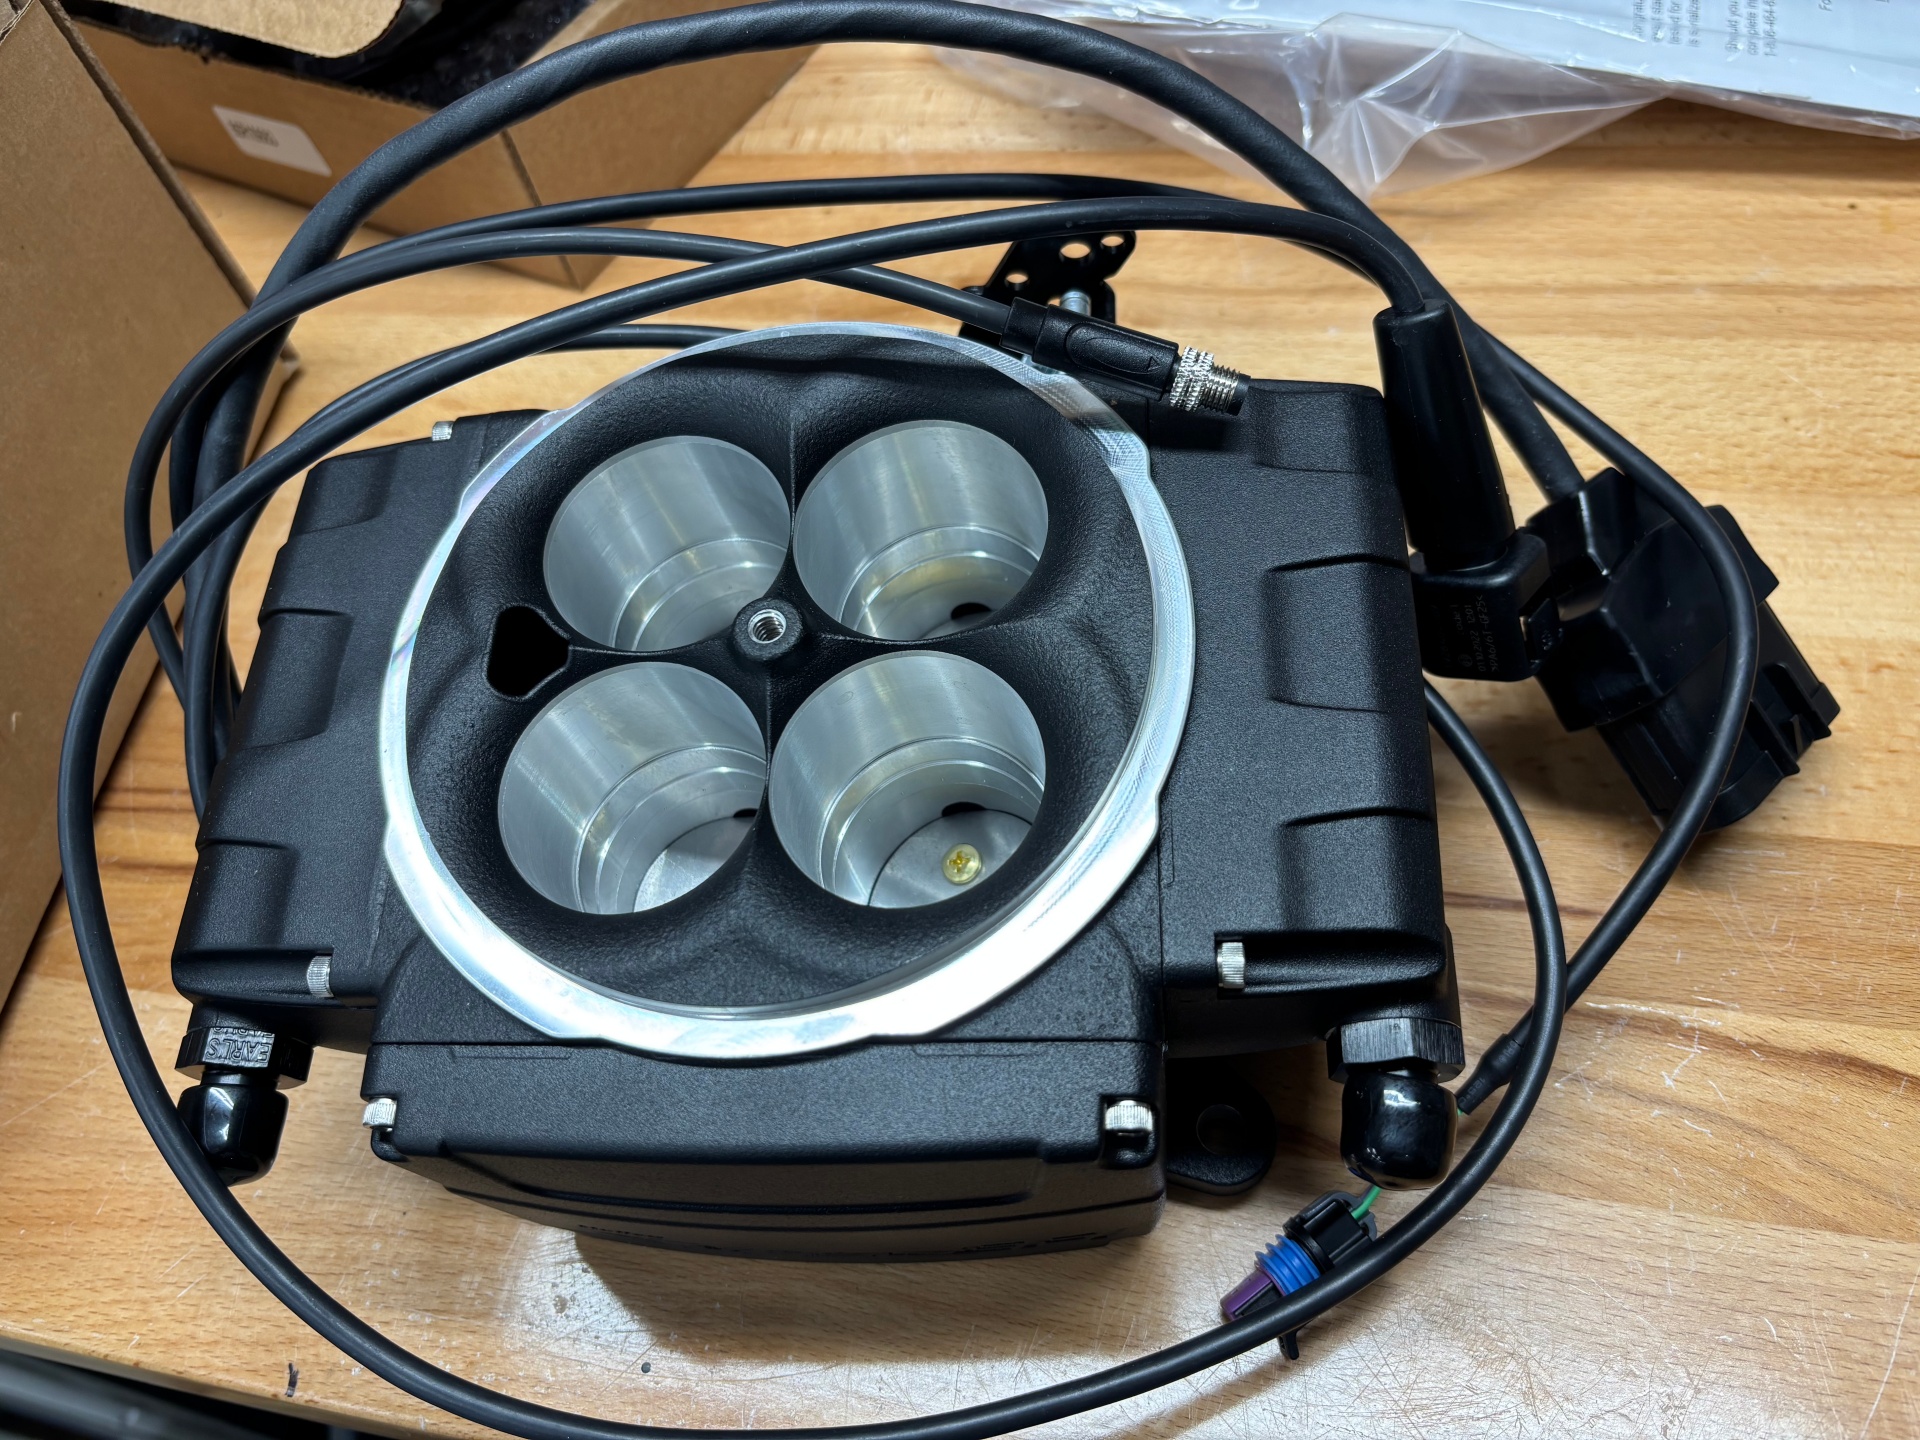
One of the easiest parts of this project is installing the throttle body. This just mounts to the intake manifold similar to a carburetor. Since our Jeep has power brakes we needed to add a fitting to the throttle body for the additional vacuum line. The plug was removed and the fitting installed. The jeepfan.com CJ only uses one extra vacuum line for the distributor advance.

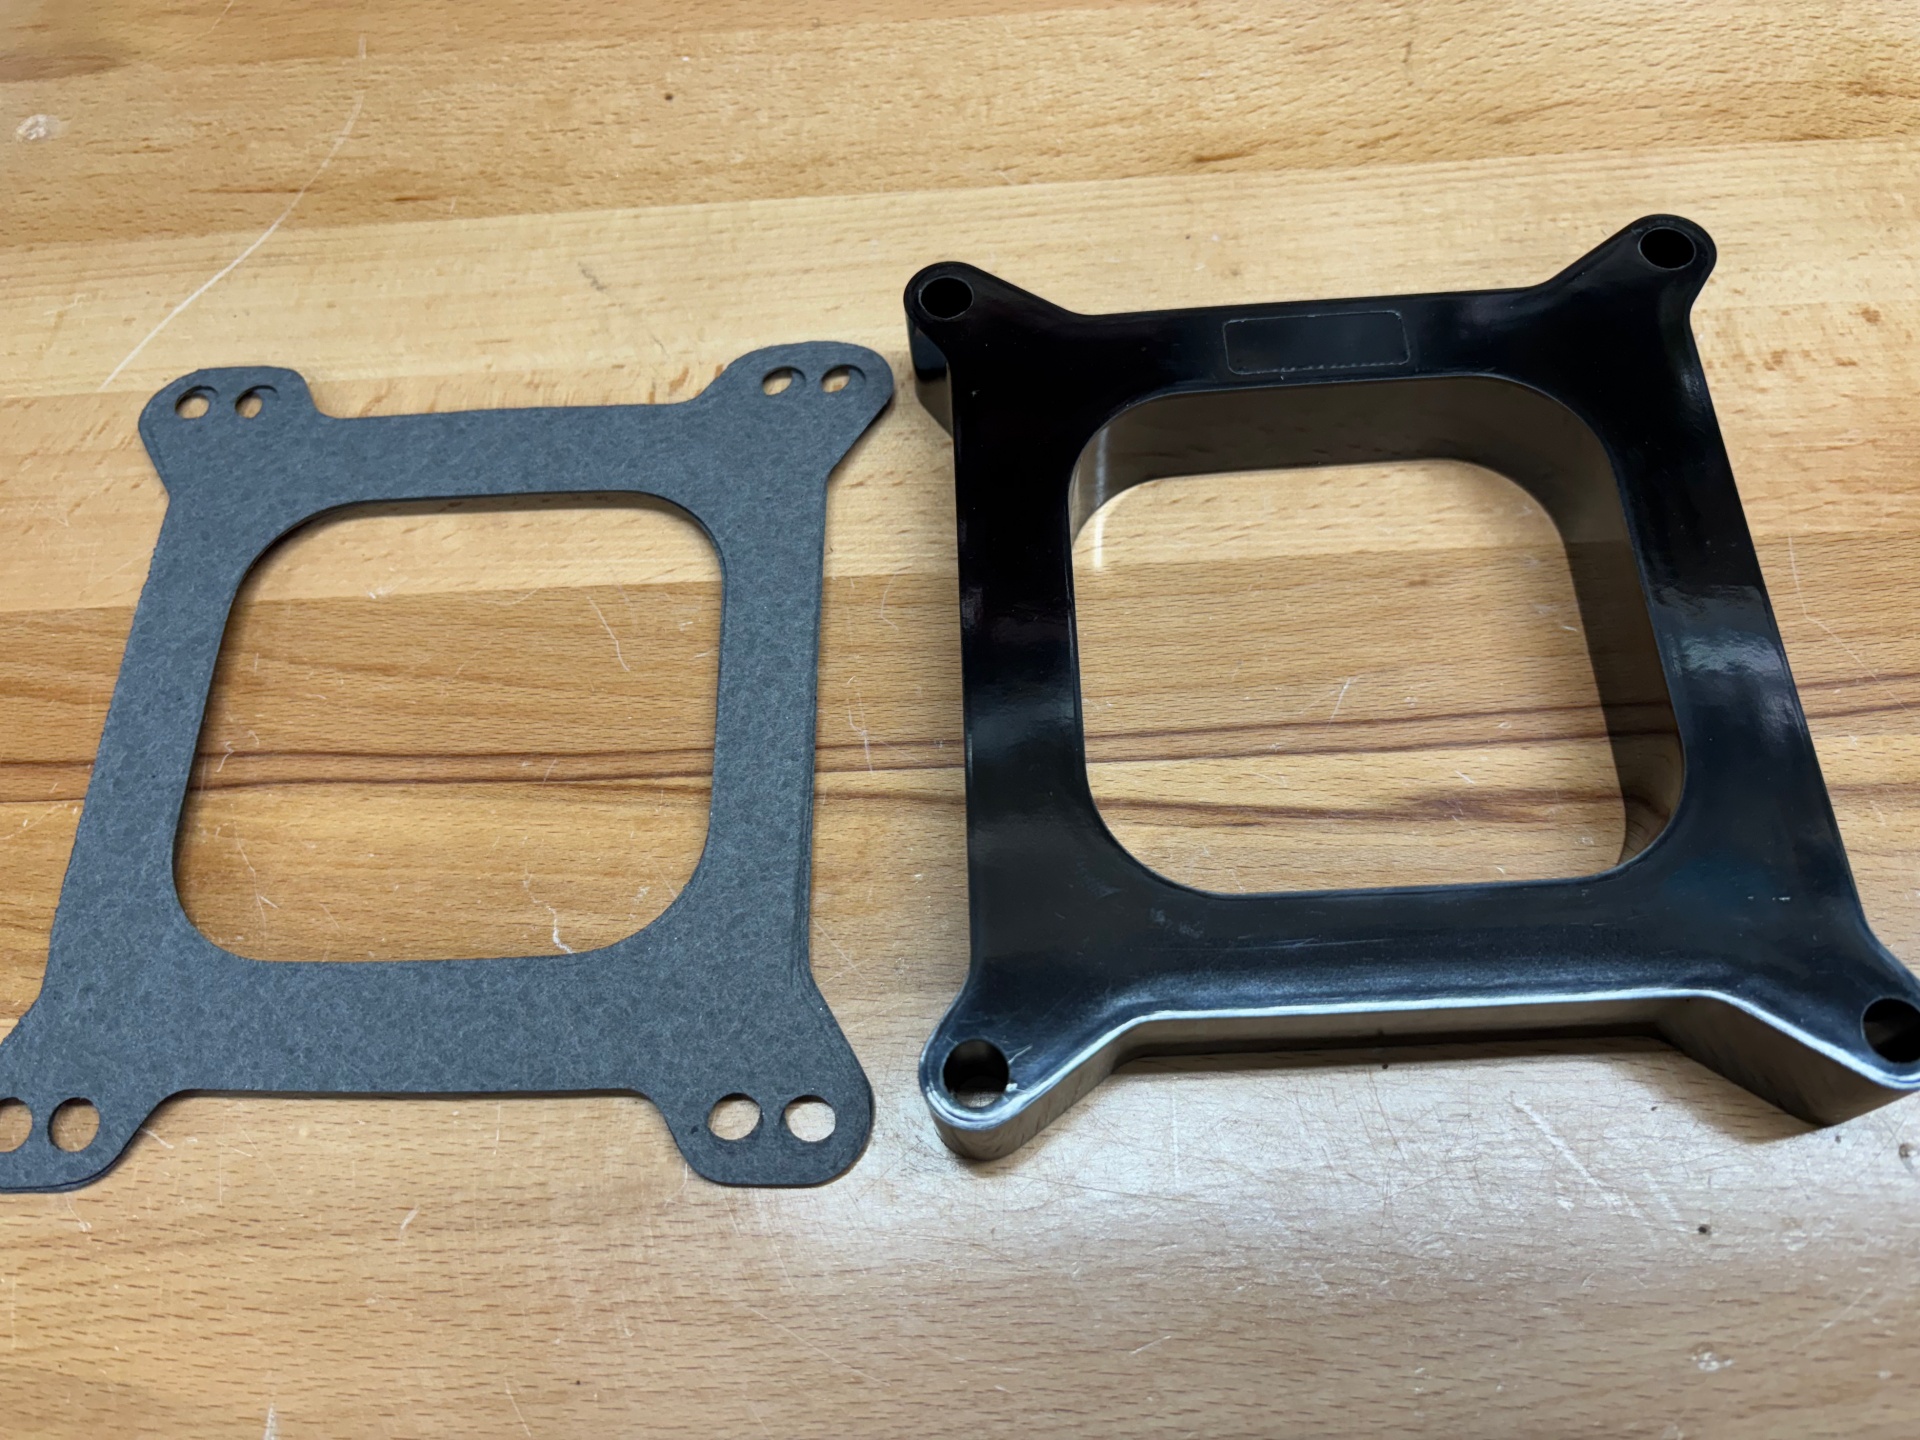
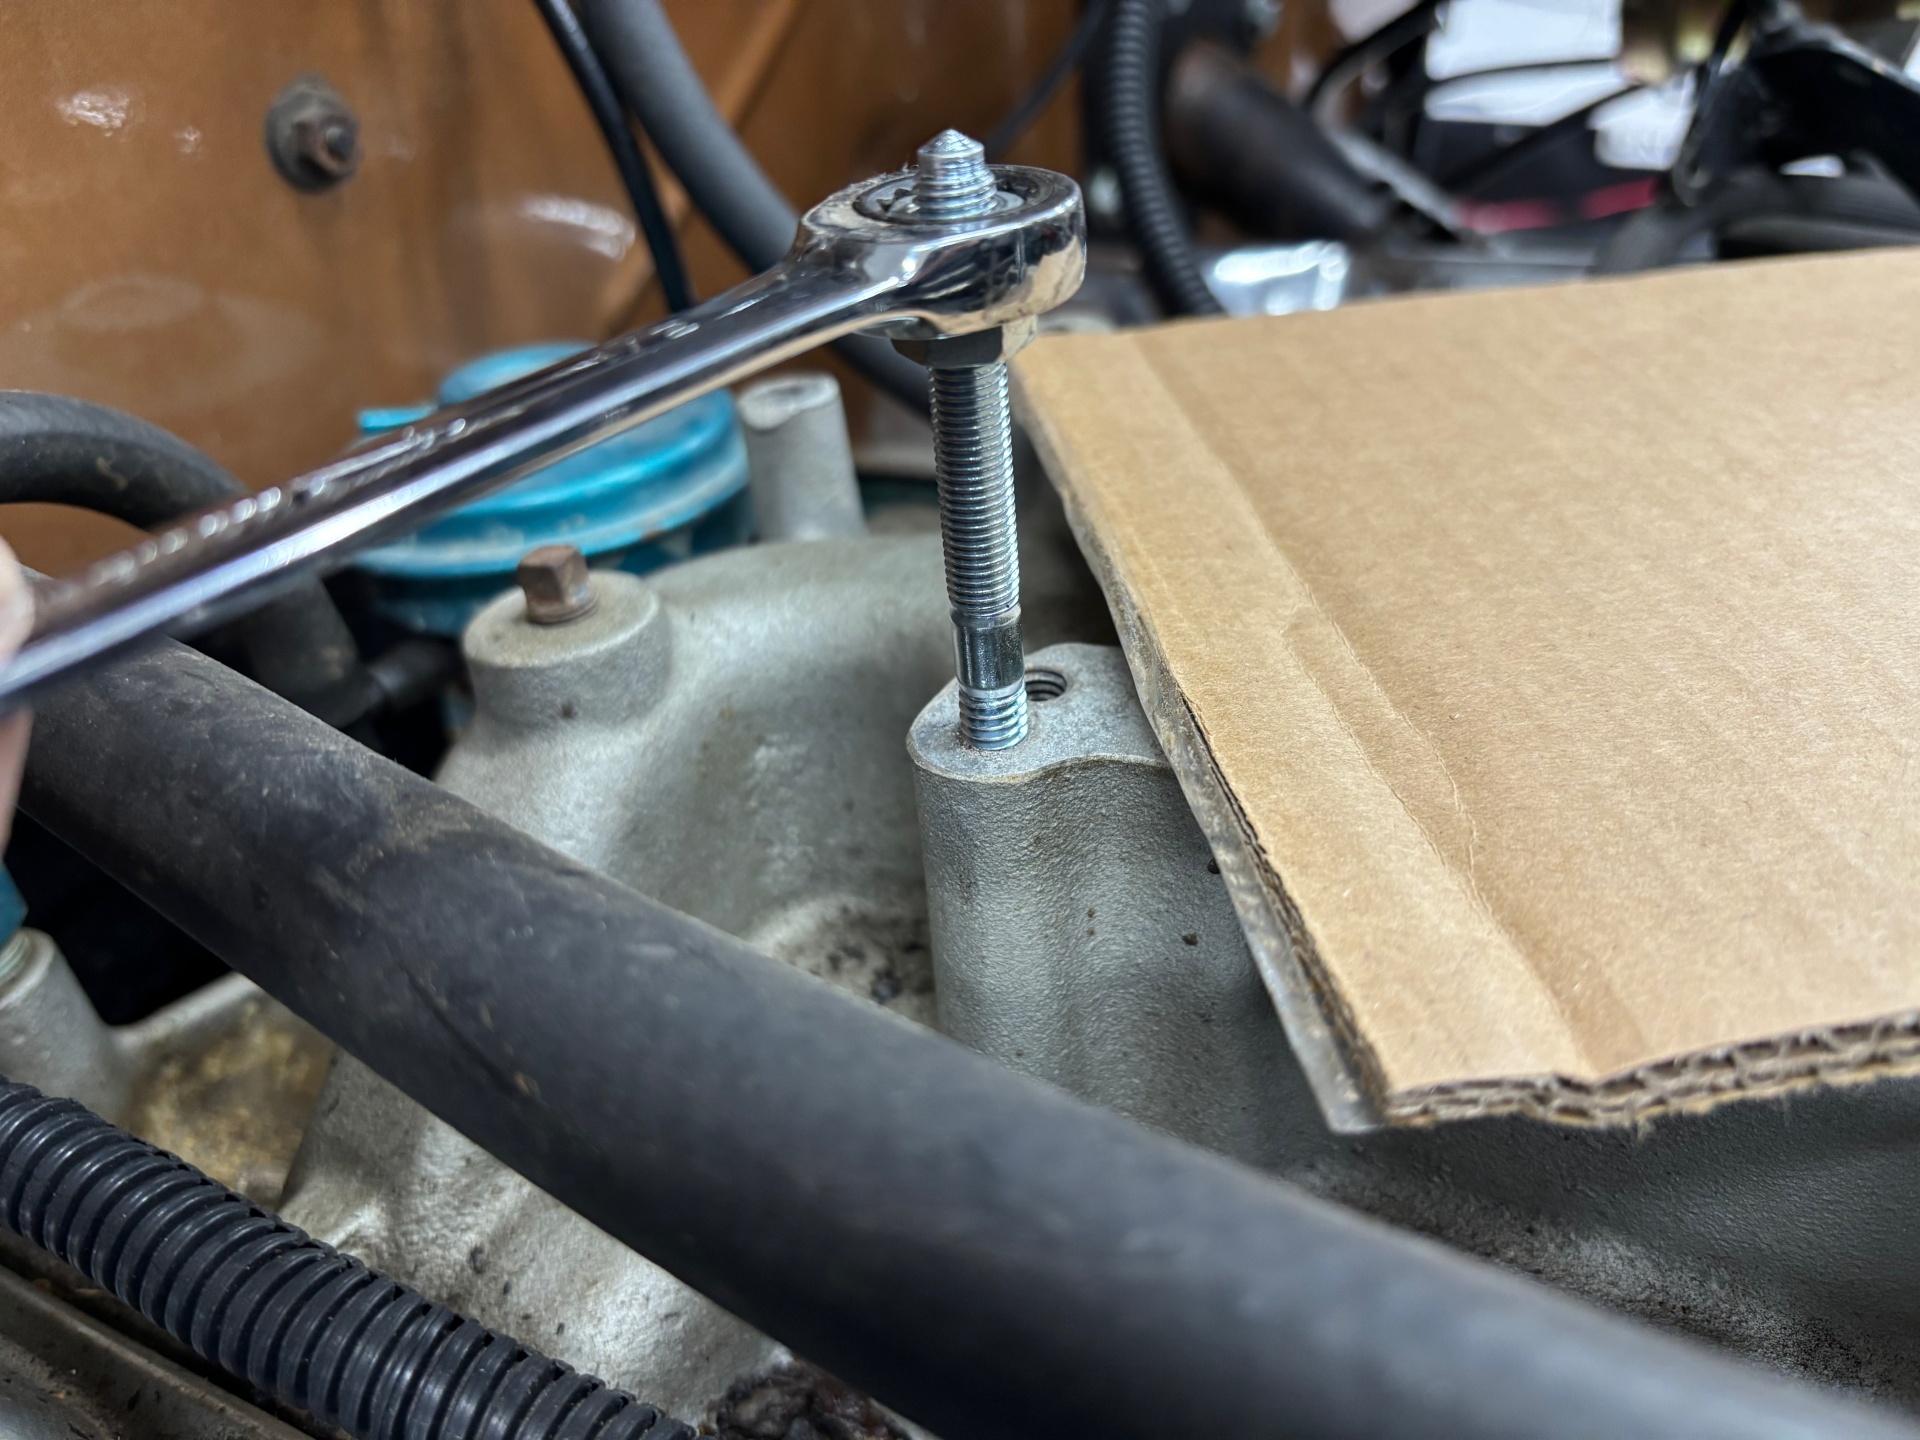
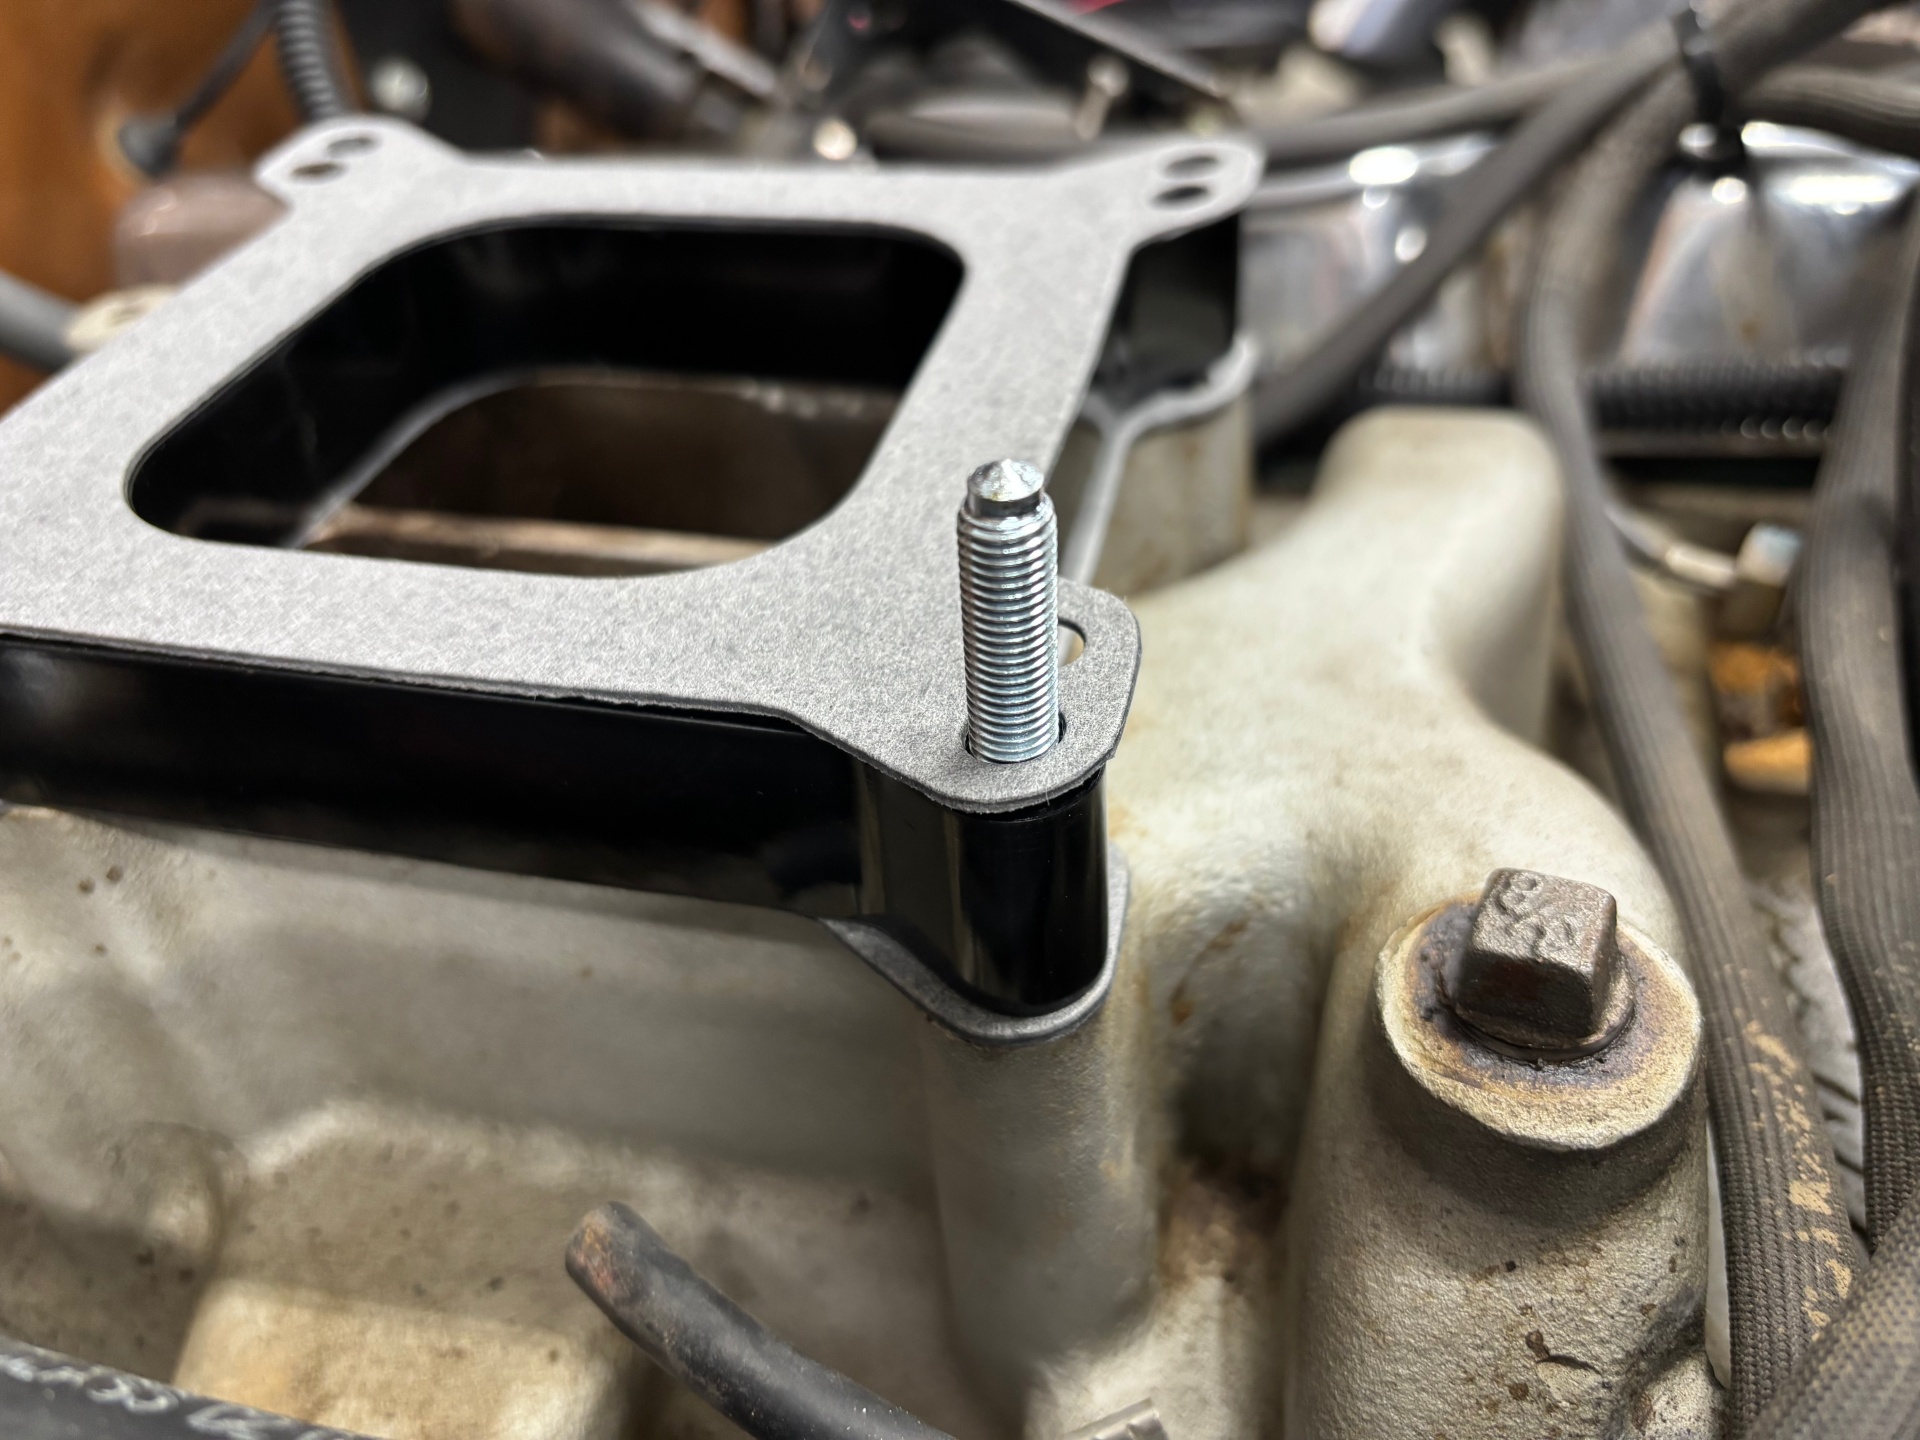
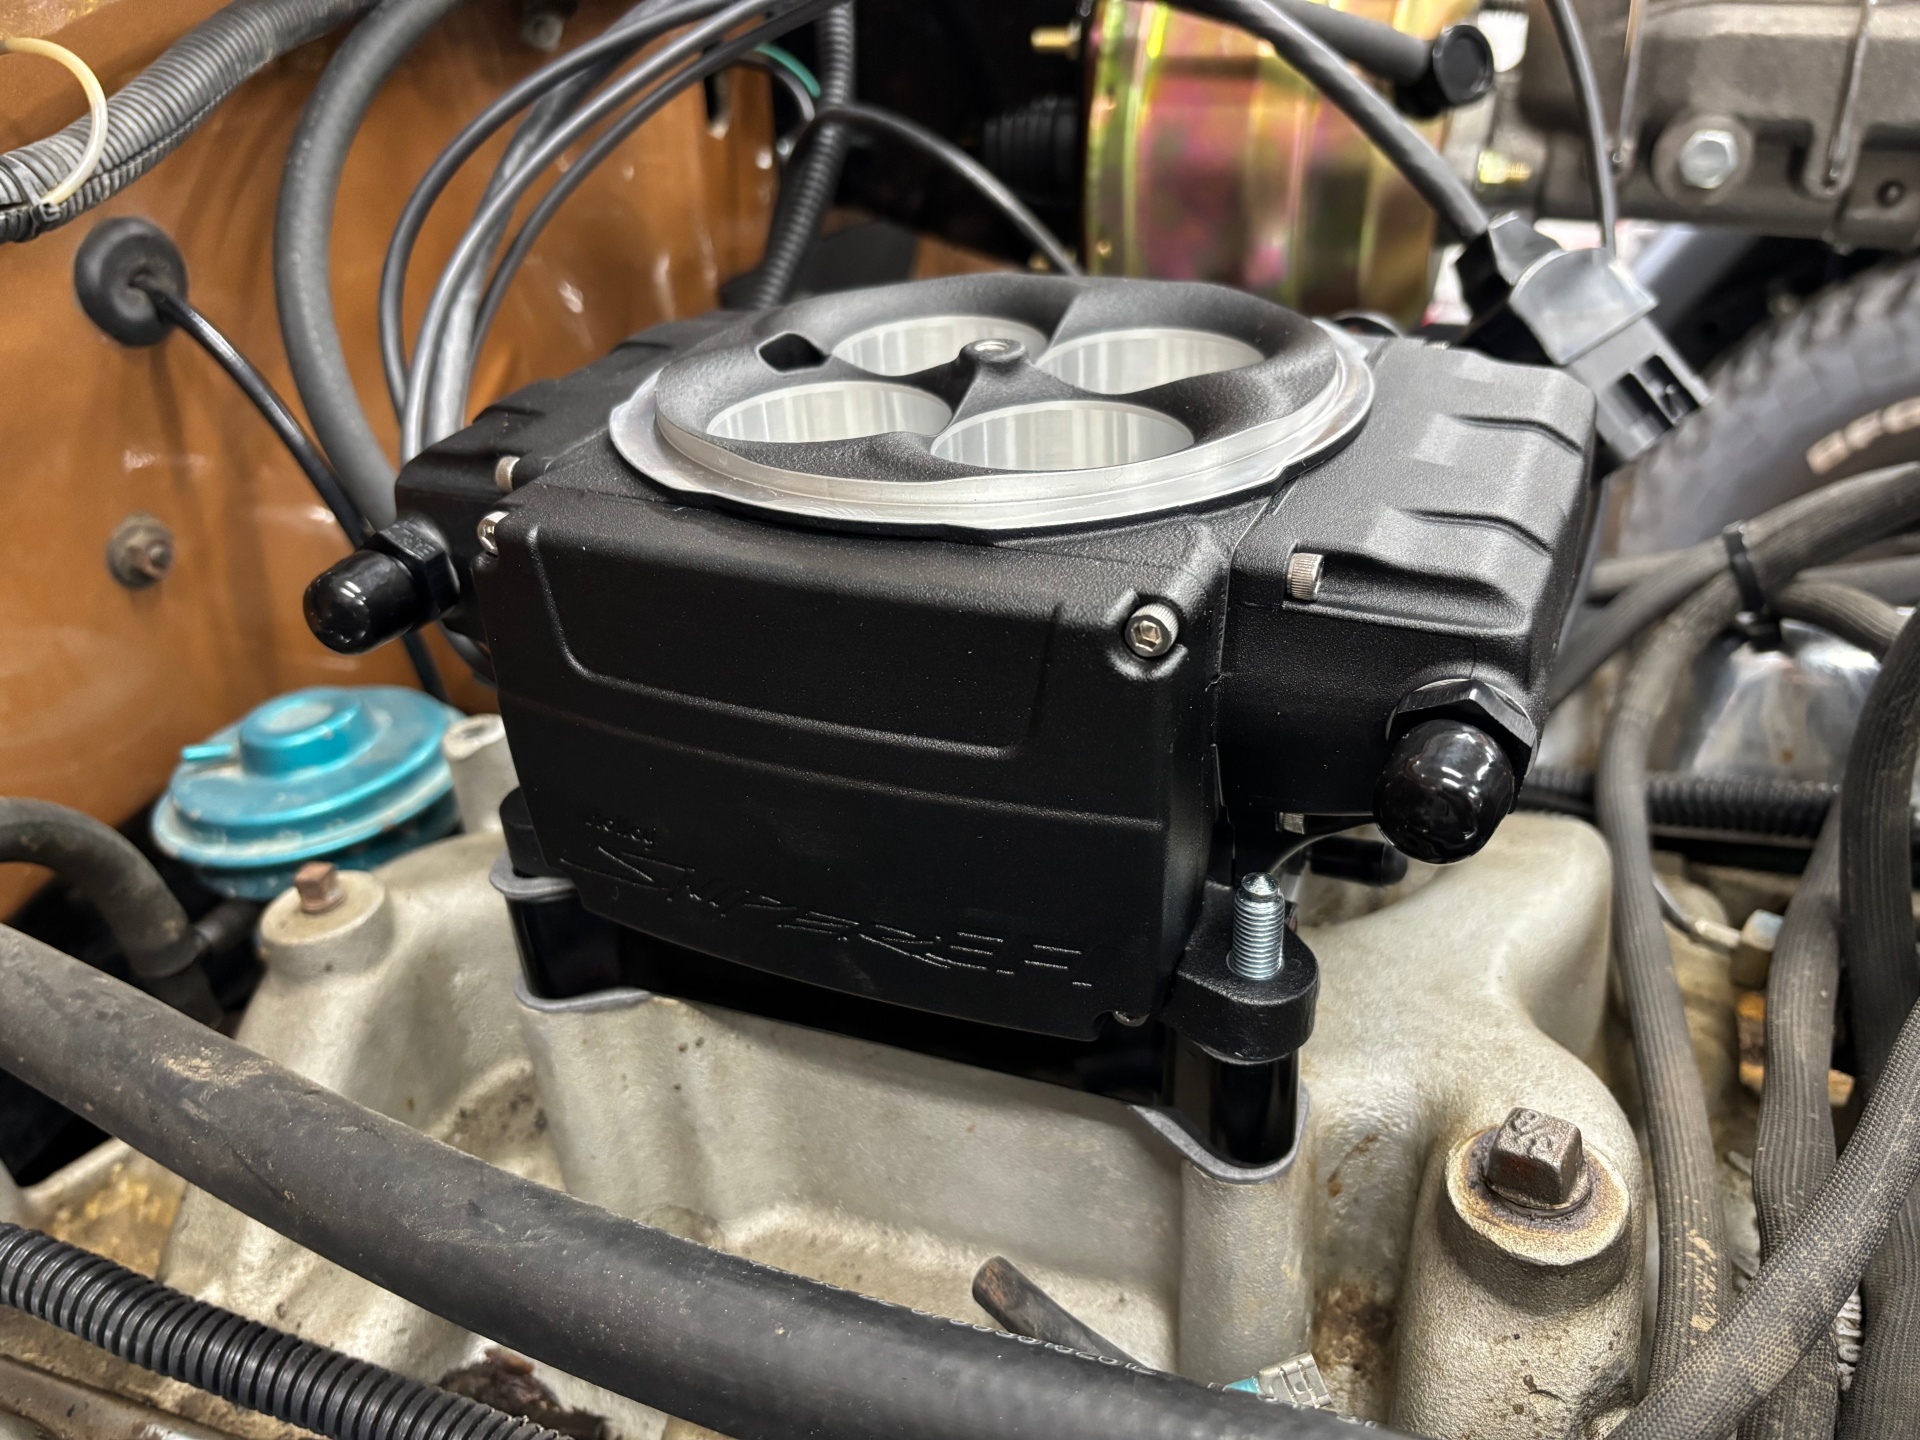
We decided to use a 1″ intake spacer to allow better fuel mixture and dispersion with the dual plane manifold. Holley says the Sniper works on a dual plane intake without a spacer but much of our research shows that many people say there are better results when adding one. So we did. The spacer came with properly sized studs which we installed and loosely bolted down the throttle body.
Wiring
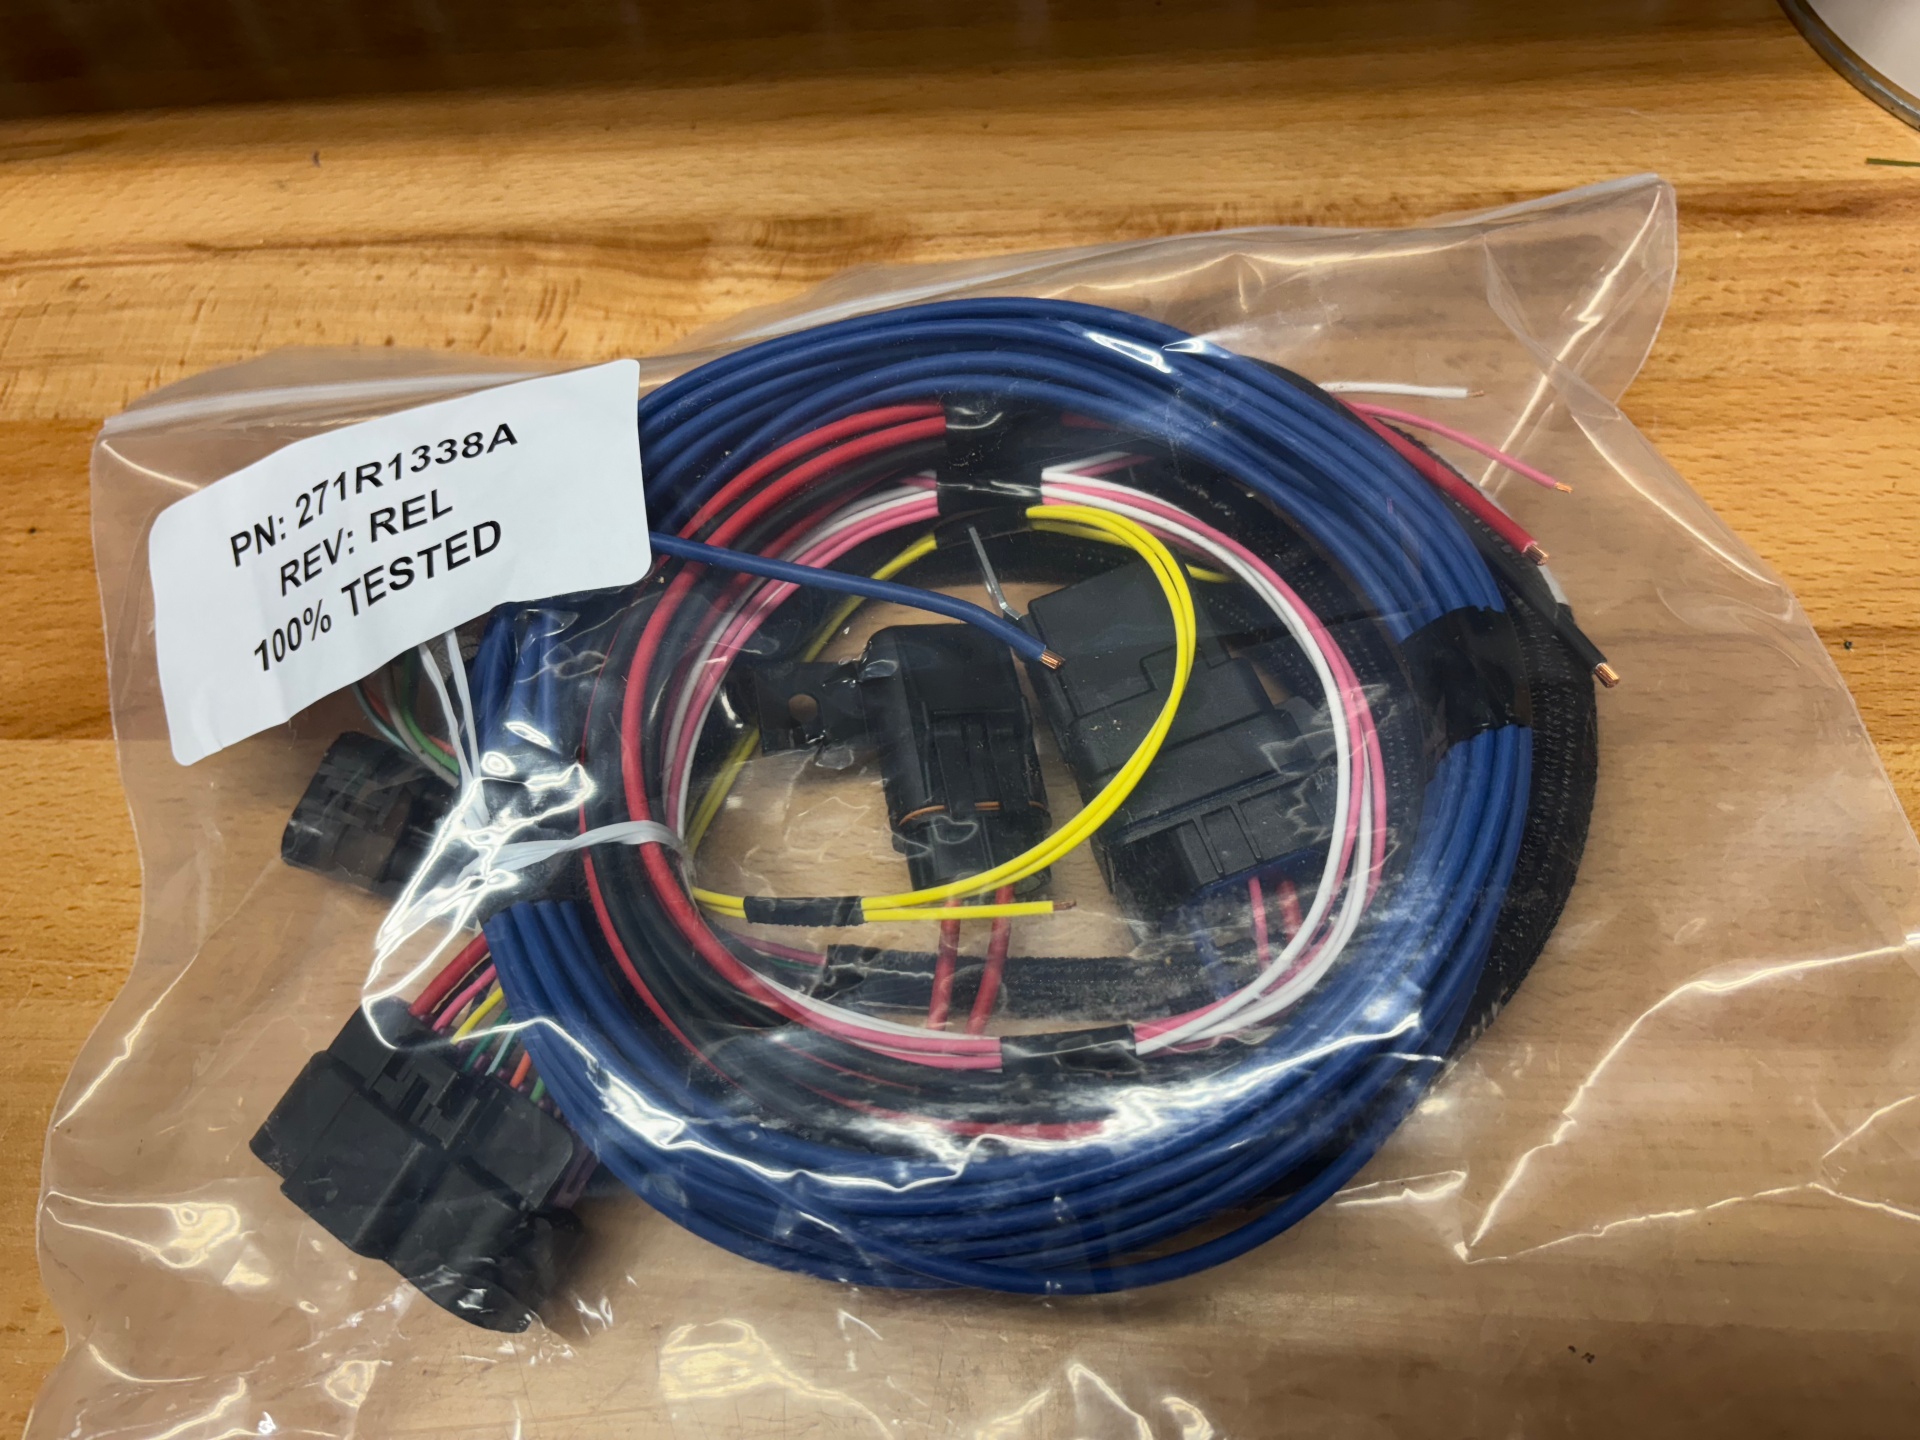
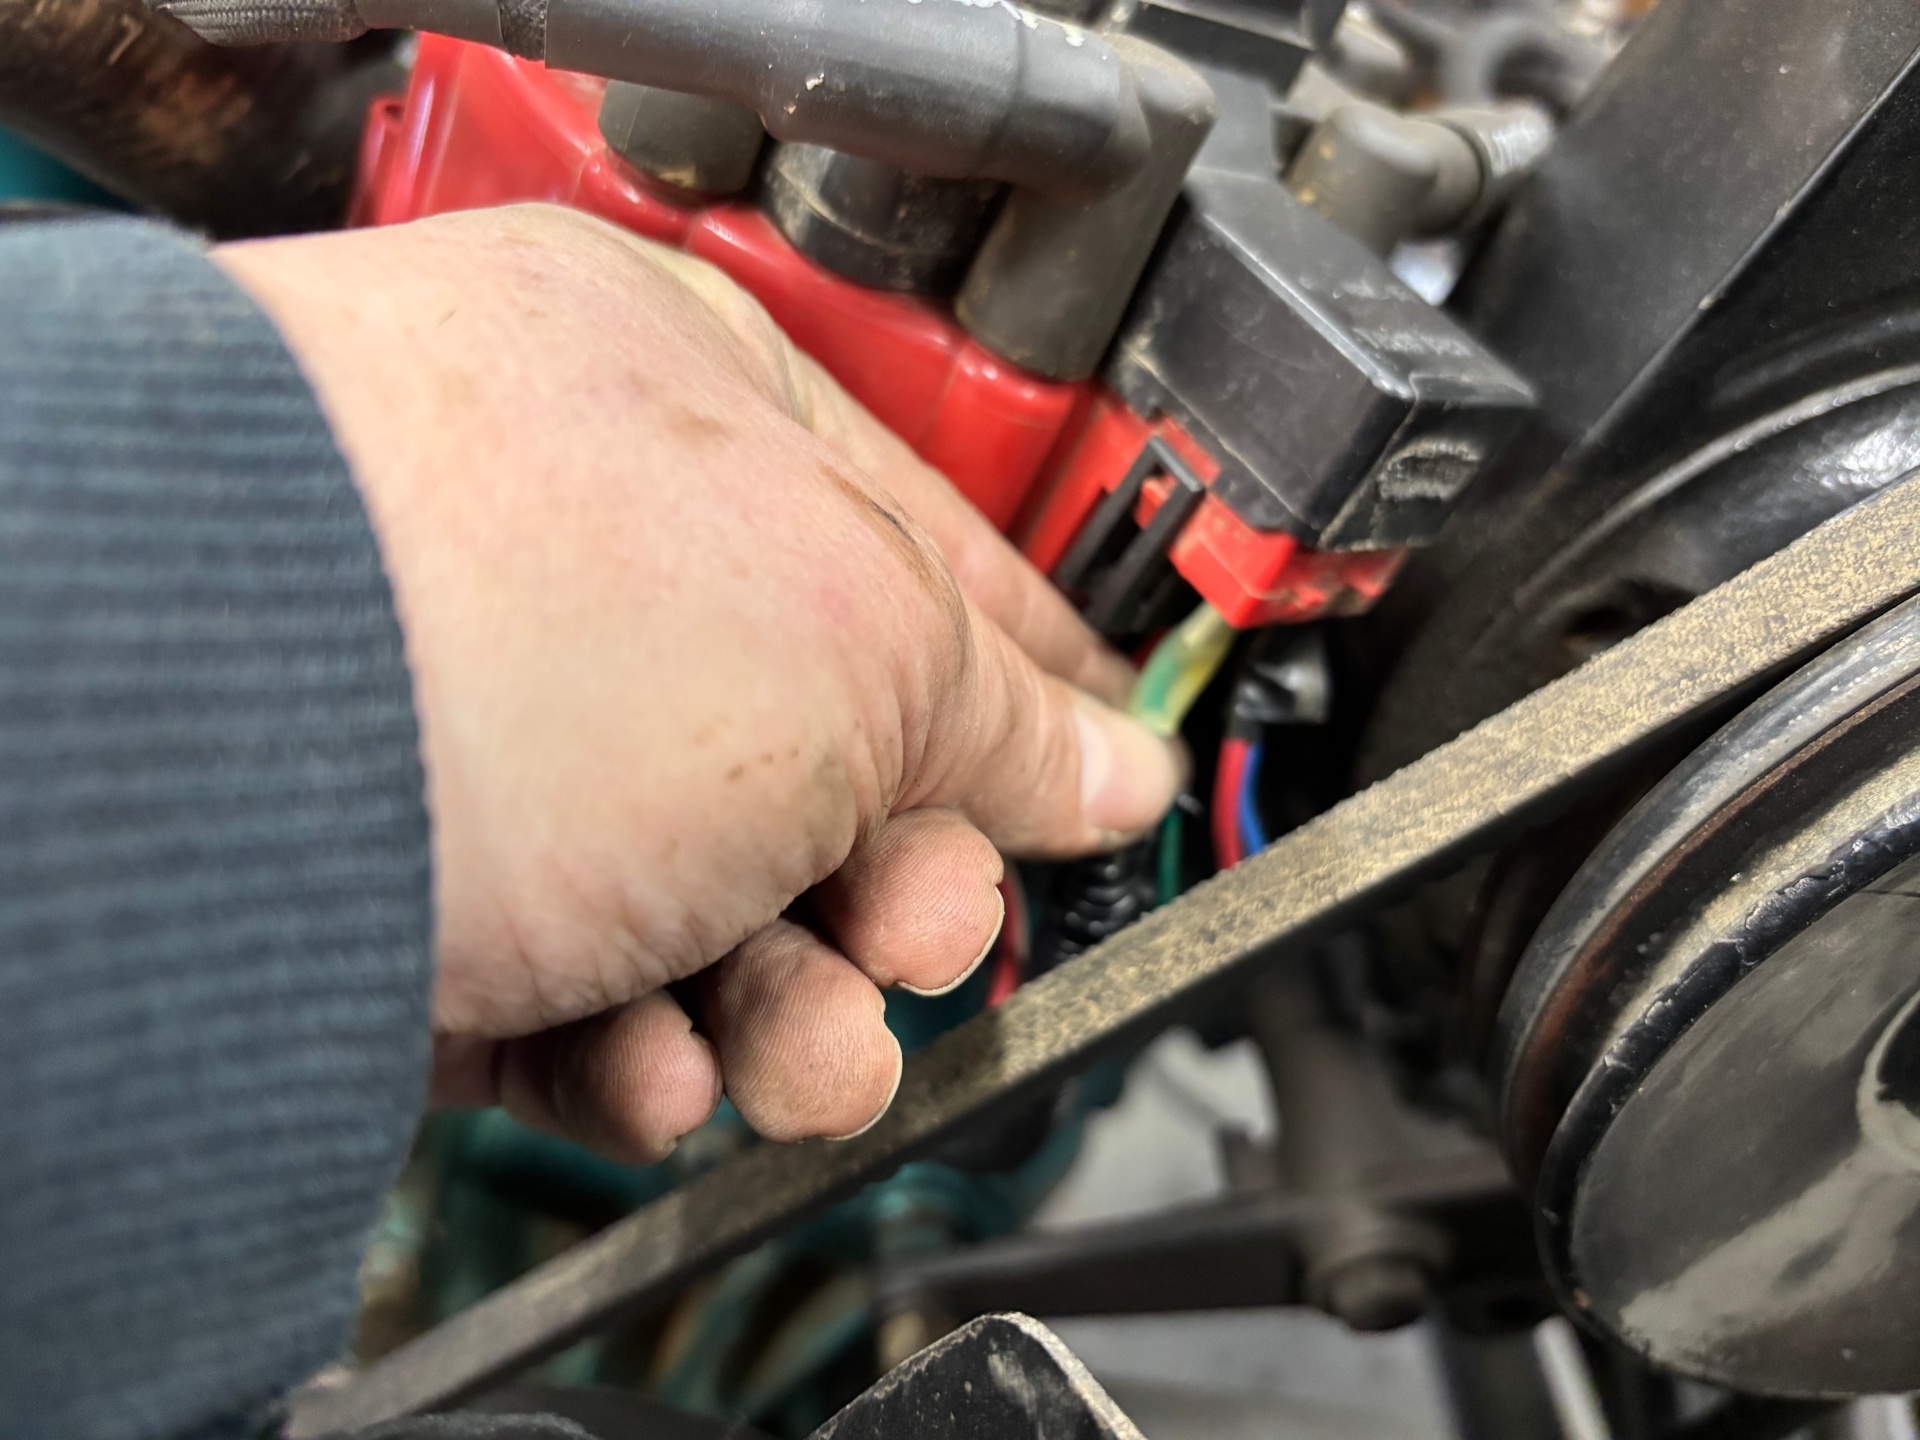
The sniper has only a few wires coming off of it. The main wiring plug, oxygen sensor, temperature sensor and display plug. The main wiring plug connects to an included premade harness that attaches main power, the fuel pump, distributor tach signal and ground. It’s recommended that the main power be directly connected to the battery and the main power relay be connected to switched 12V power that has full power during cranking, this is important to keep the computer up and running when starting. Often older vehicles will cut power to certain circuits when cranking. The jeepfan.com CJ has a Painless Wiring 7 Circuit auxillary power block that is full powered during cranking so this was a great place to connect the main relay of the Sniper.
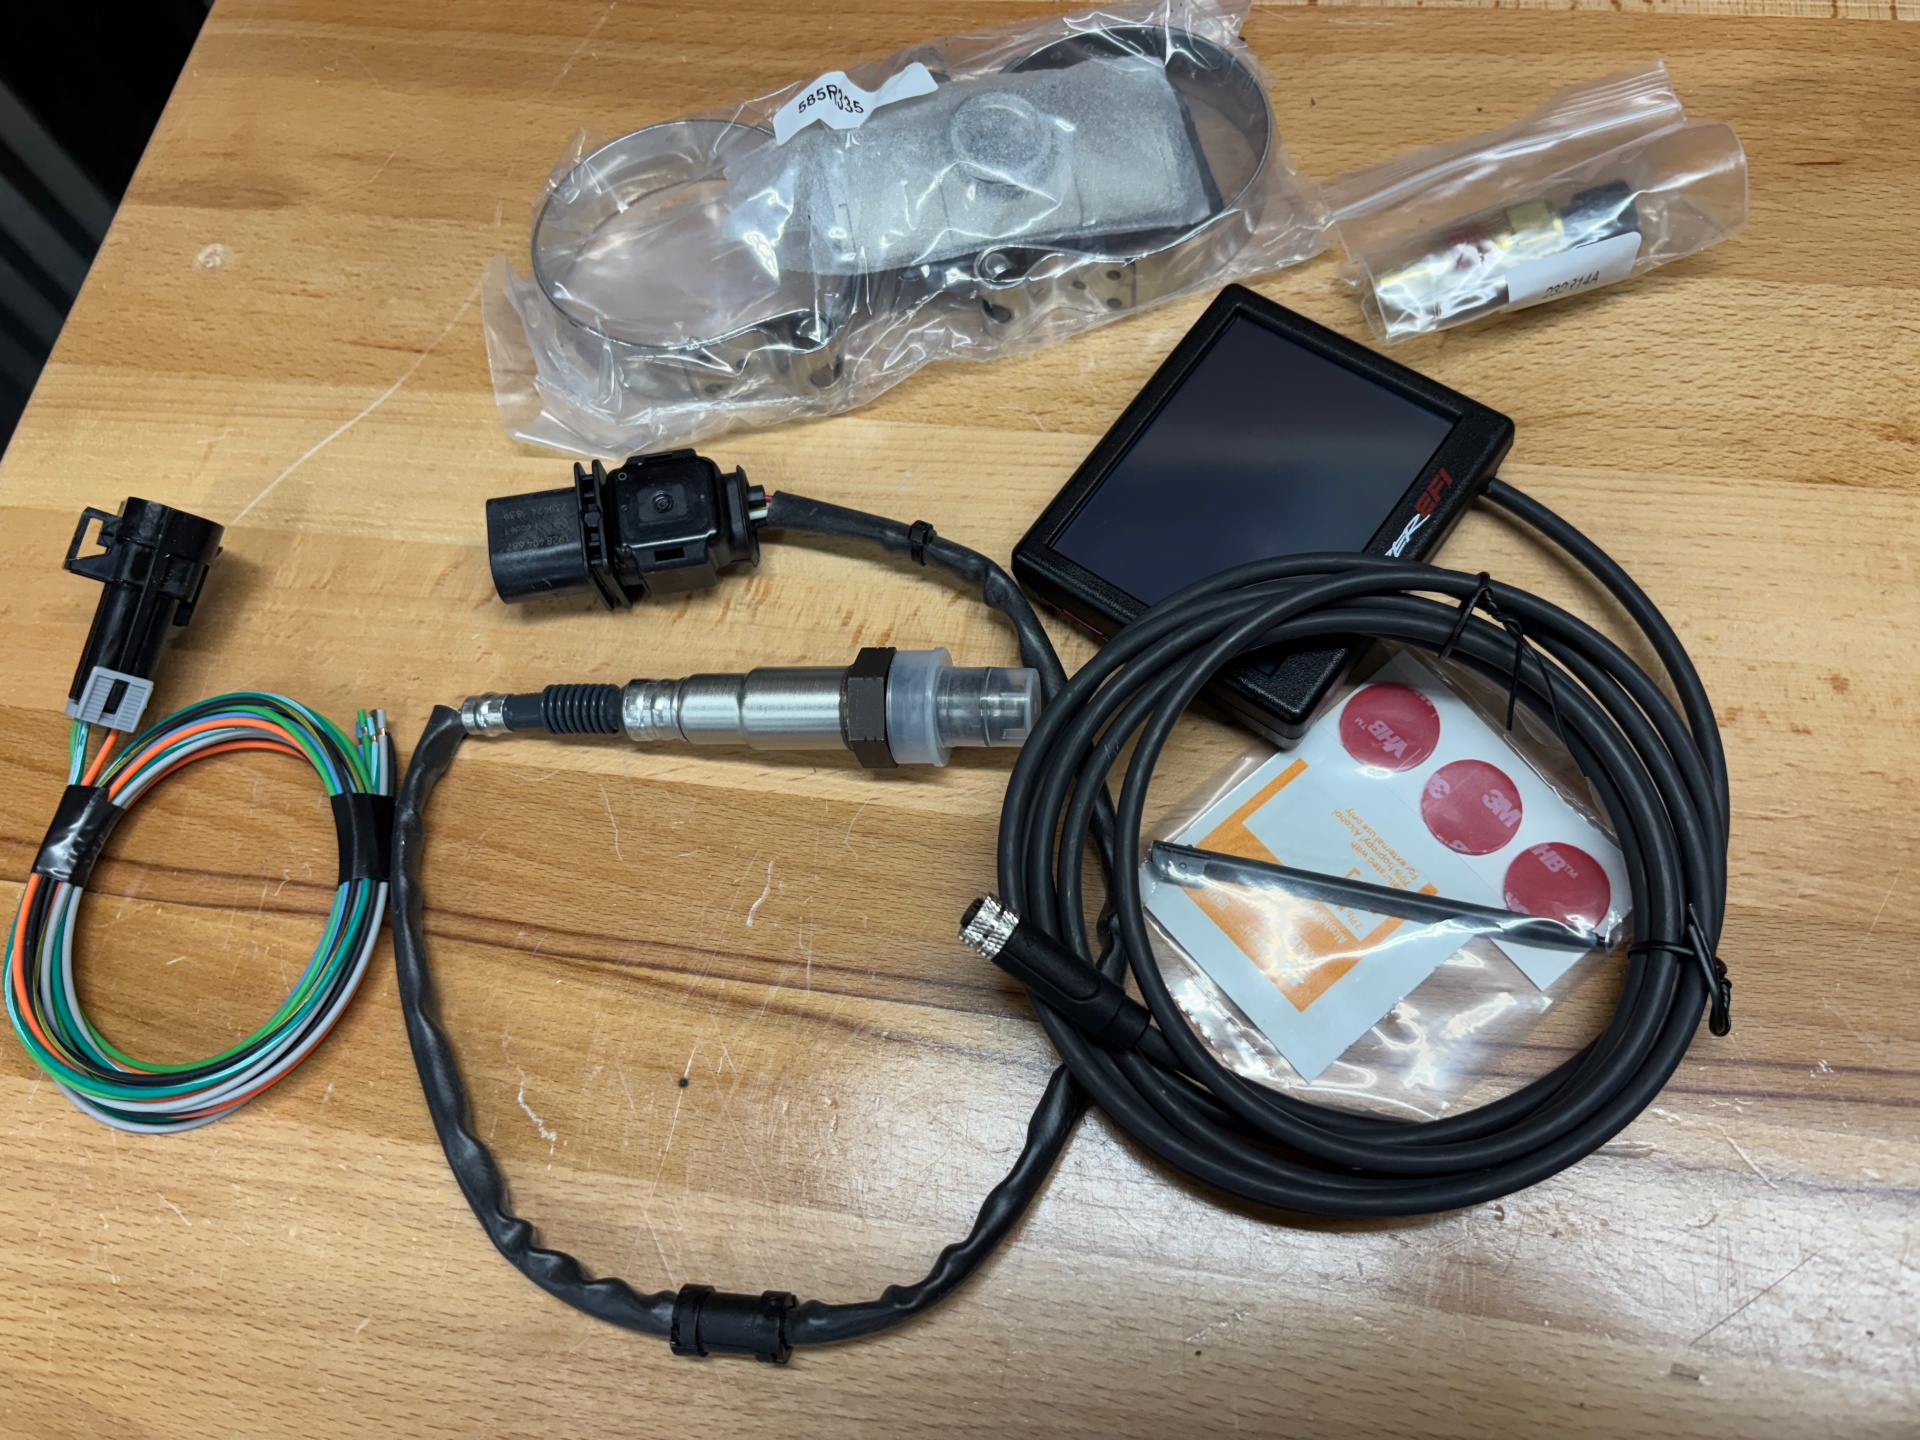
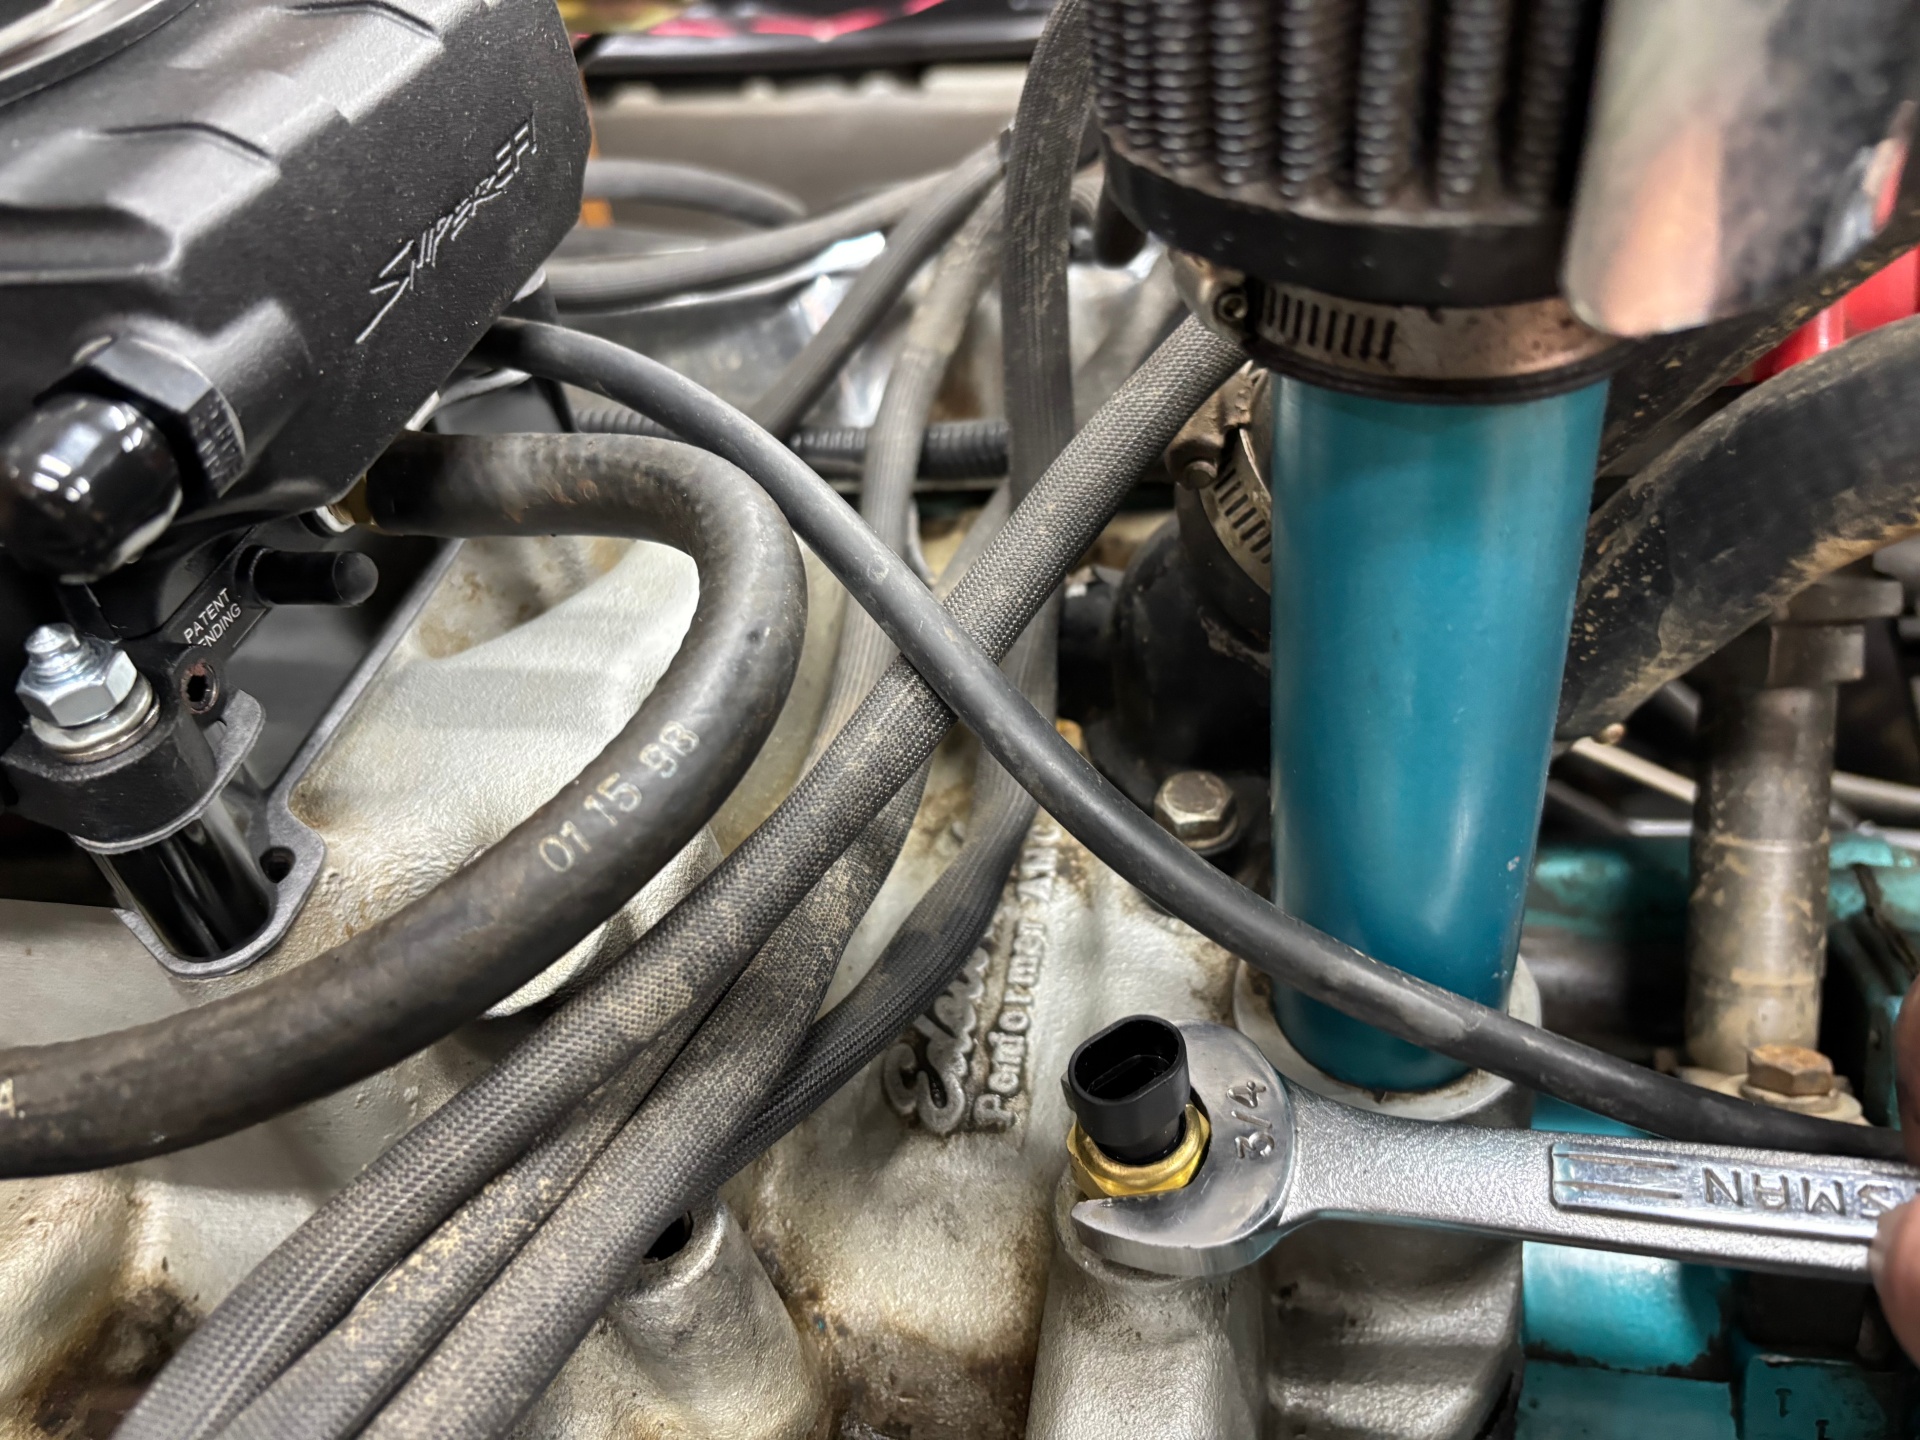
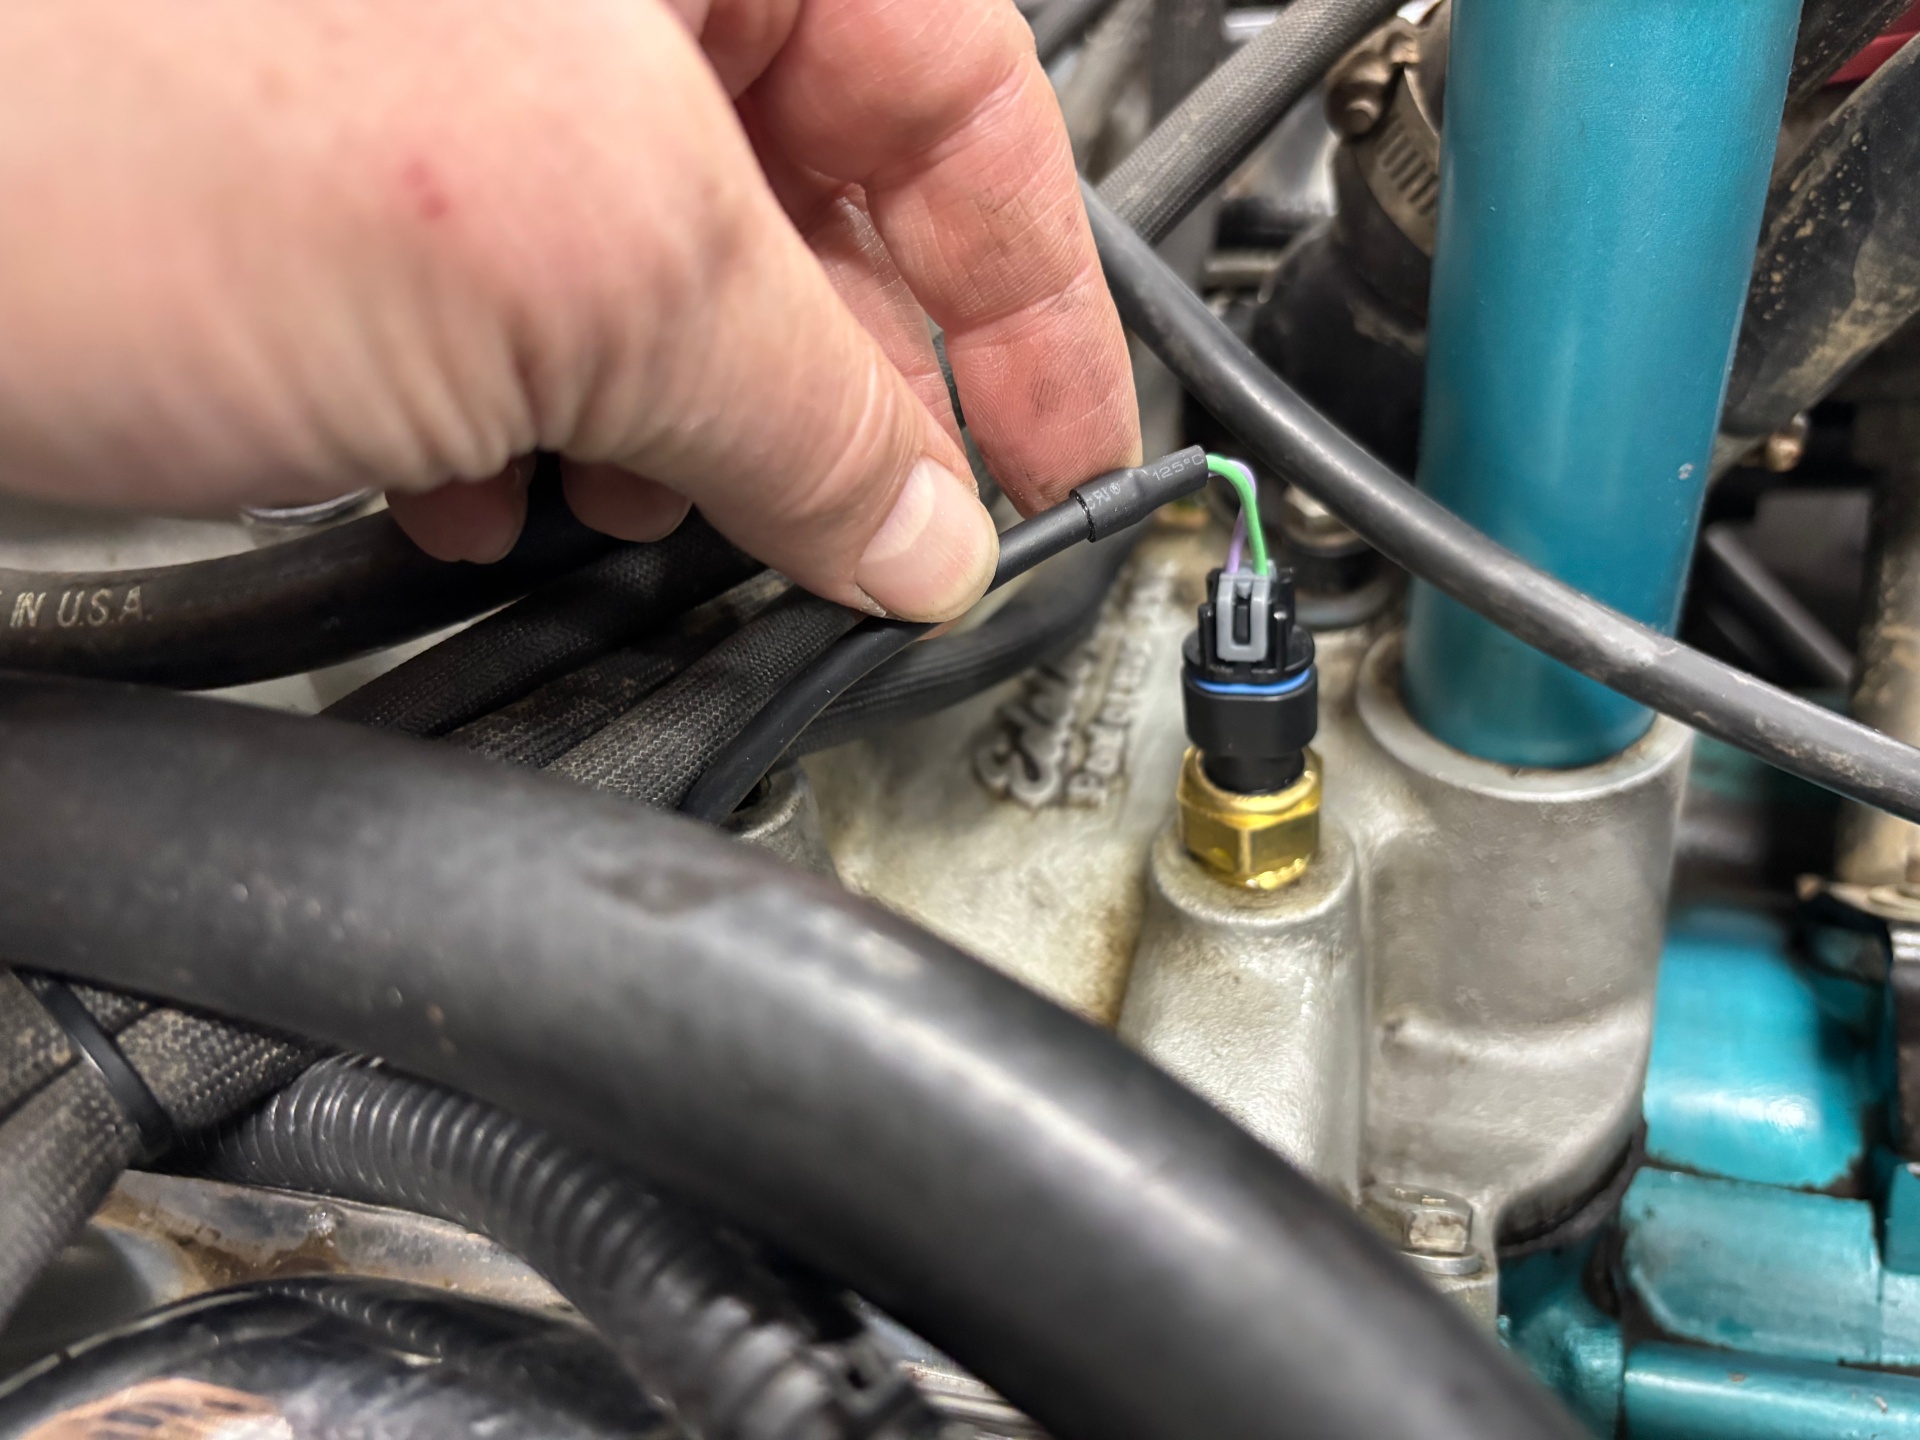
The temperature sensor should go into a manifold port that is on the engine side of the thermostat. The Edelbrock Performer has an extra port perfect for this. There was a plug in this port that needed to be removed, we managed to get the plug out and the sensor in with minimal coolant spilling.
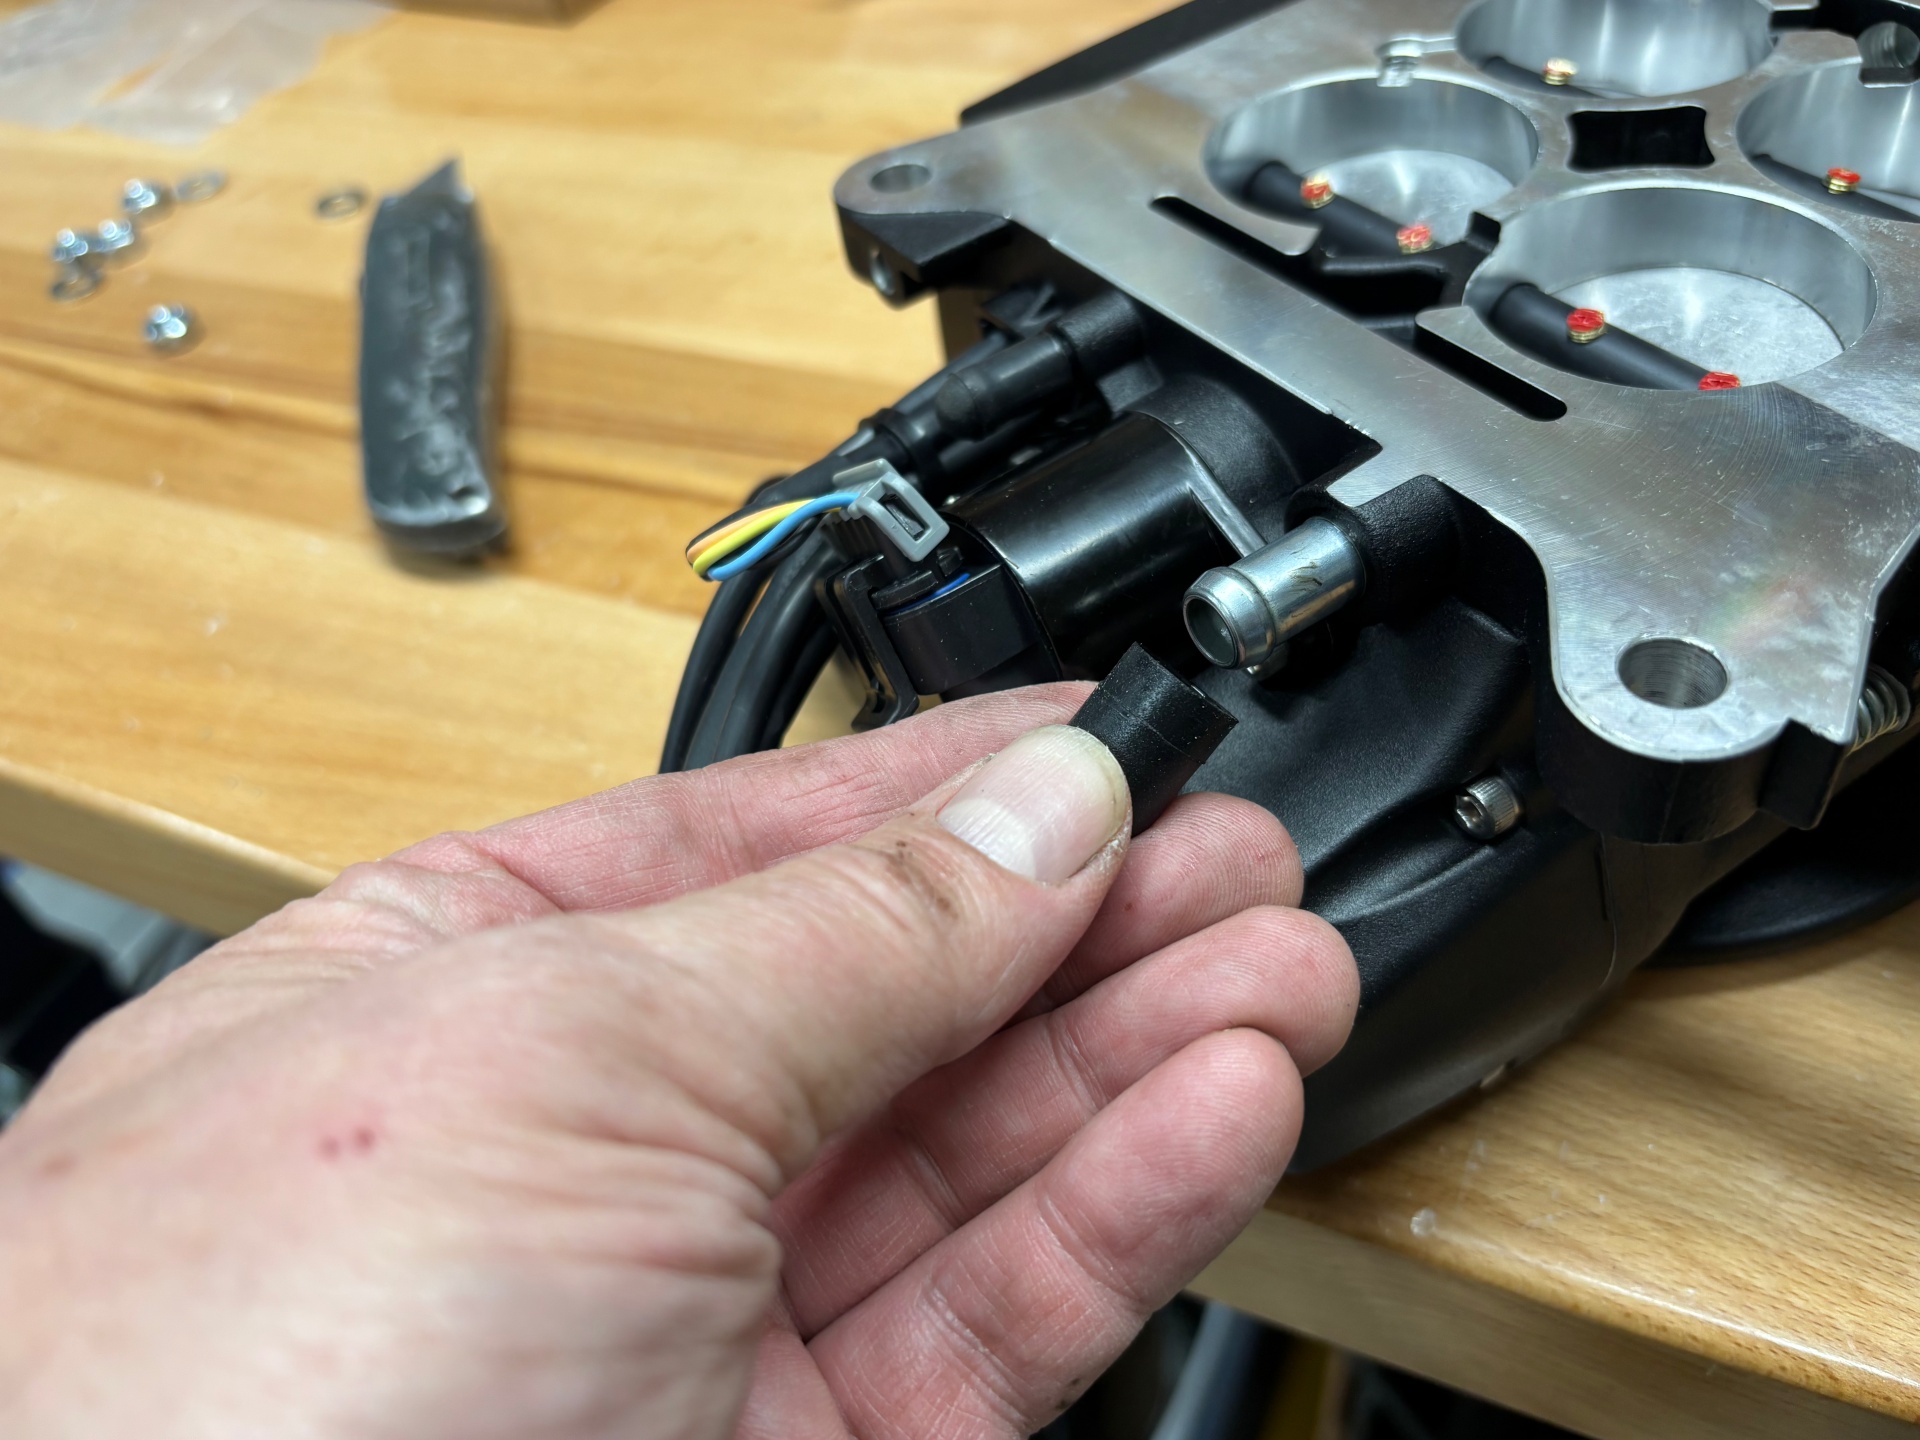
The Sniper needs a tach signal to determine engine speed. The jeepfan.com CJ was converted to an HEI distributor which has a tach port right on it. We re-wired the plug to share the terminal with the tach. Wire loom is used everywhere to protect the wires.
The wires for the fuel pump were ran to the rear of the Jeep. That would be completed when the fuel lines and tank were completely installed. Again, use wire loom.
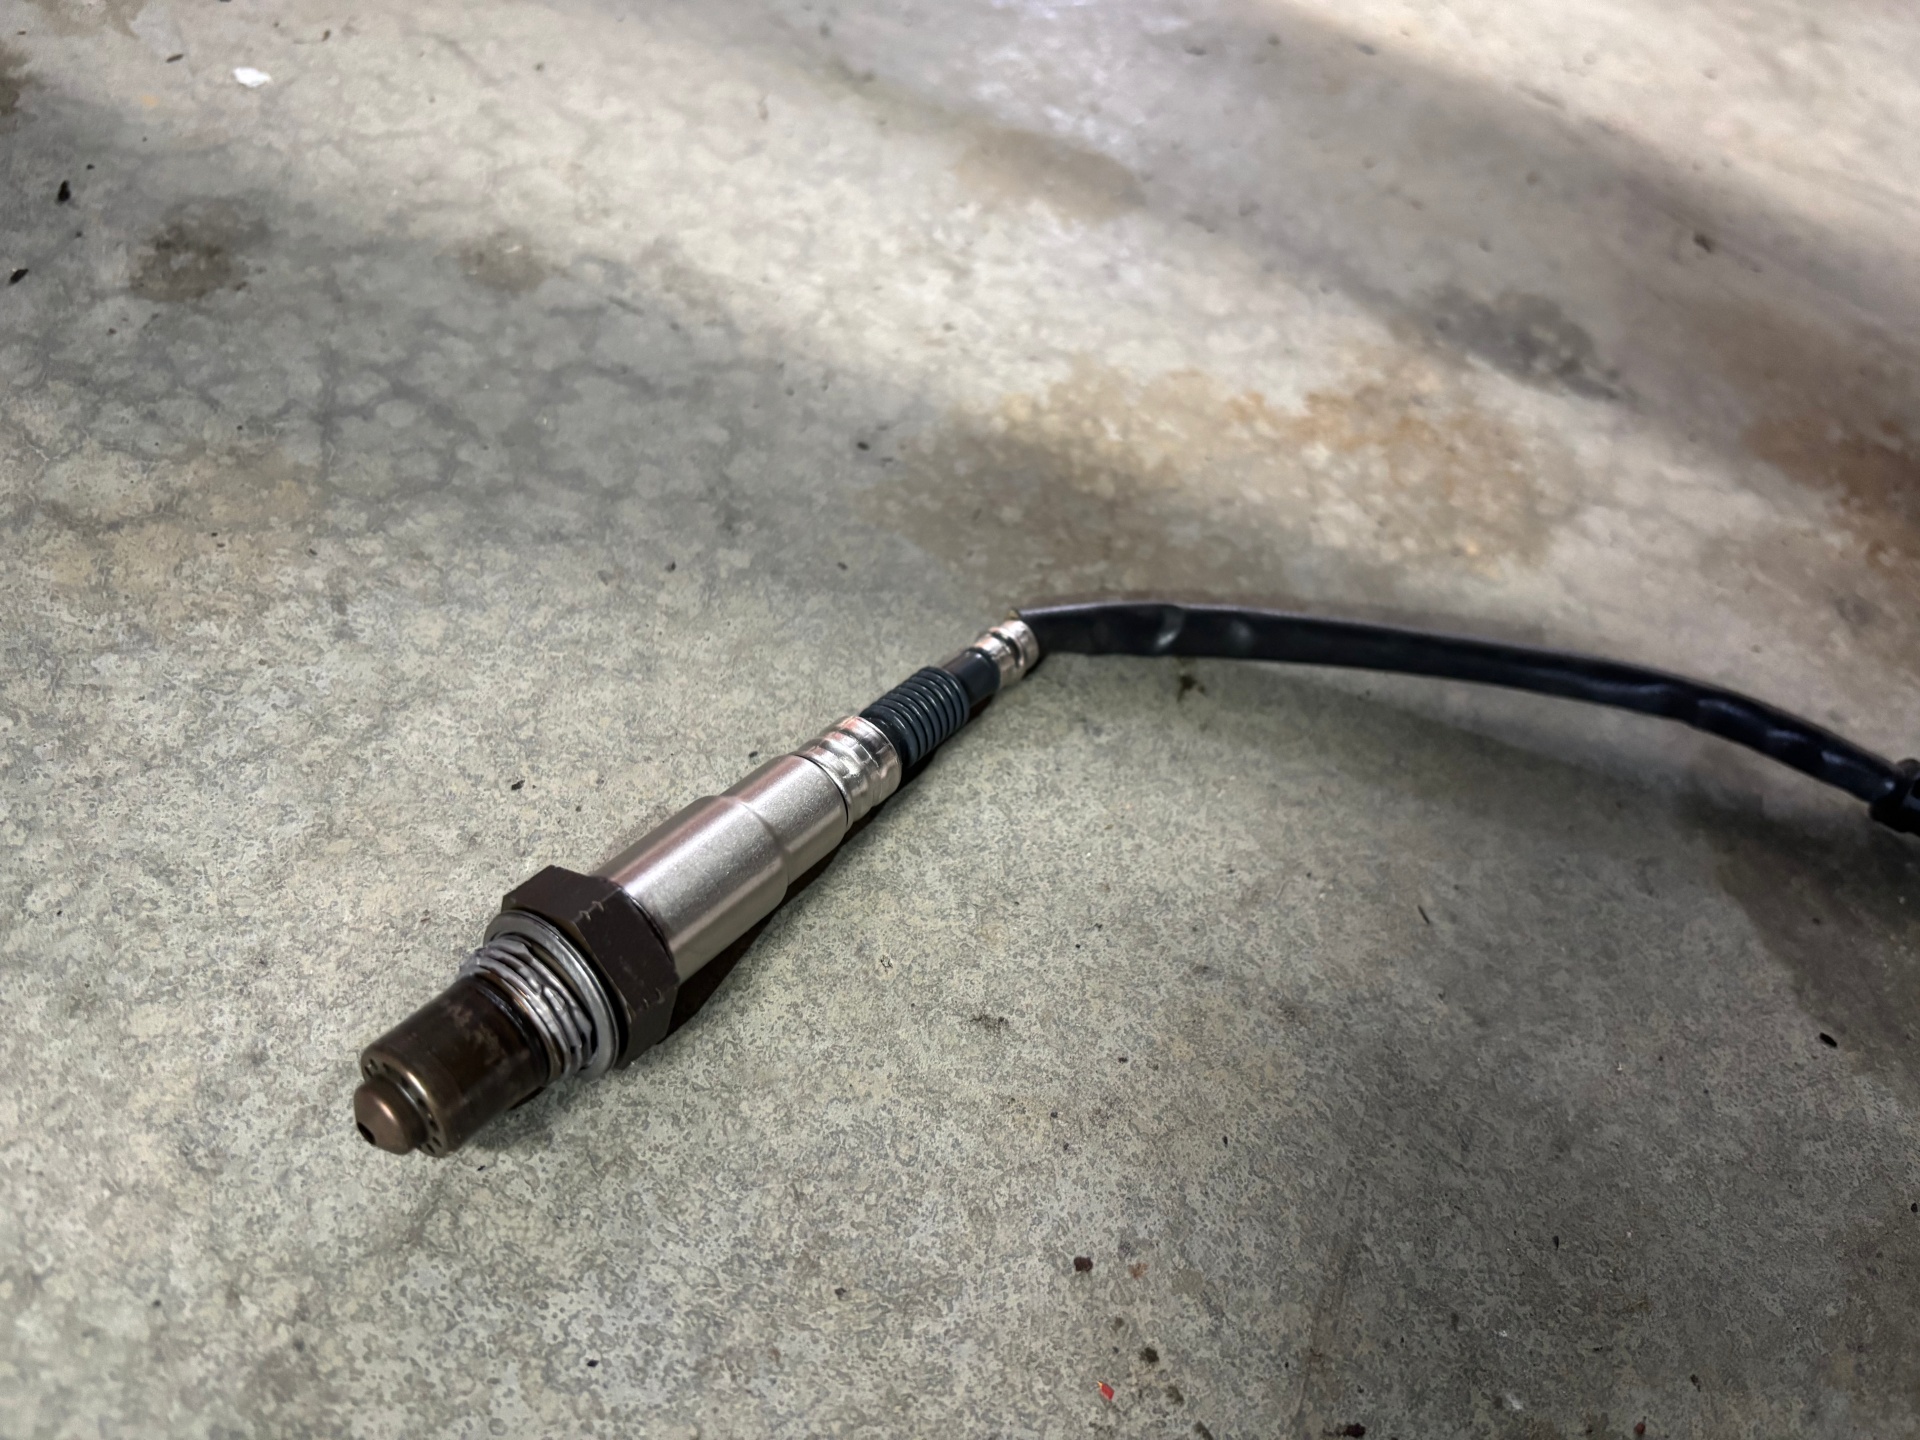
Oxygen Sensor aka O2 Sensor Installation
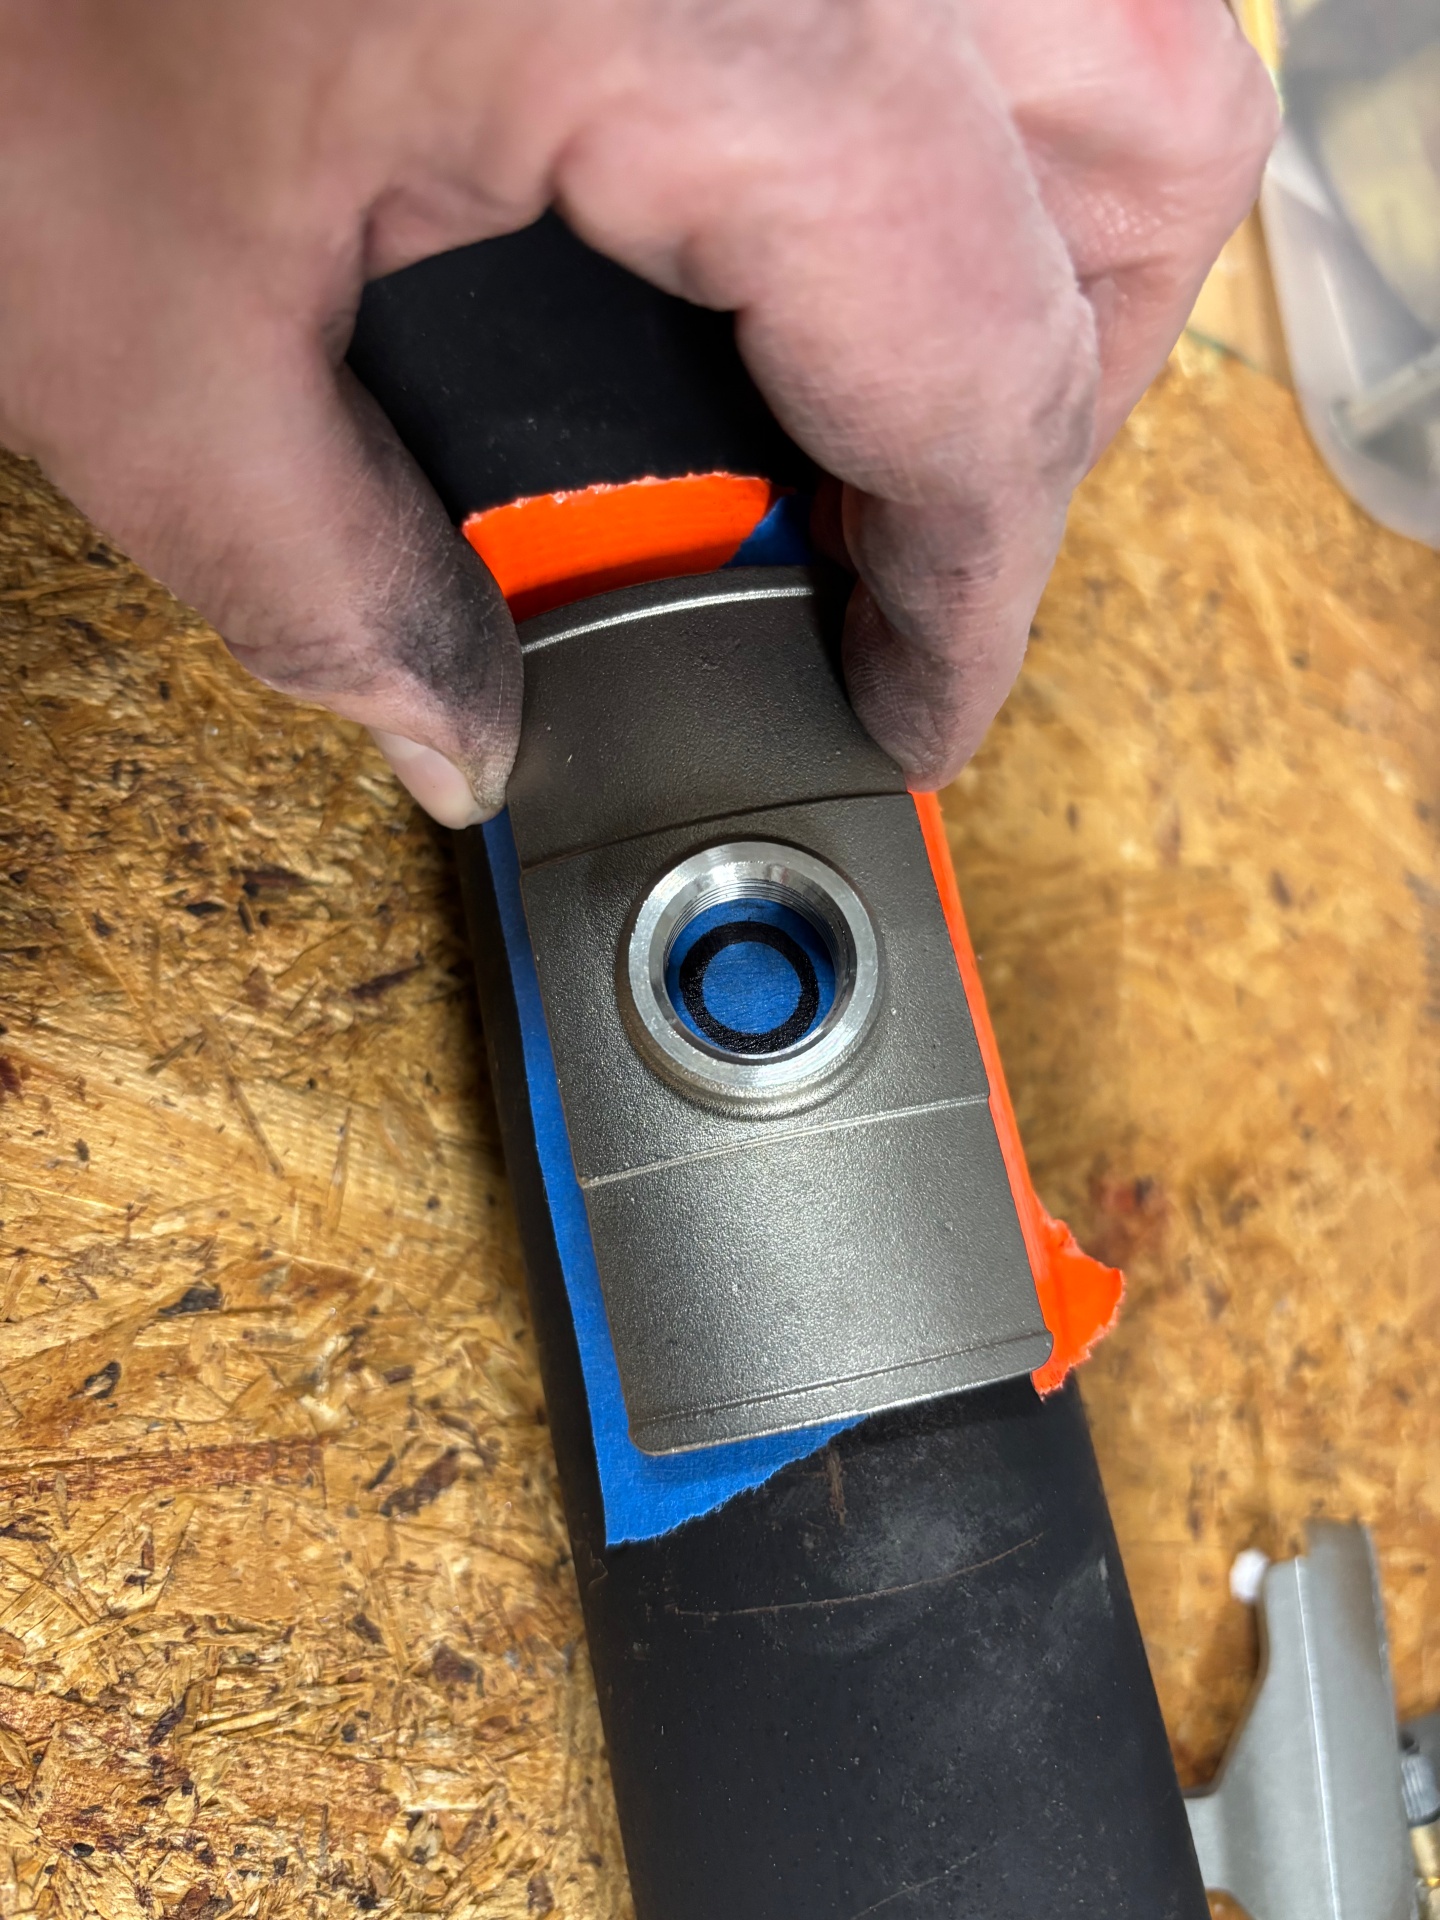
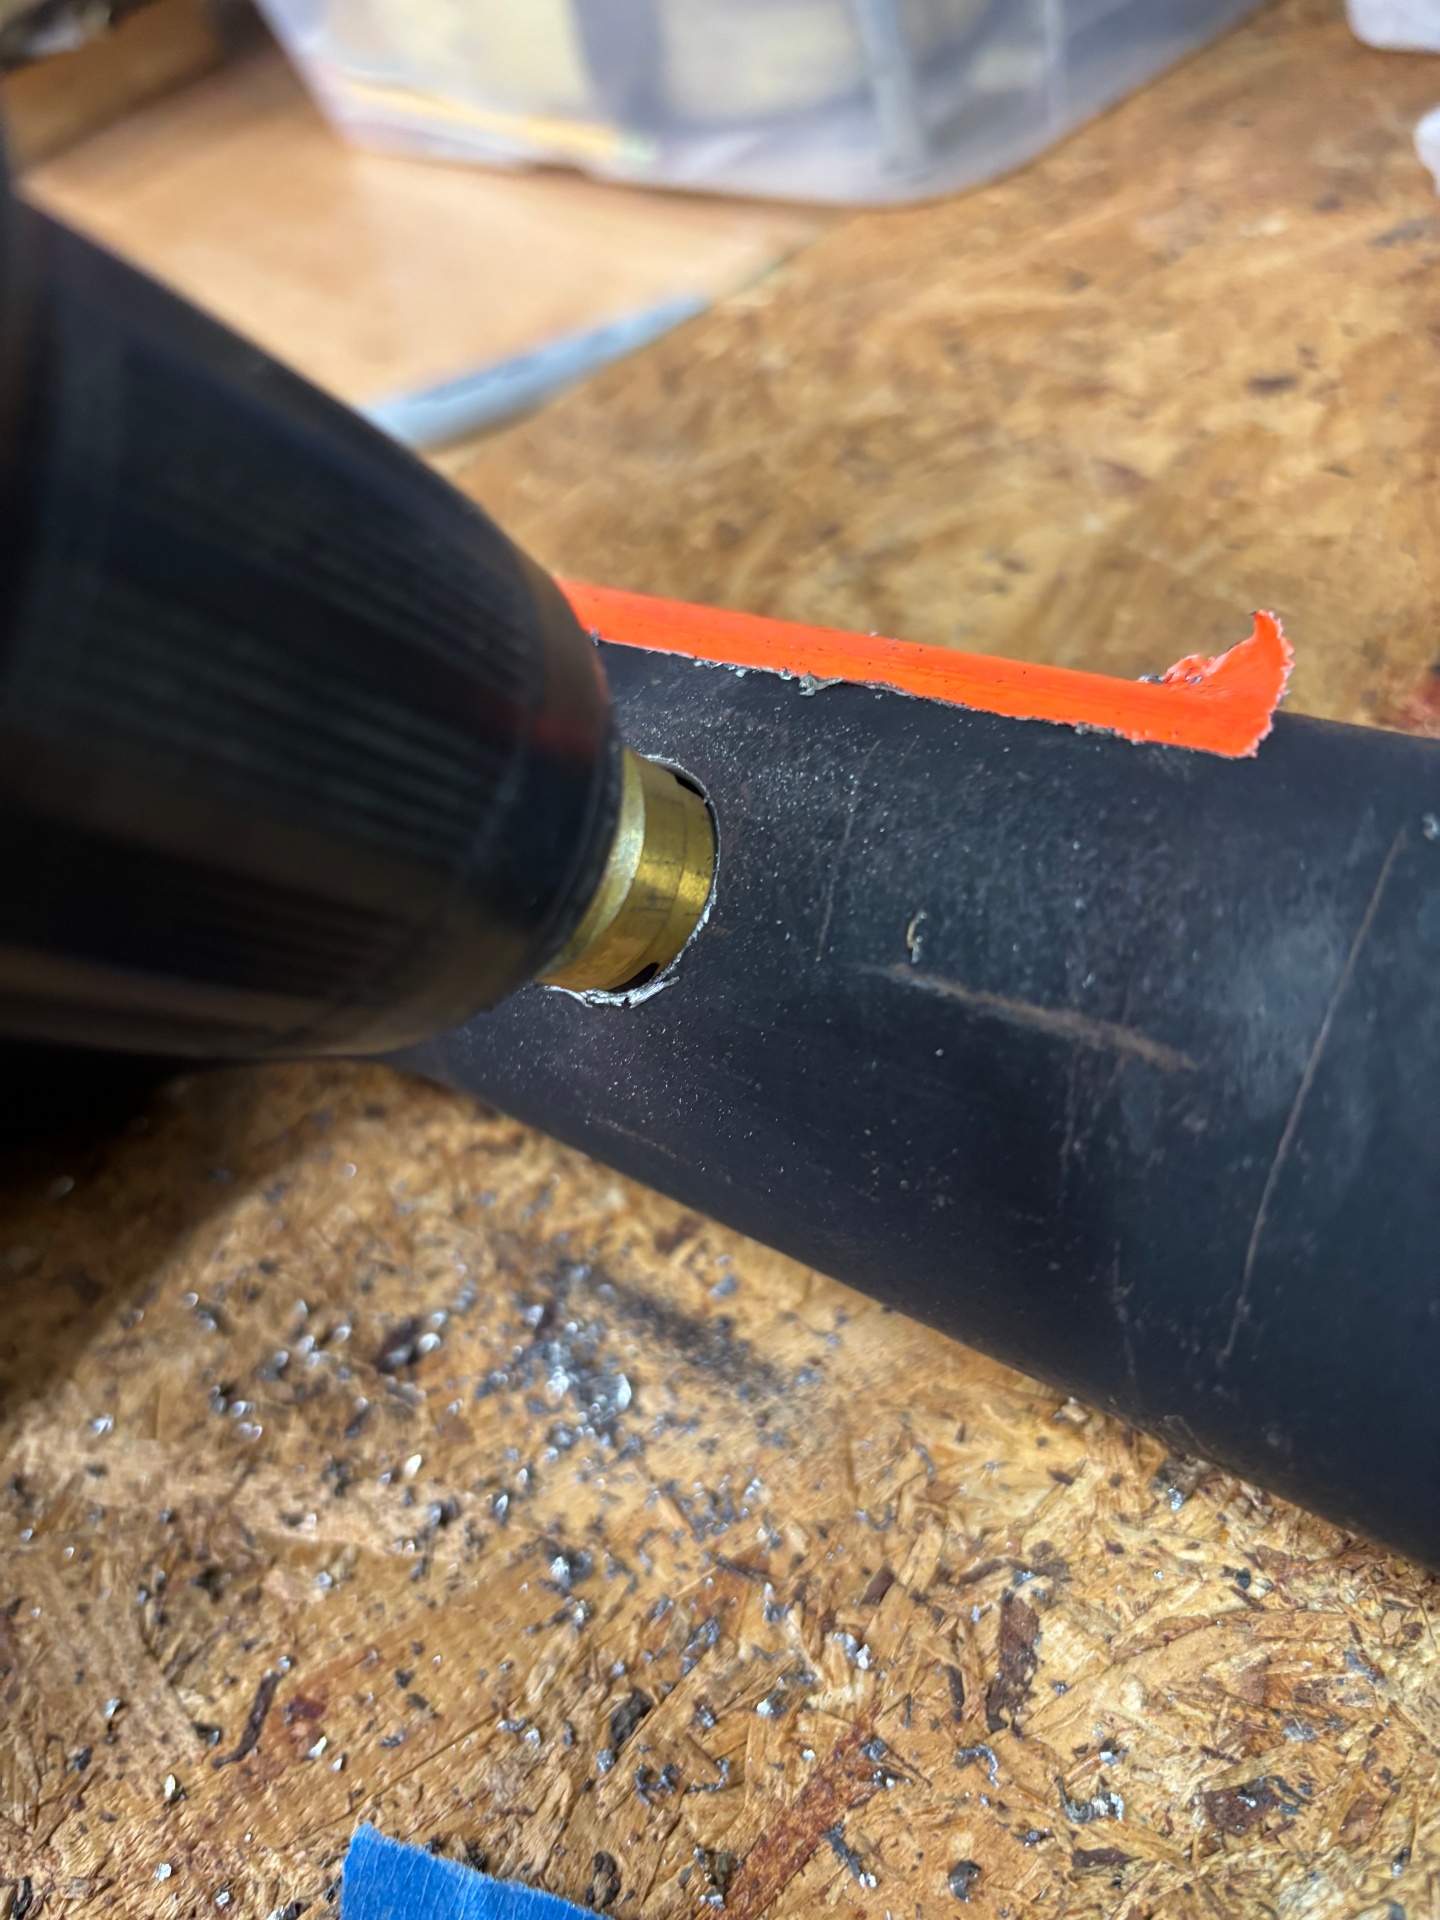
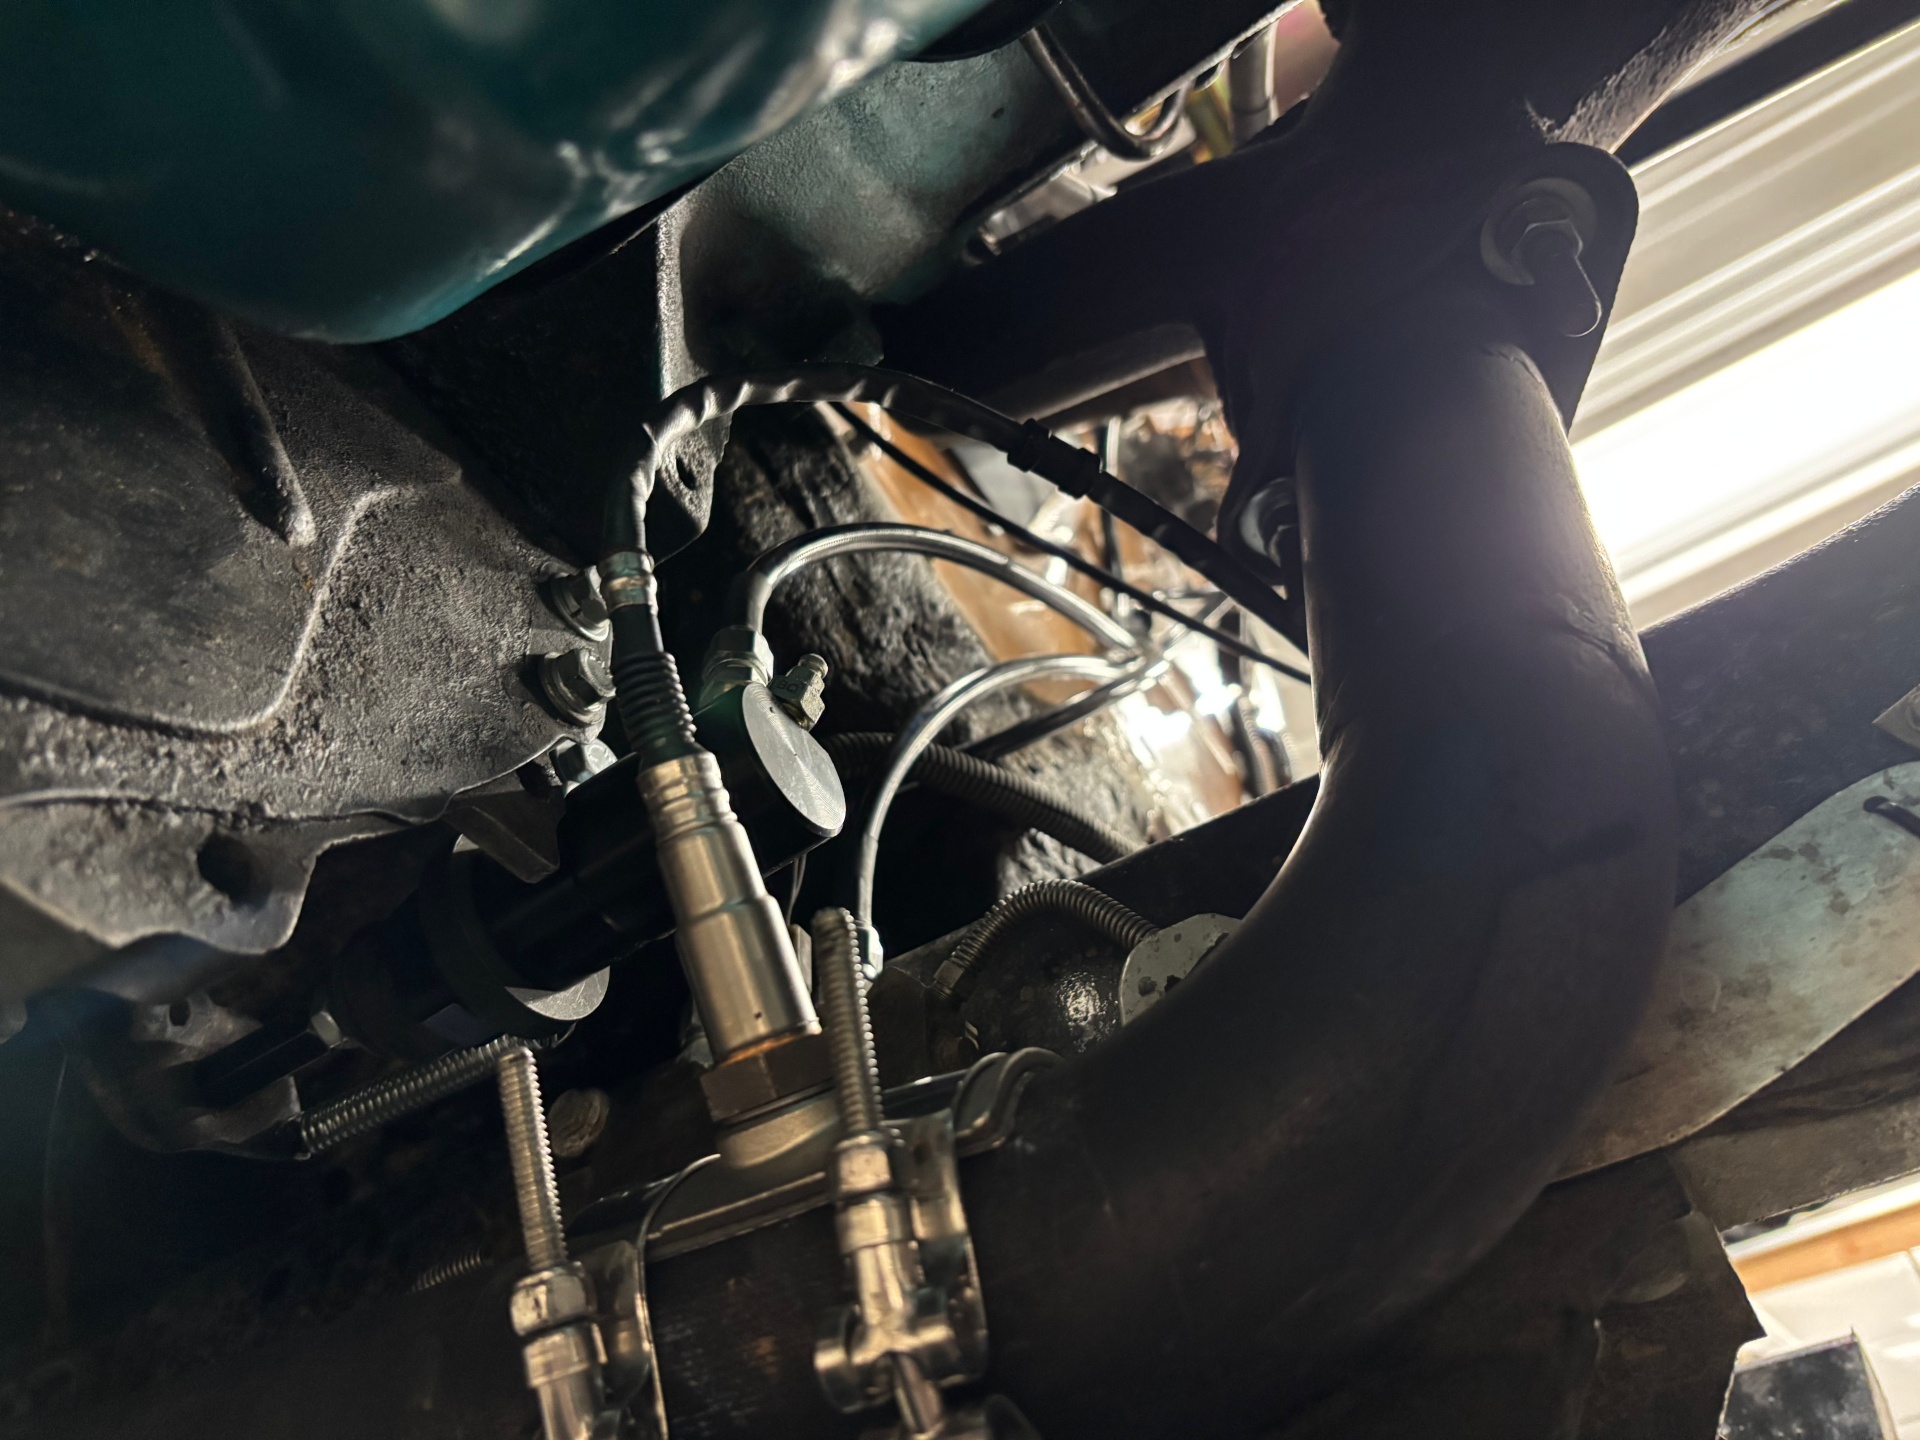
The O2 sensor reads the exhaust gas output of one of the banks of the V8. Assuming you have a healthy engine this reading should be similar in either bank. The sensor should be mounted close to the engine and in a area where there is good mixing. Like in a header collector or after the manifold. The jeepfan.com CJ currently has exhaust manifolds and the sensor being installed in the driver side lead pipe was a good location.
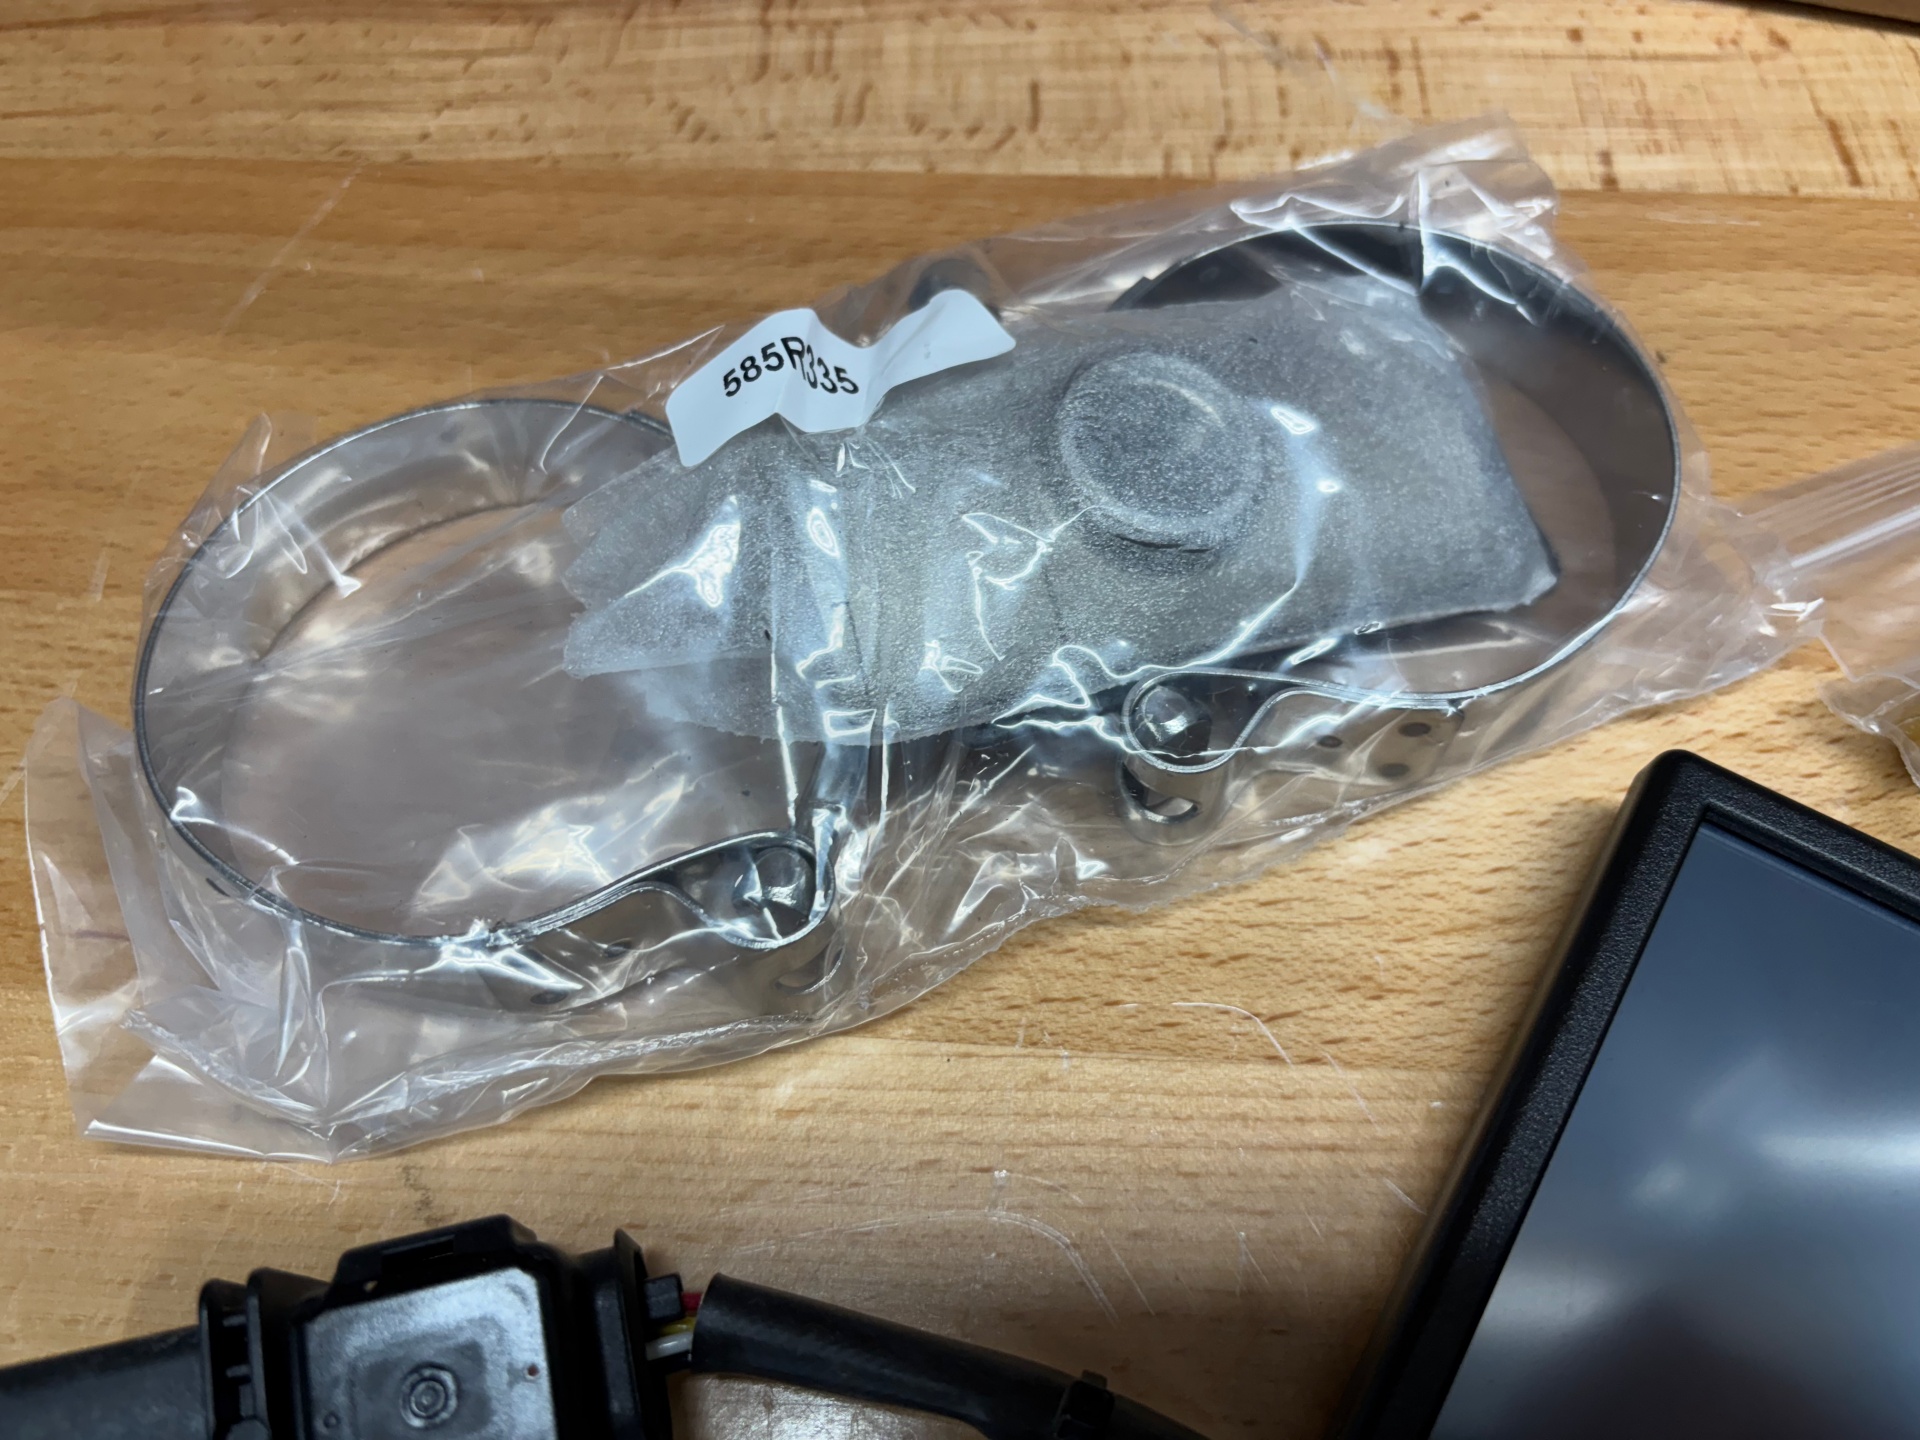
The O2 sensor comes with a clamp on bung that can be used in a permanent install. This allows installation without welding, just a hole needs to be drilled in the pipe. We marked it off and drilled. The bung and gasket were installed and clamped down. The Y pipe was re-installed into the Jeep and the O2 sensor was threaded in and wired up.


Sniper Display
The sniper comes with a display that can give you all kinds of information about the current state of the EFI and allow adjustments. The wiring is usually run into the driver area and the display can be mounted in any way that suits you. We had a small magnetic mount that we mounted to the display cradle. This allows us to stick the display to the Jeep’s dash for easy view.
Display Pics Coming Soon
Fuel System
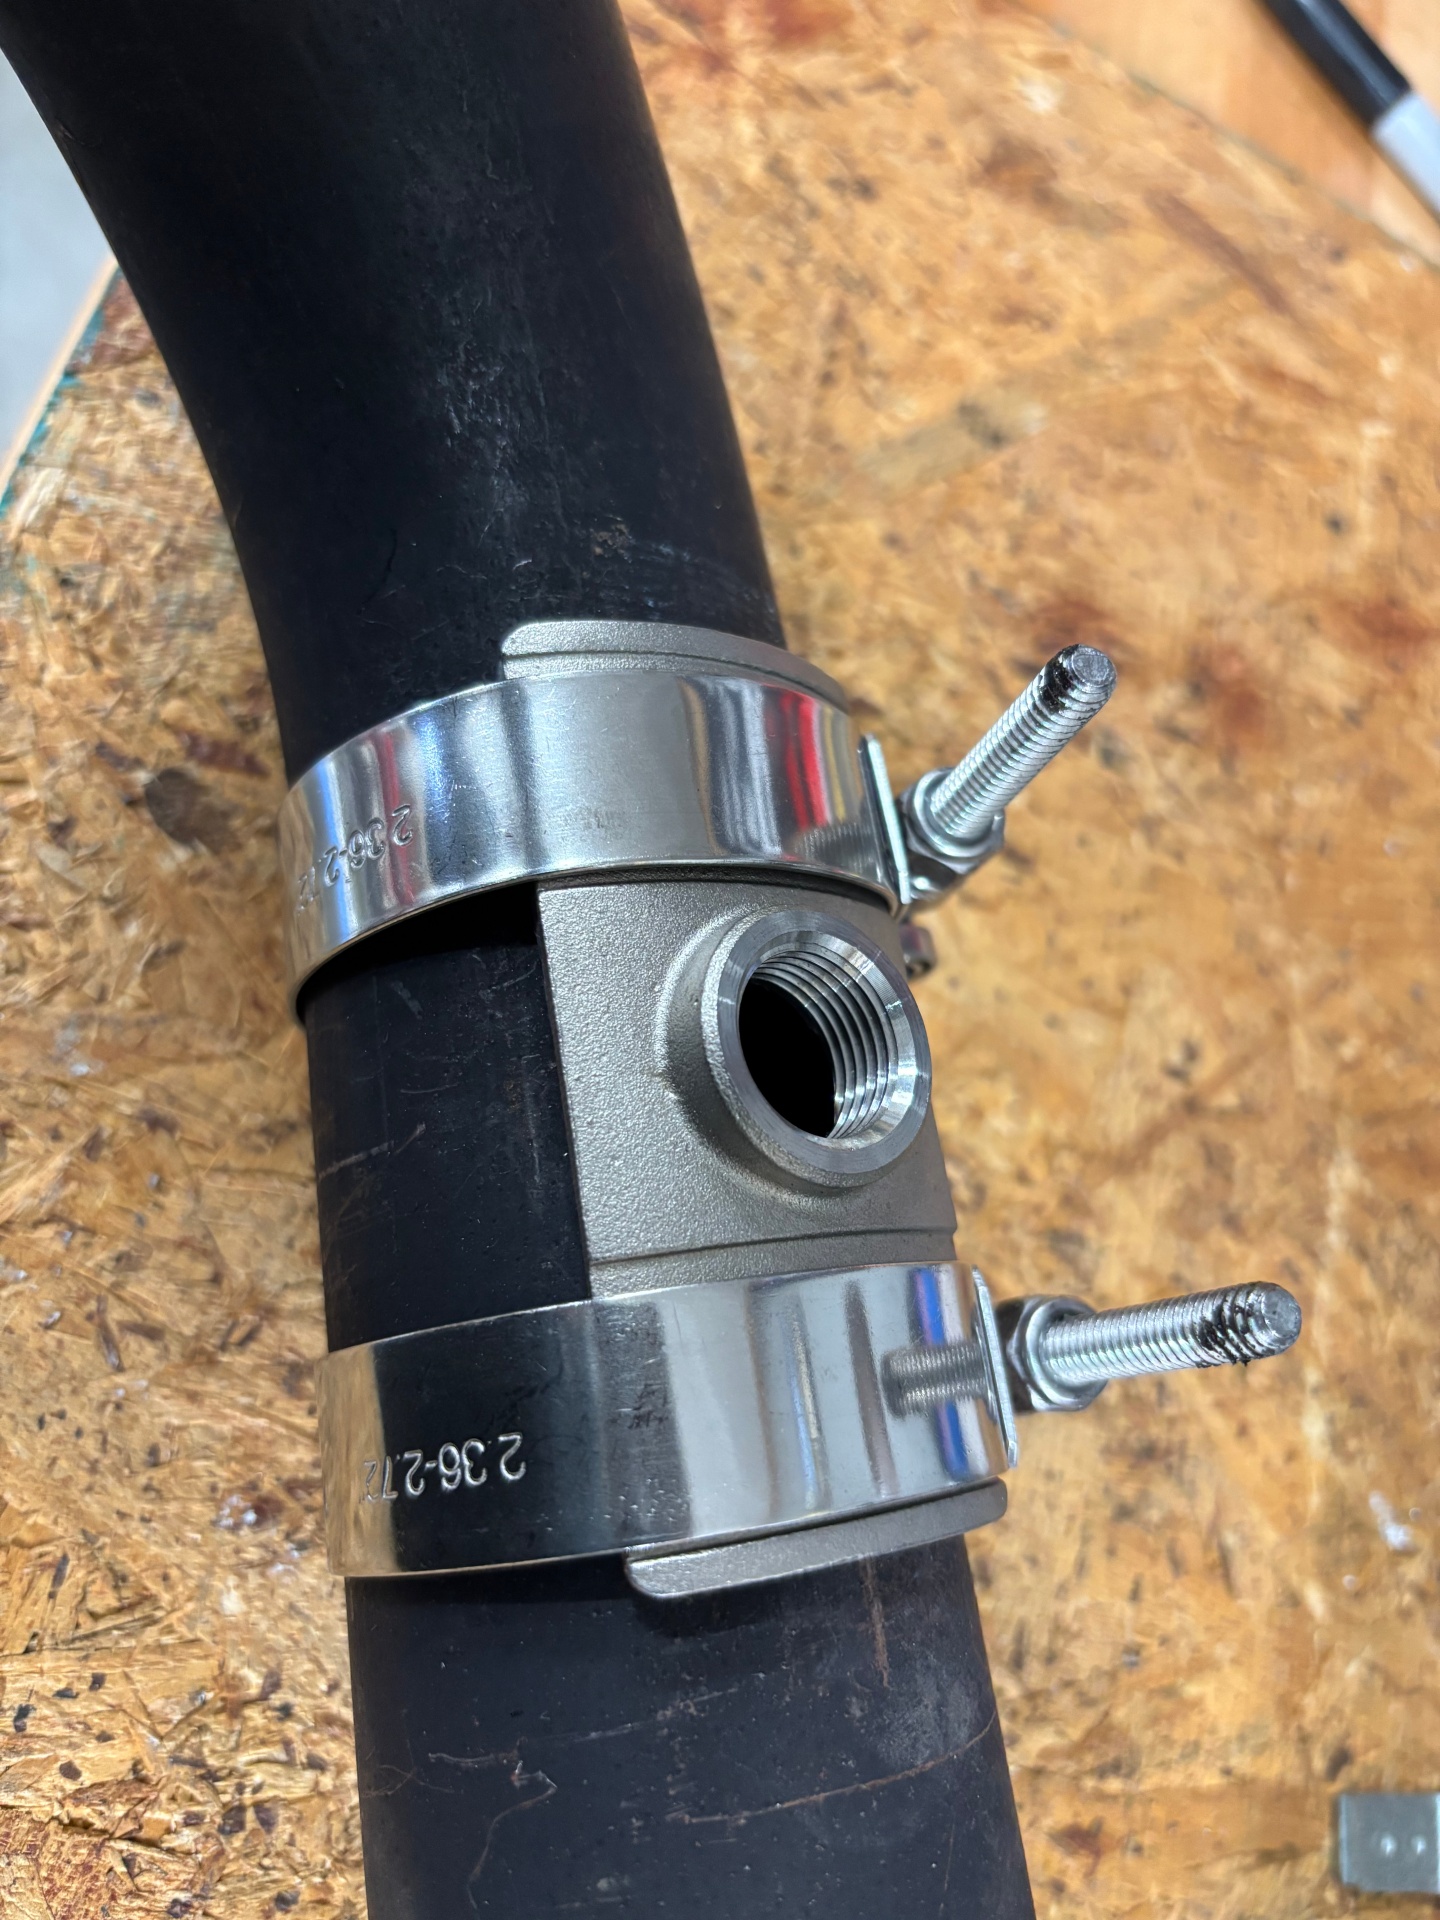
There was a lot of rumination about this part of the install. The old fuel lines were not going to work for this in a few ways. There was breaks in the line for the old electric fuel pump and the line was 5/16″. The Sniper requires 3/8″ line and we didn’t want clamps or extra sections along the way.
Originally hard line the whole way was considered but running hard line on an assembled vehicle can be a challenge so other options were considered. In the end we used PTFE fuel line from Evil Energy. This kind of line is made from Polytetrafluoroethylene (PTFE) material, which offers excellent temperature resistance, corrosion resistance, and pressure endurance. The Evil Energy lines use a PTFE core, stainless braided interior lining with a nylon braided outer lining. PTFE isn’t vapor permeable like rubber lines which means no odor.
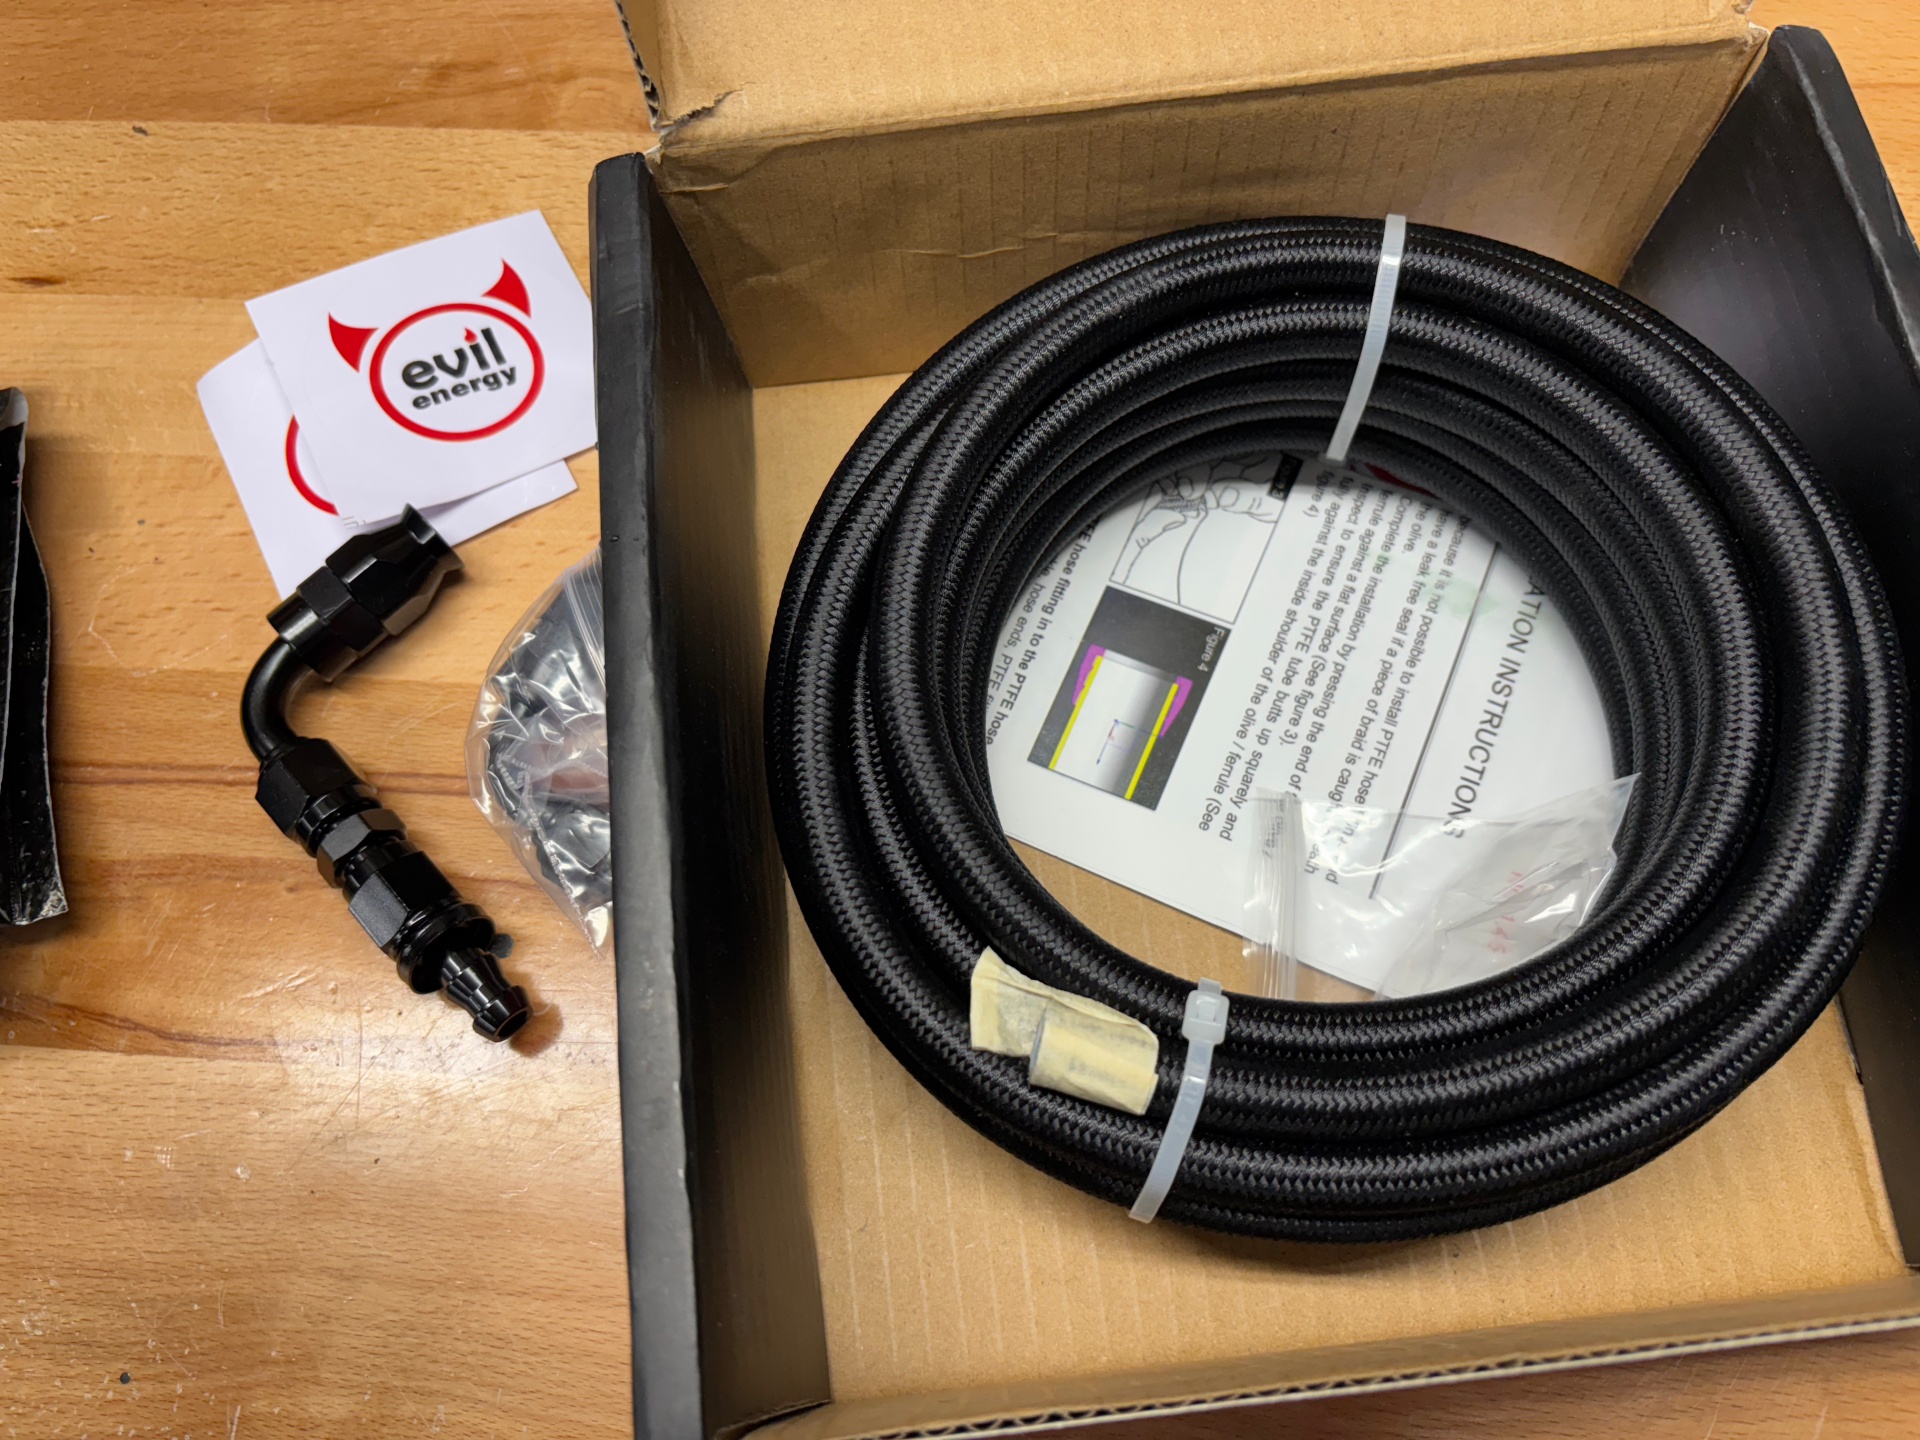
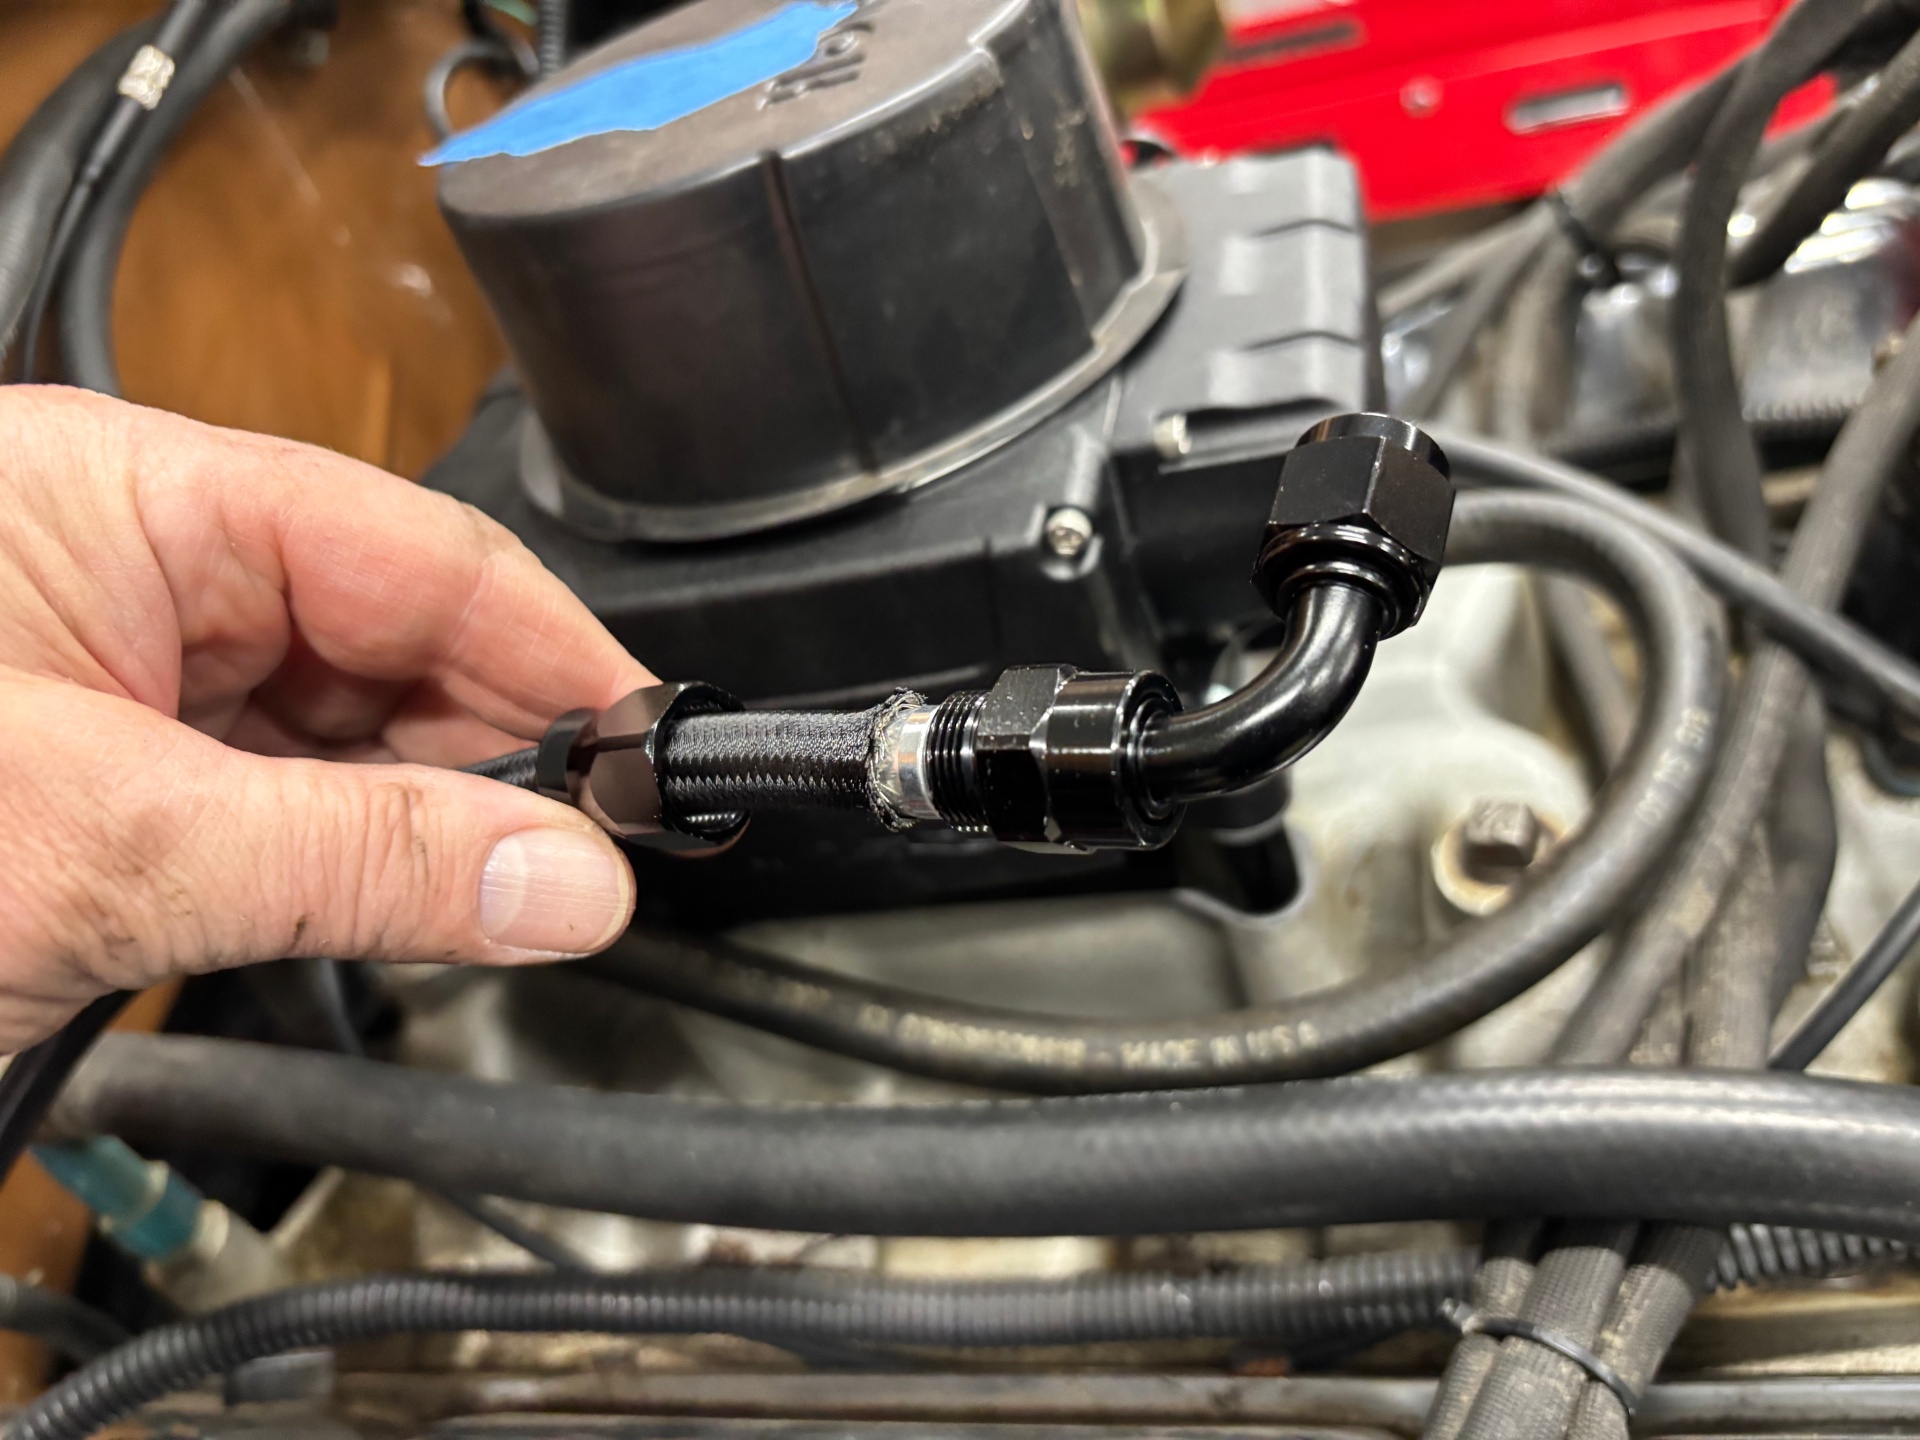
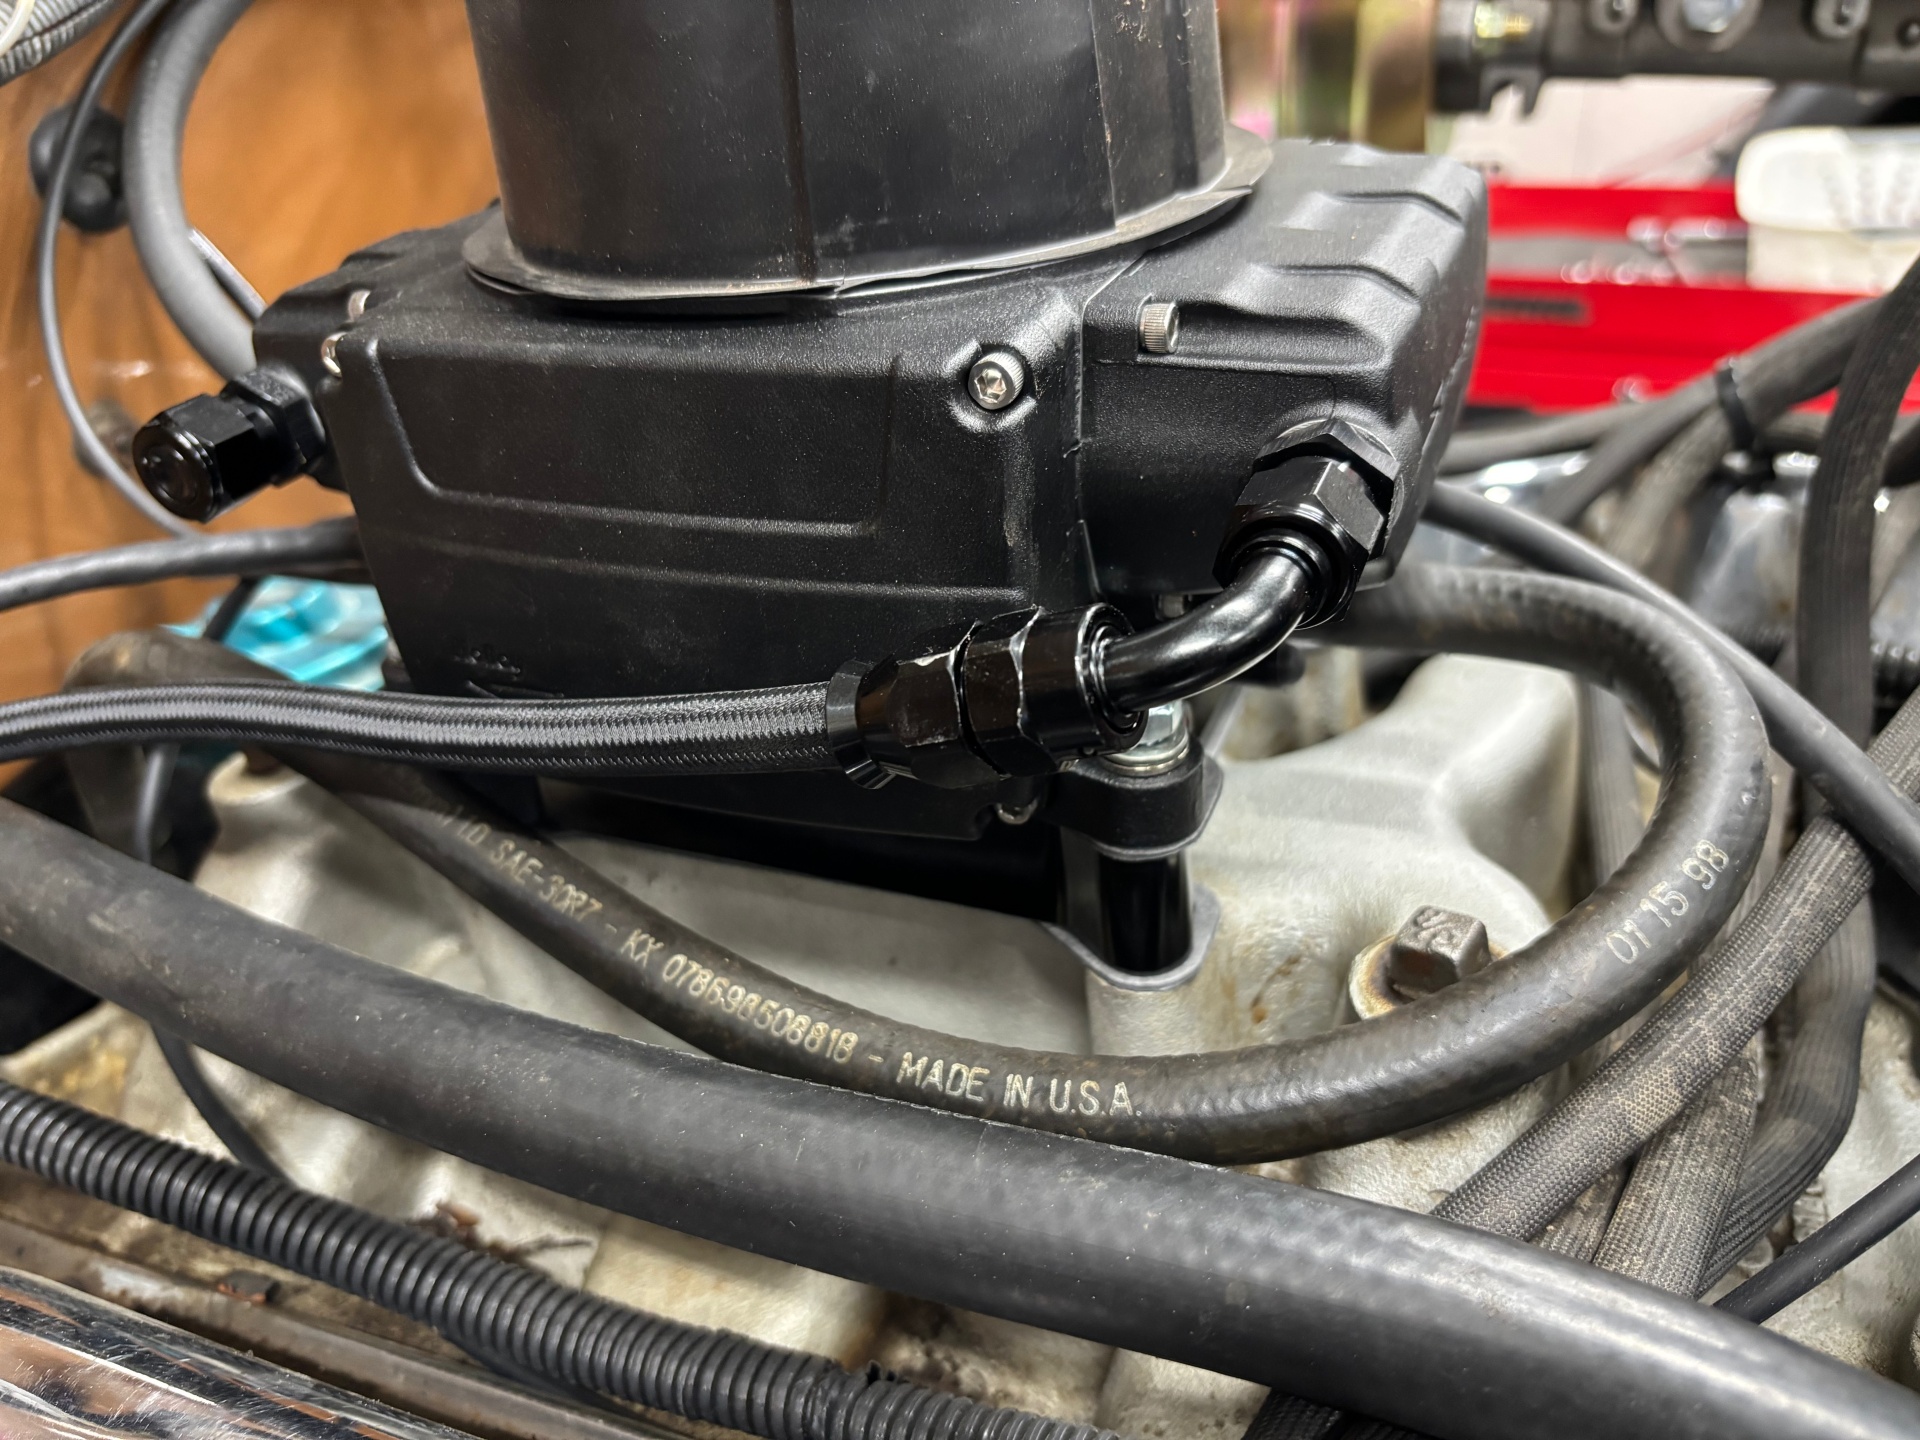
These 3/8″ lines use the Evil Energy 6AN fittings for a secure fit that will easily tolerate the high pressure fuel pump. The Sniper setup we are running uses a Jeep specific in tank fuel pump with a built in regulator/return. This holley pump only needs a supply line needs to be run to the throttle body – no return line needed.
Many Jeeps of the AMC era use fuel lines mounted on the driver side. On the jeepfan.com CJ the line was run up the passenger side of the frame and up the firewall ending at the throttle body. The passenger side is the same side as the ports on the throttle body and there’s no exhaust on that side to prevent heat issues. The Evil Energy line and fittings are well made and installed easily. To jump ahead a bit, we had no leaks after installation.
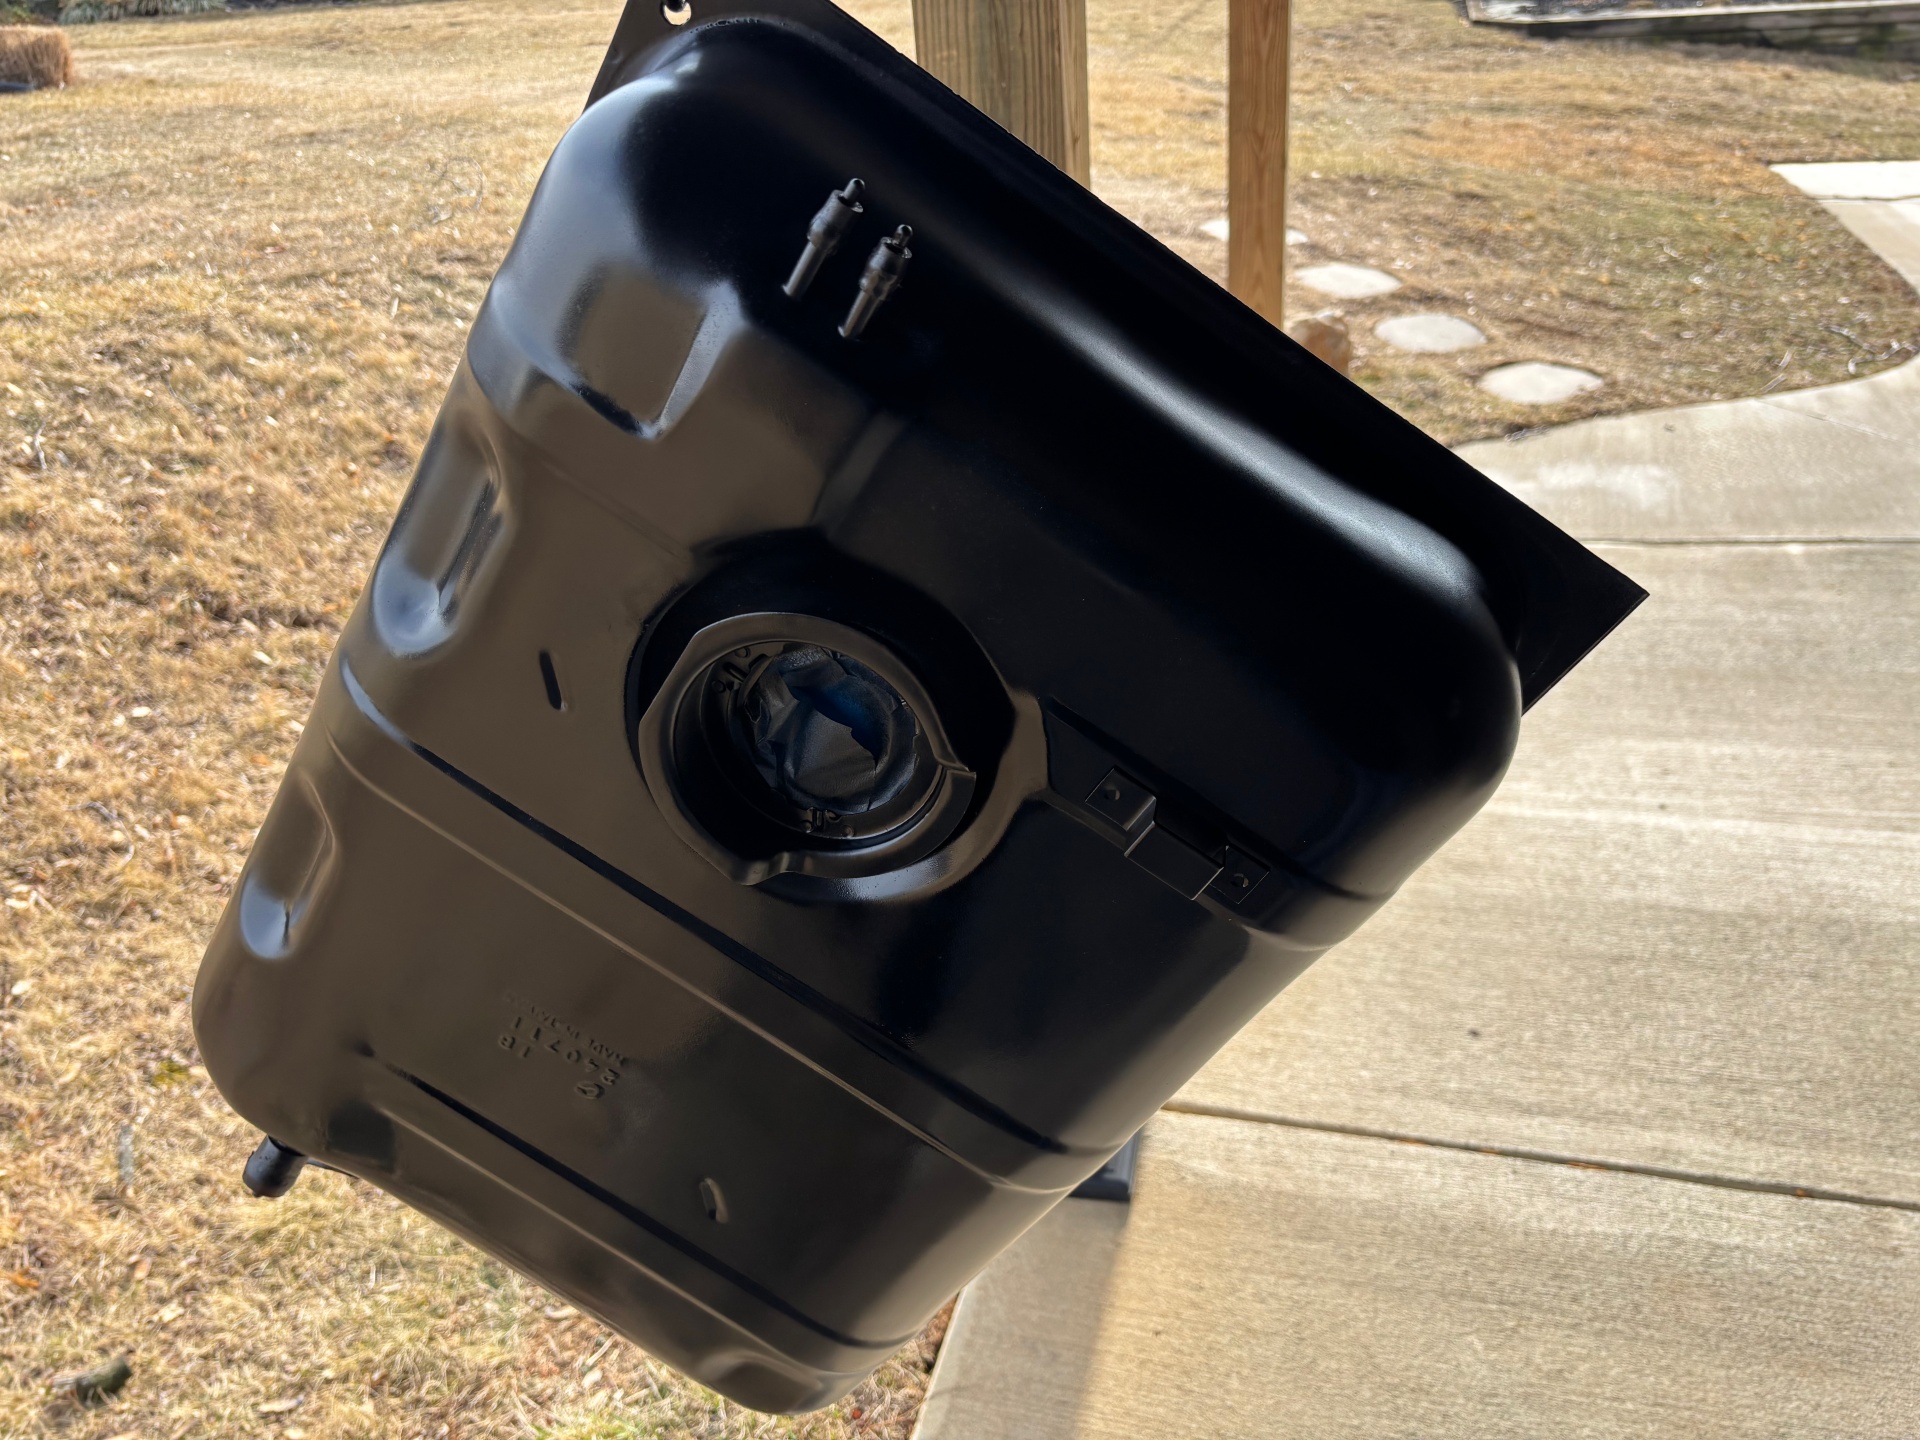
Fuel Tank
We ordered a Jeep 15 gallon tank that is a Holley part number. The tank seems similar to a stock Jeep tank and the cost was similar. With the old tank out it was just a bit of prep to get the tank ready for the fuel pump unit. A nice paint job followed by the pump installation made the tank ready for install. There’s some specific instructions for installing the pump, make sure you follow them.
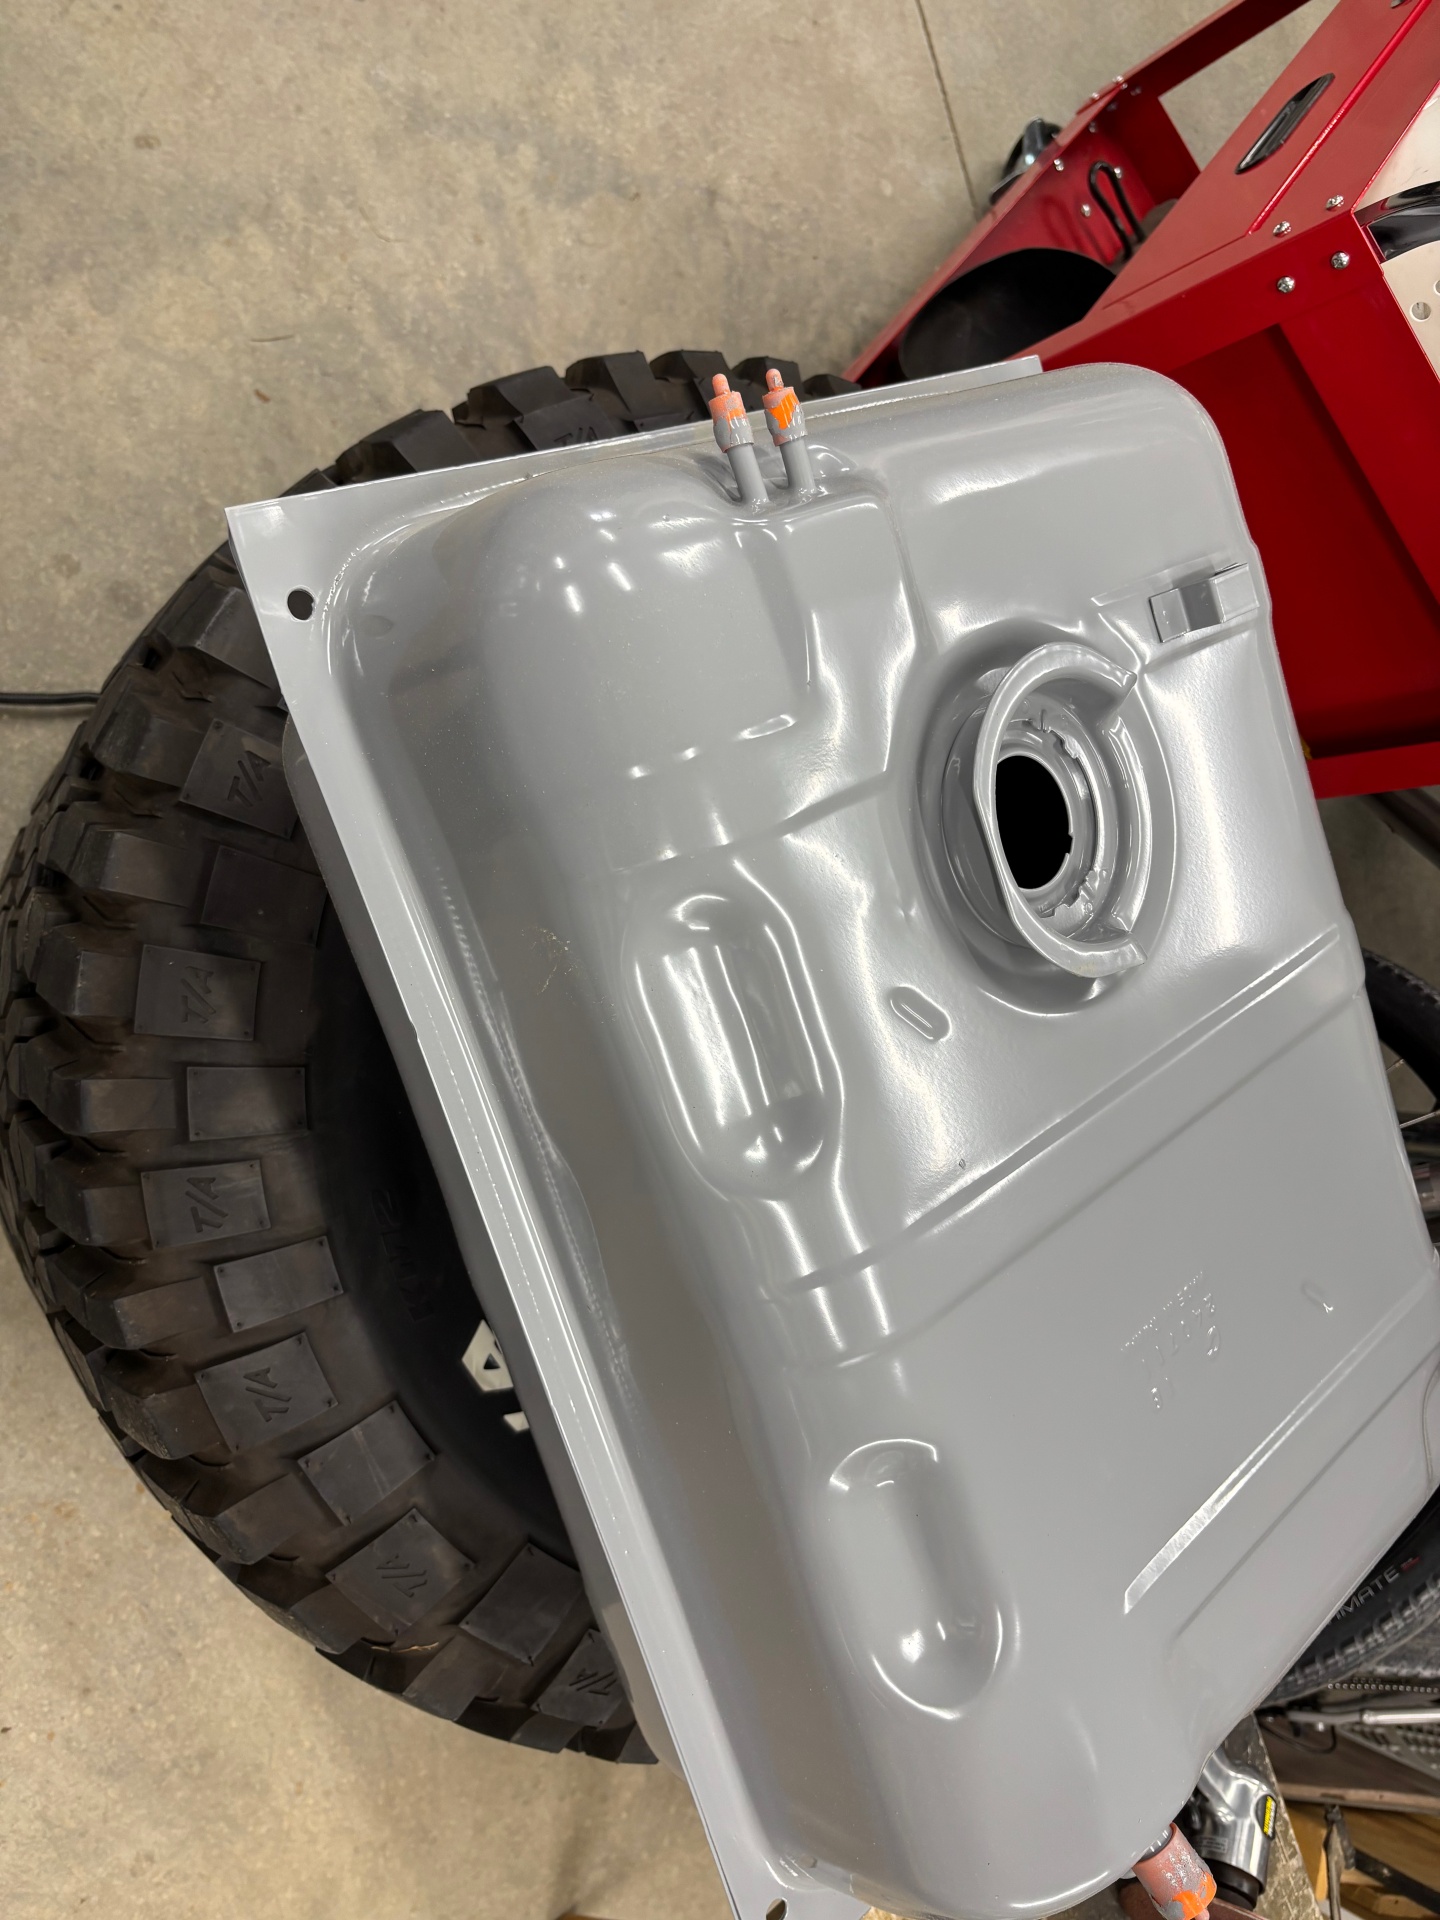
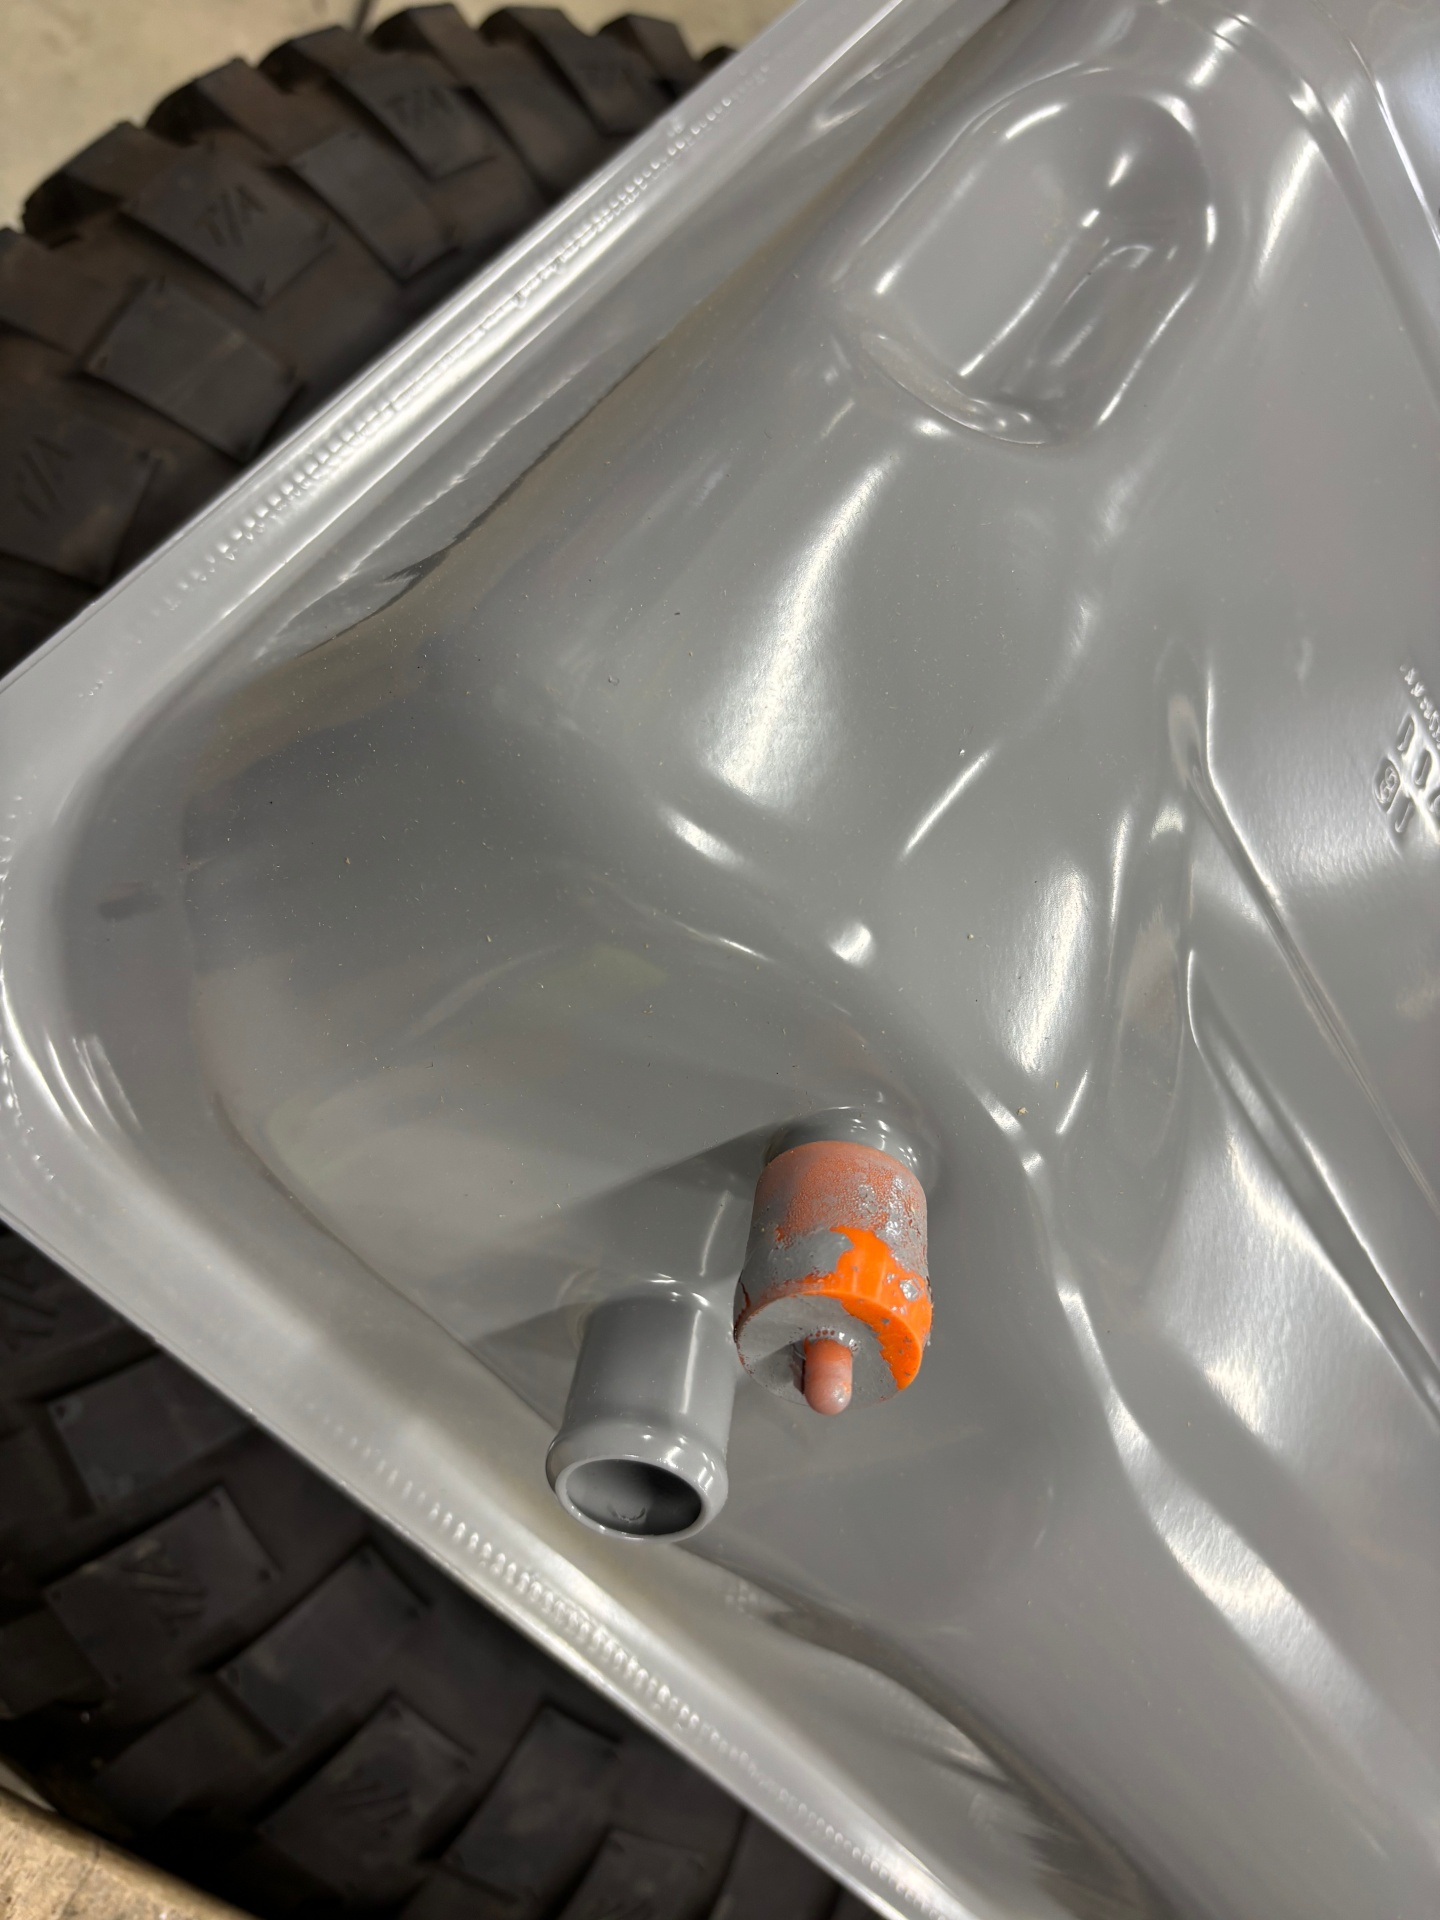
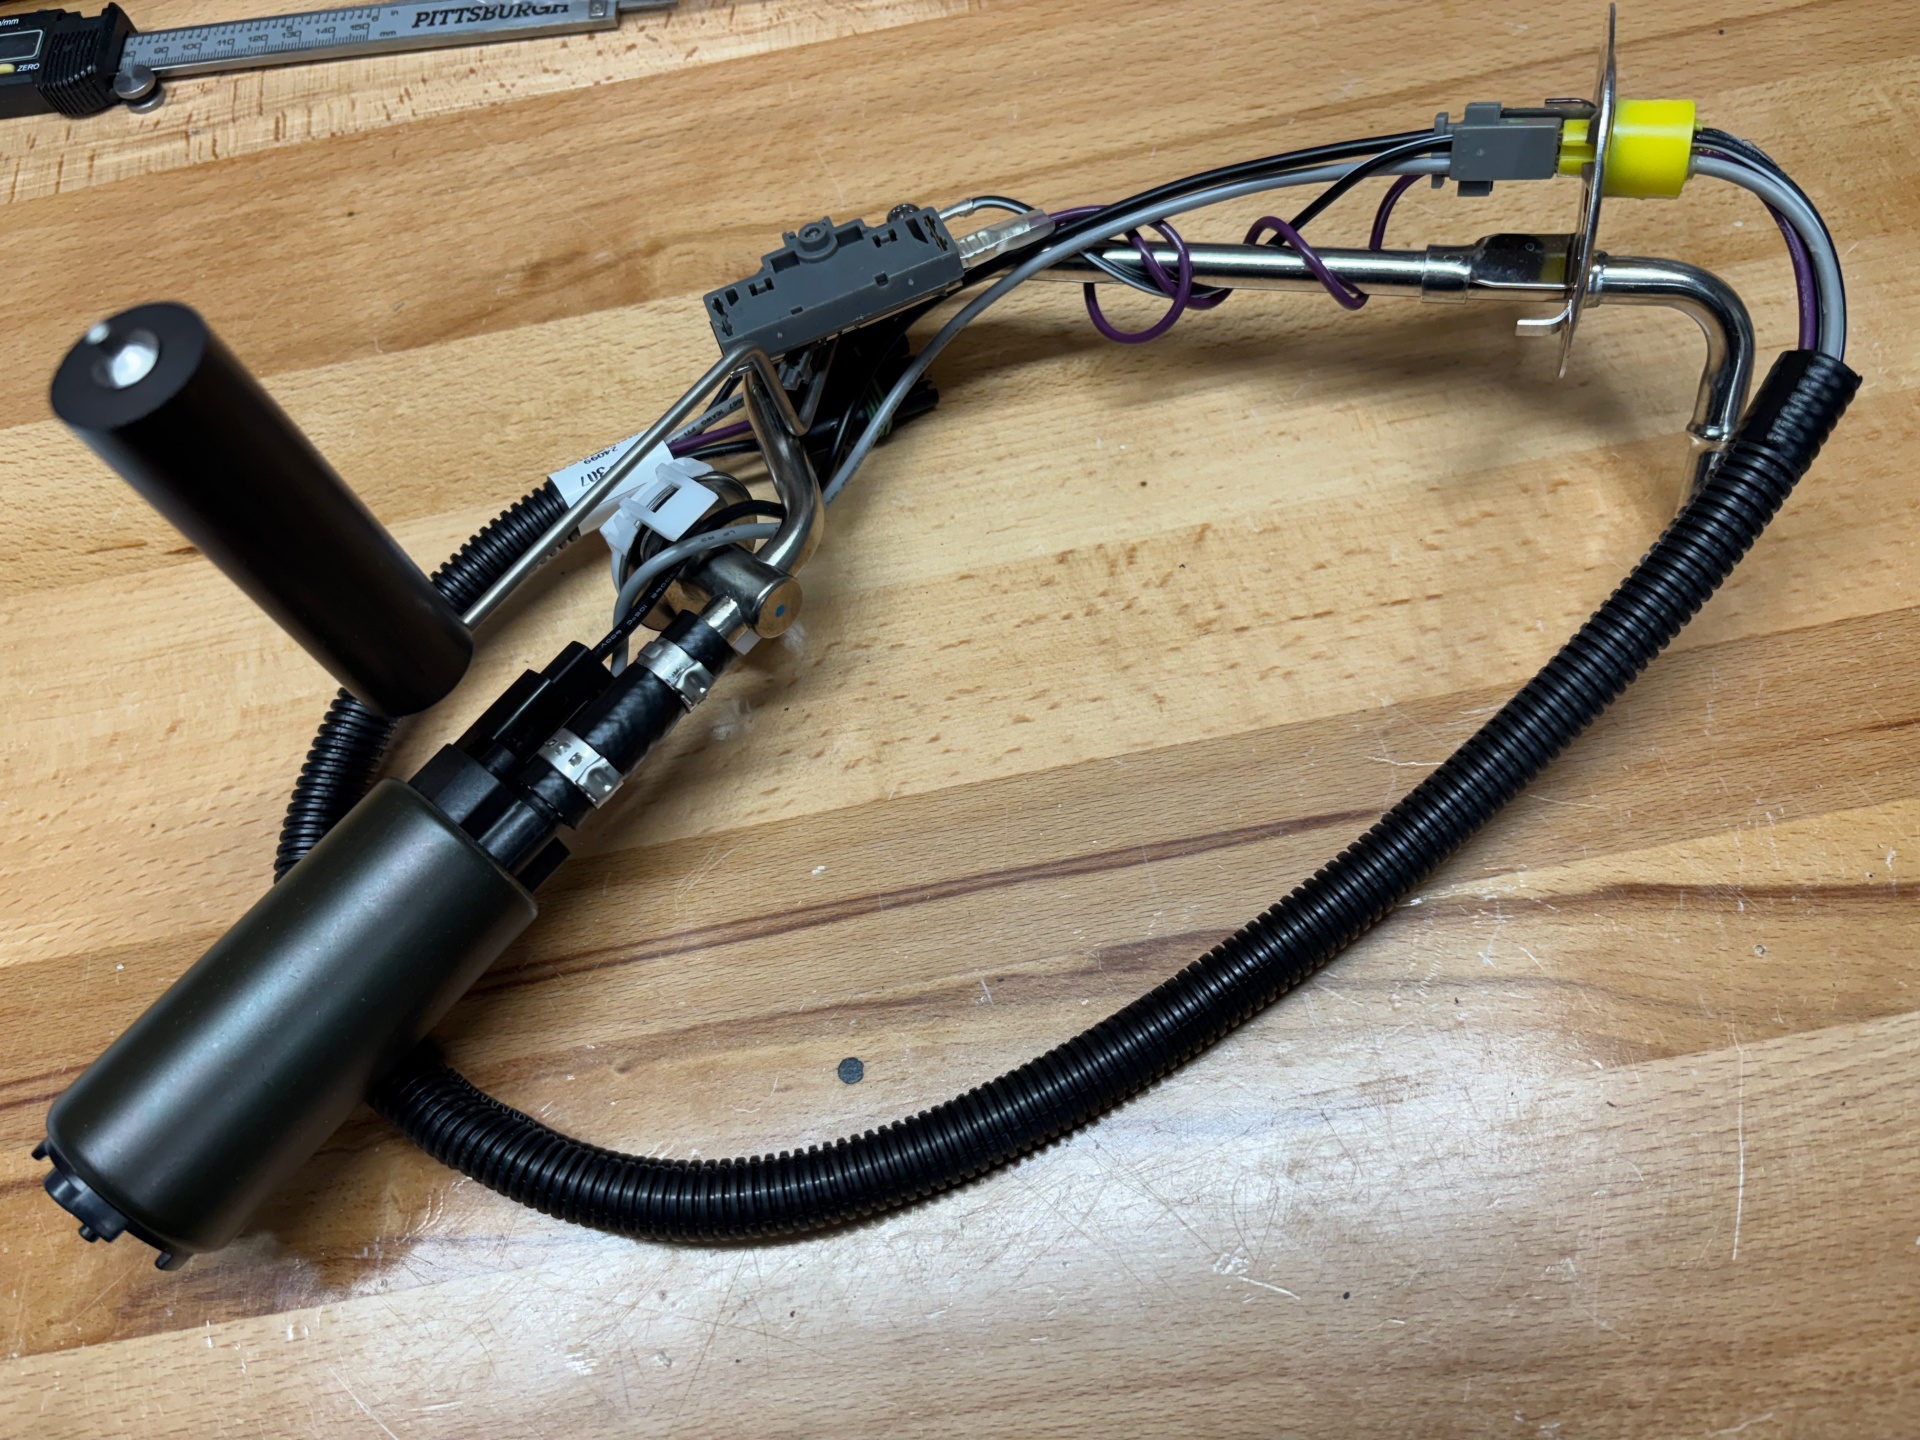
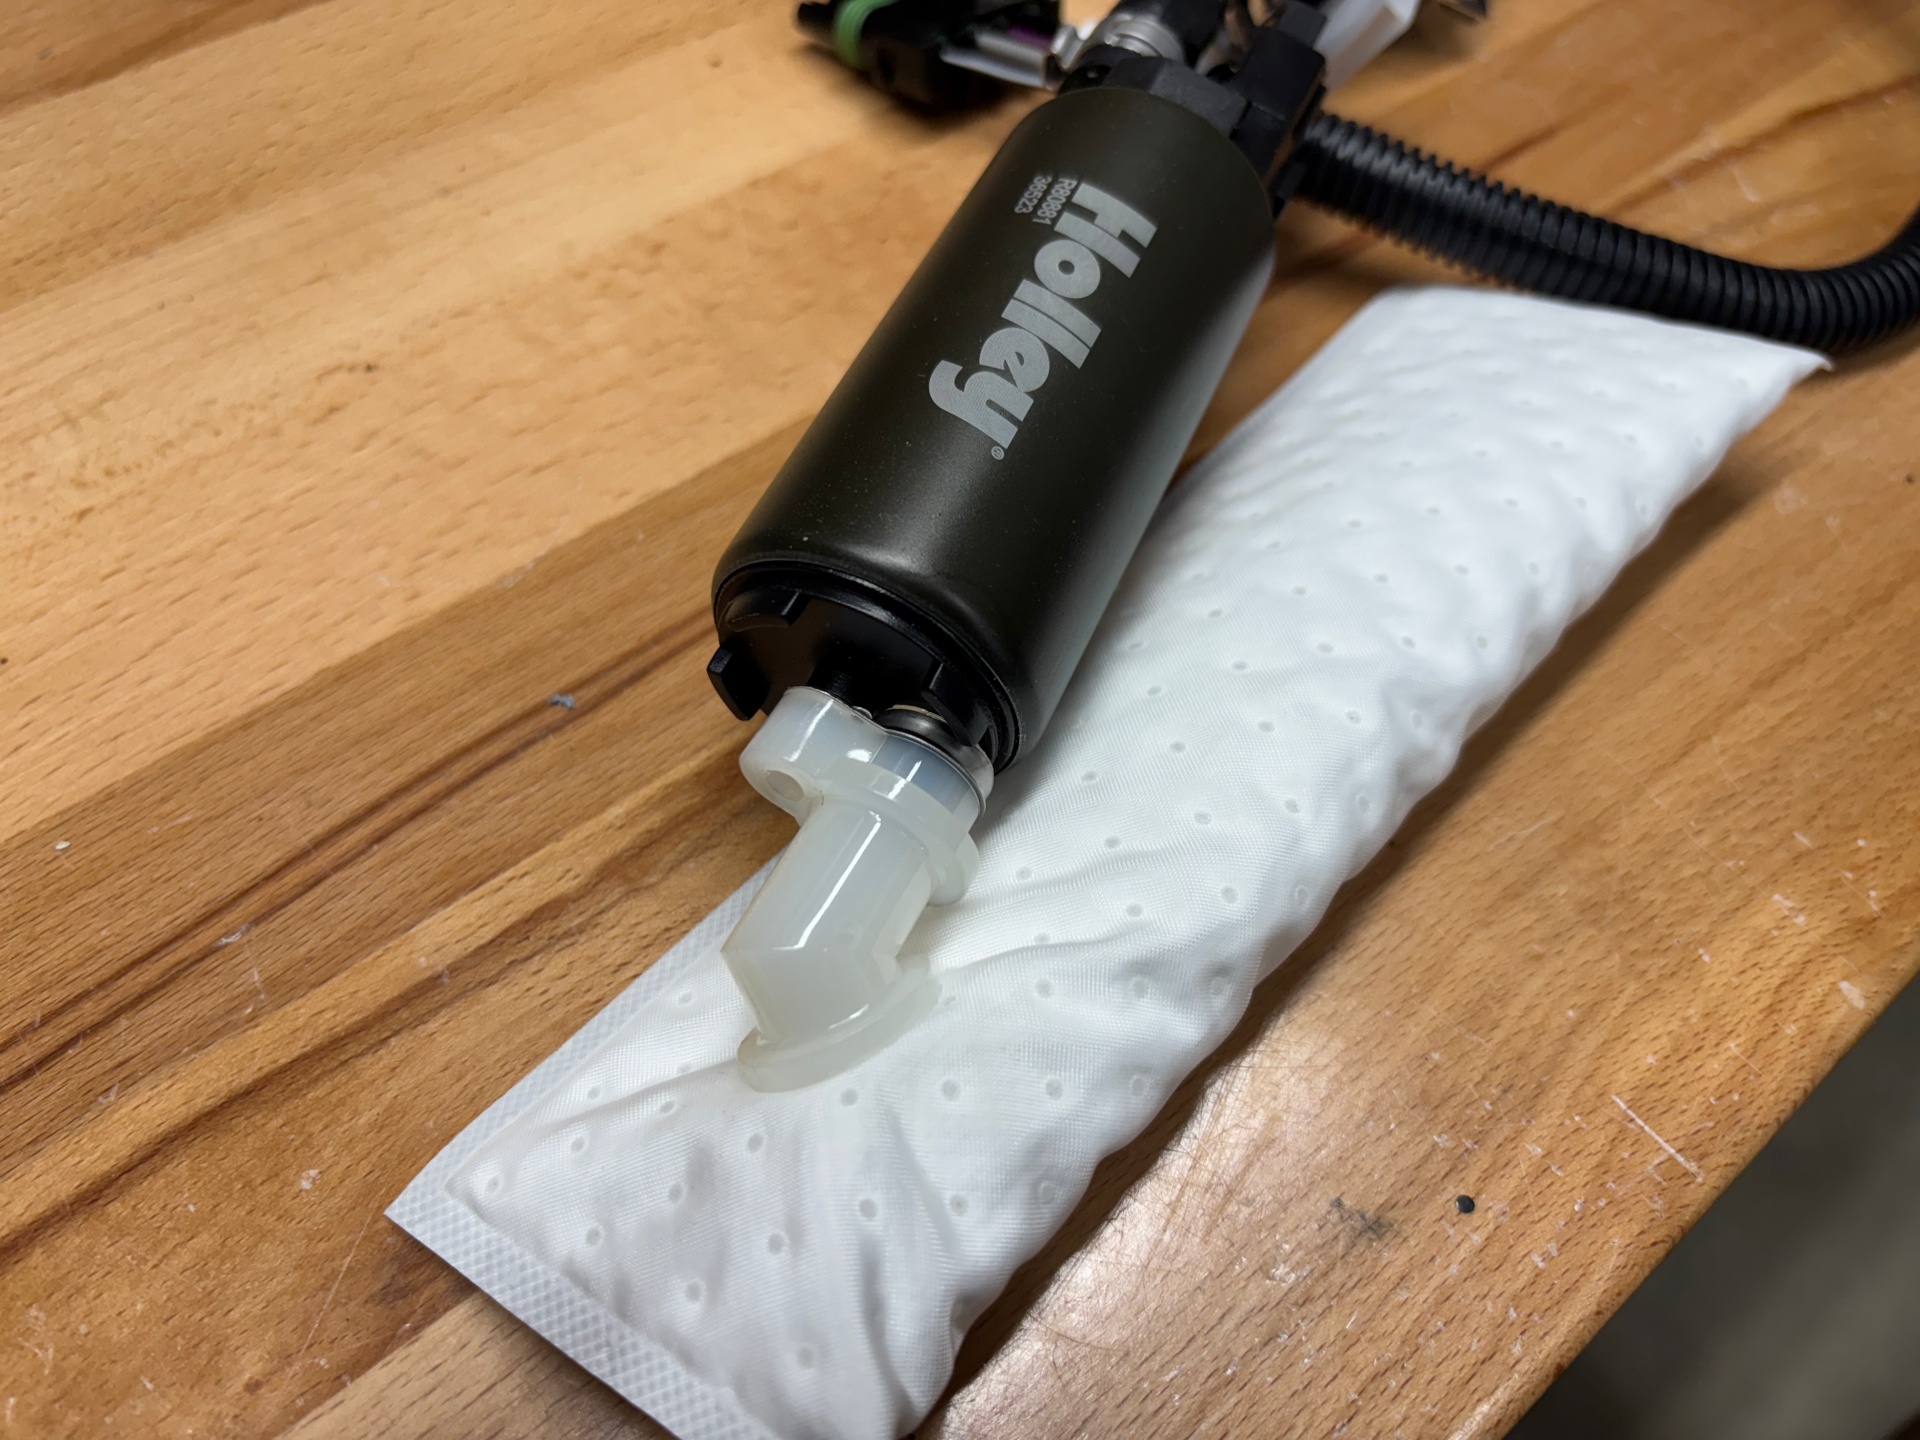
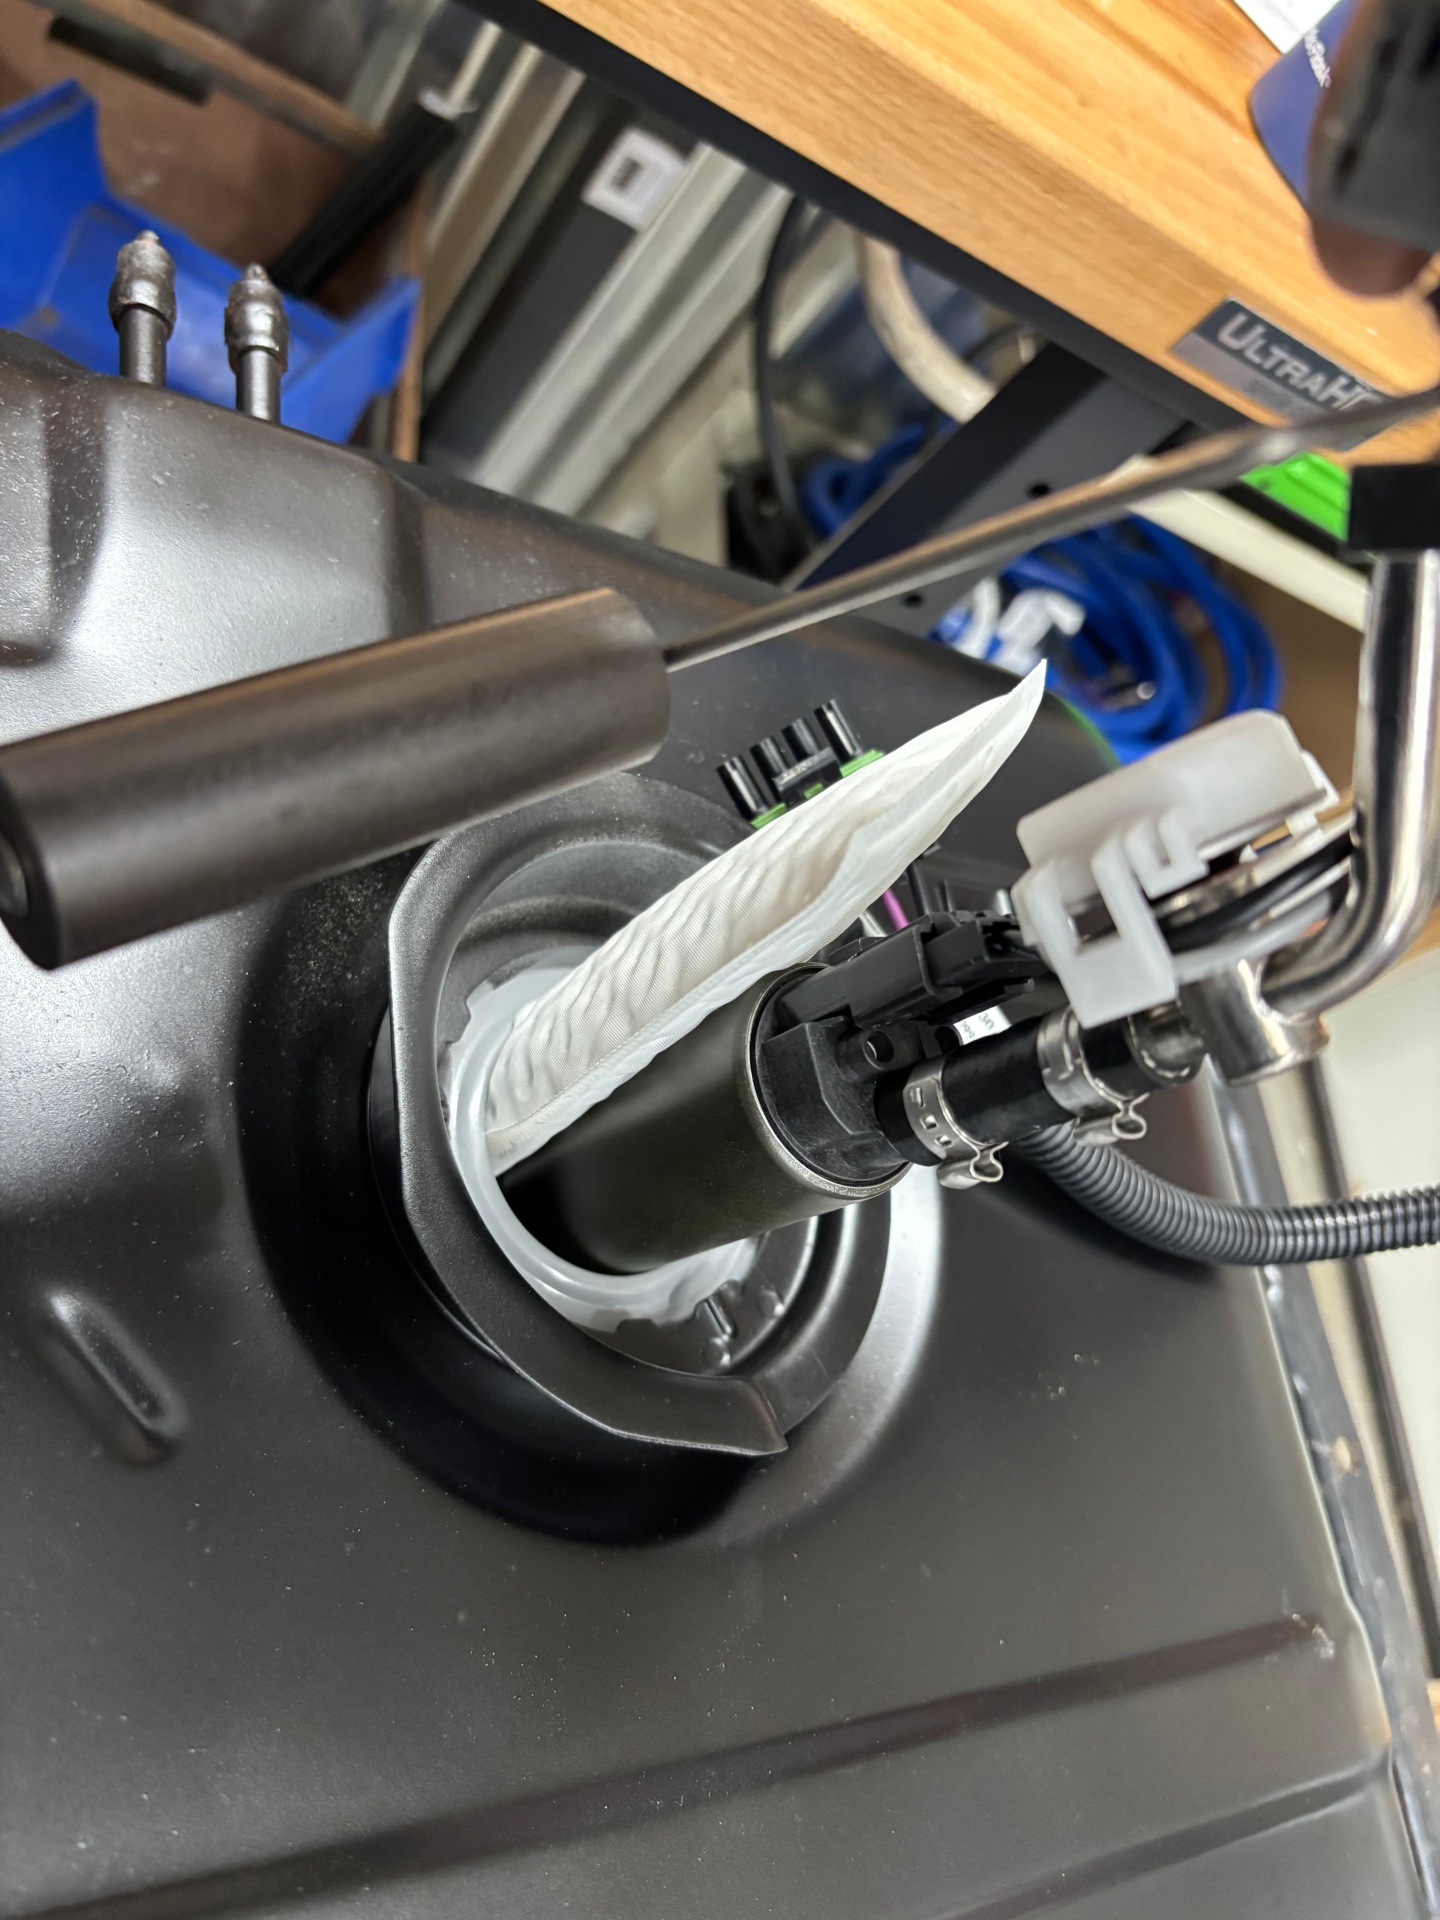
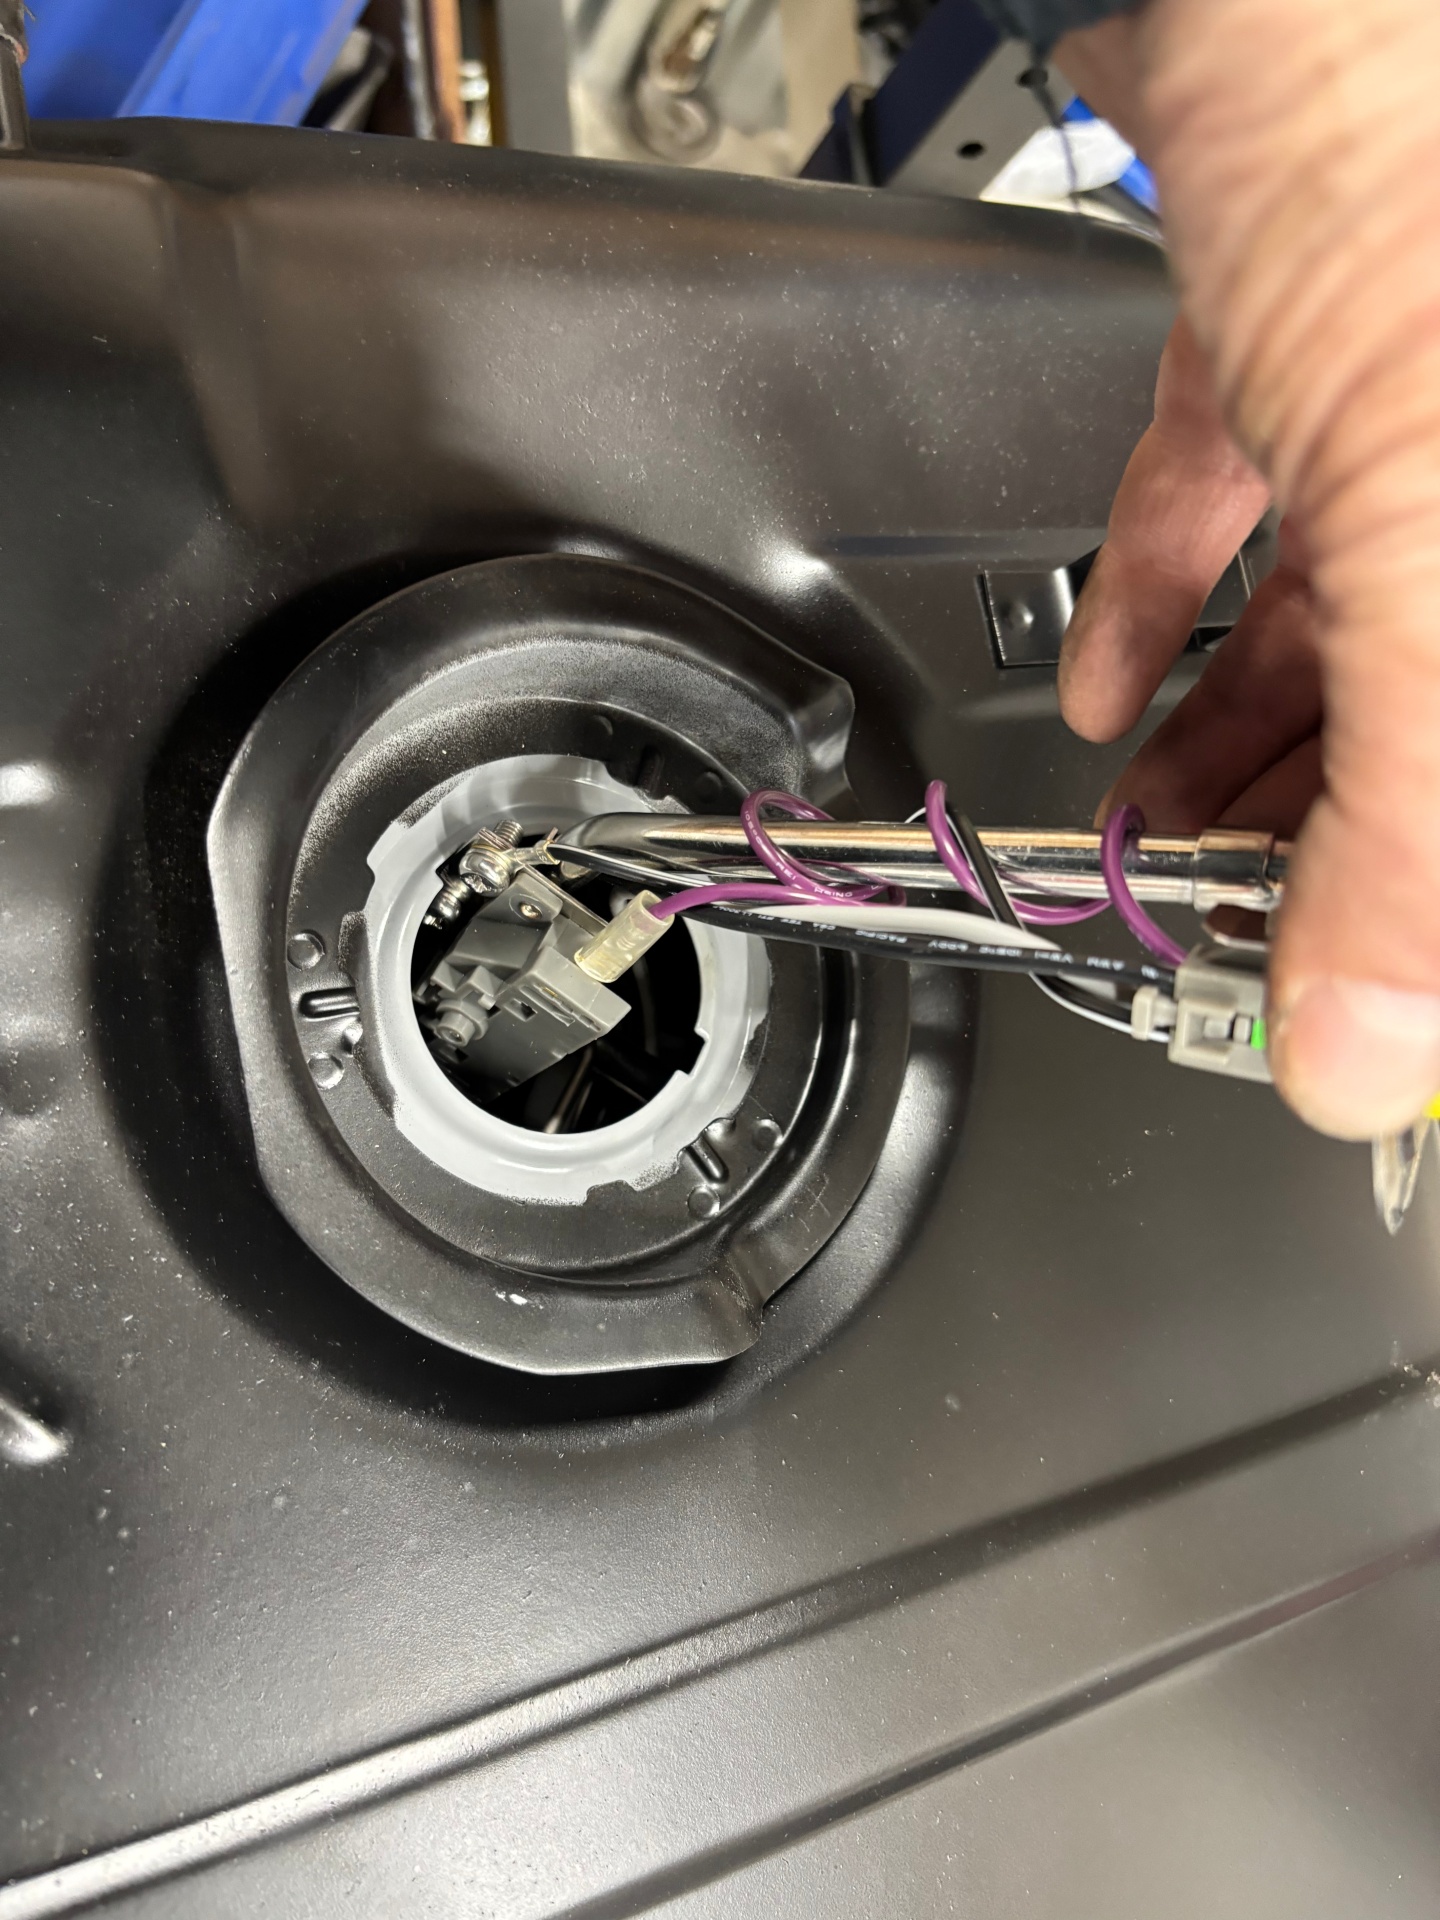
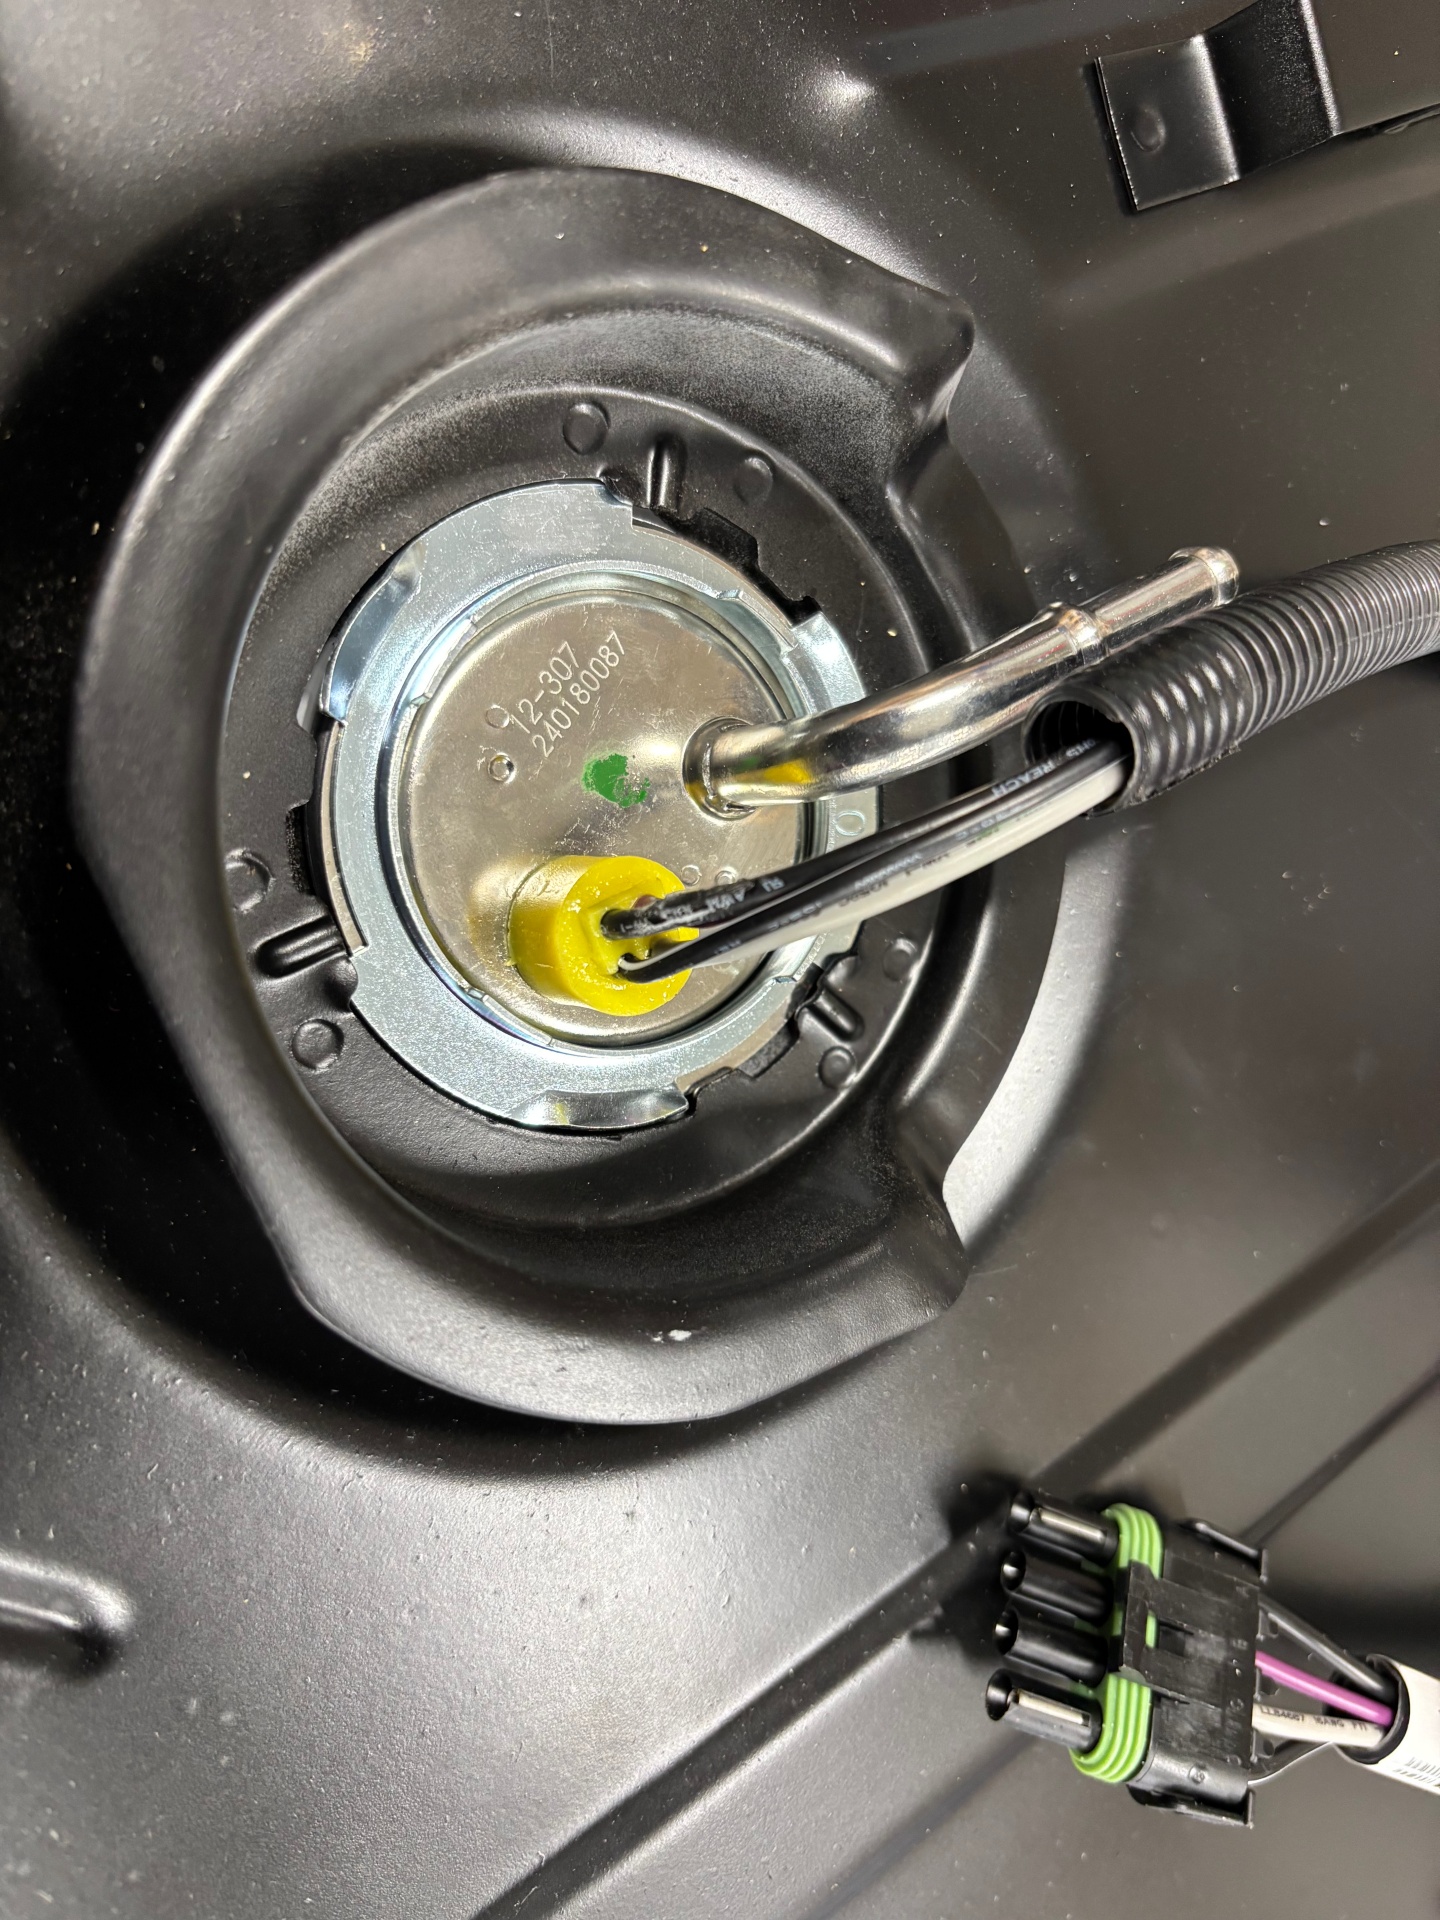
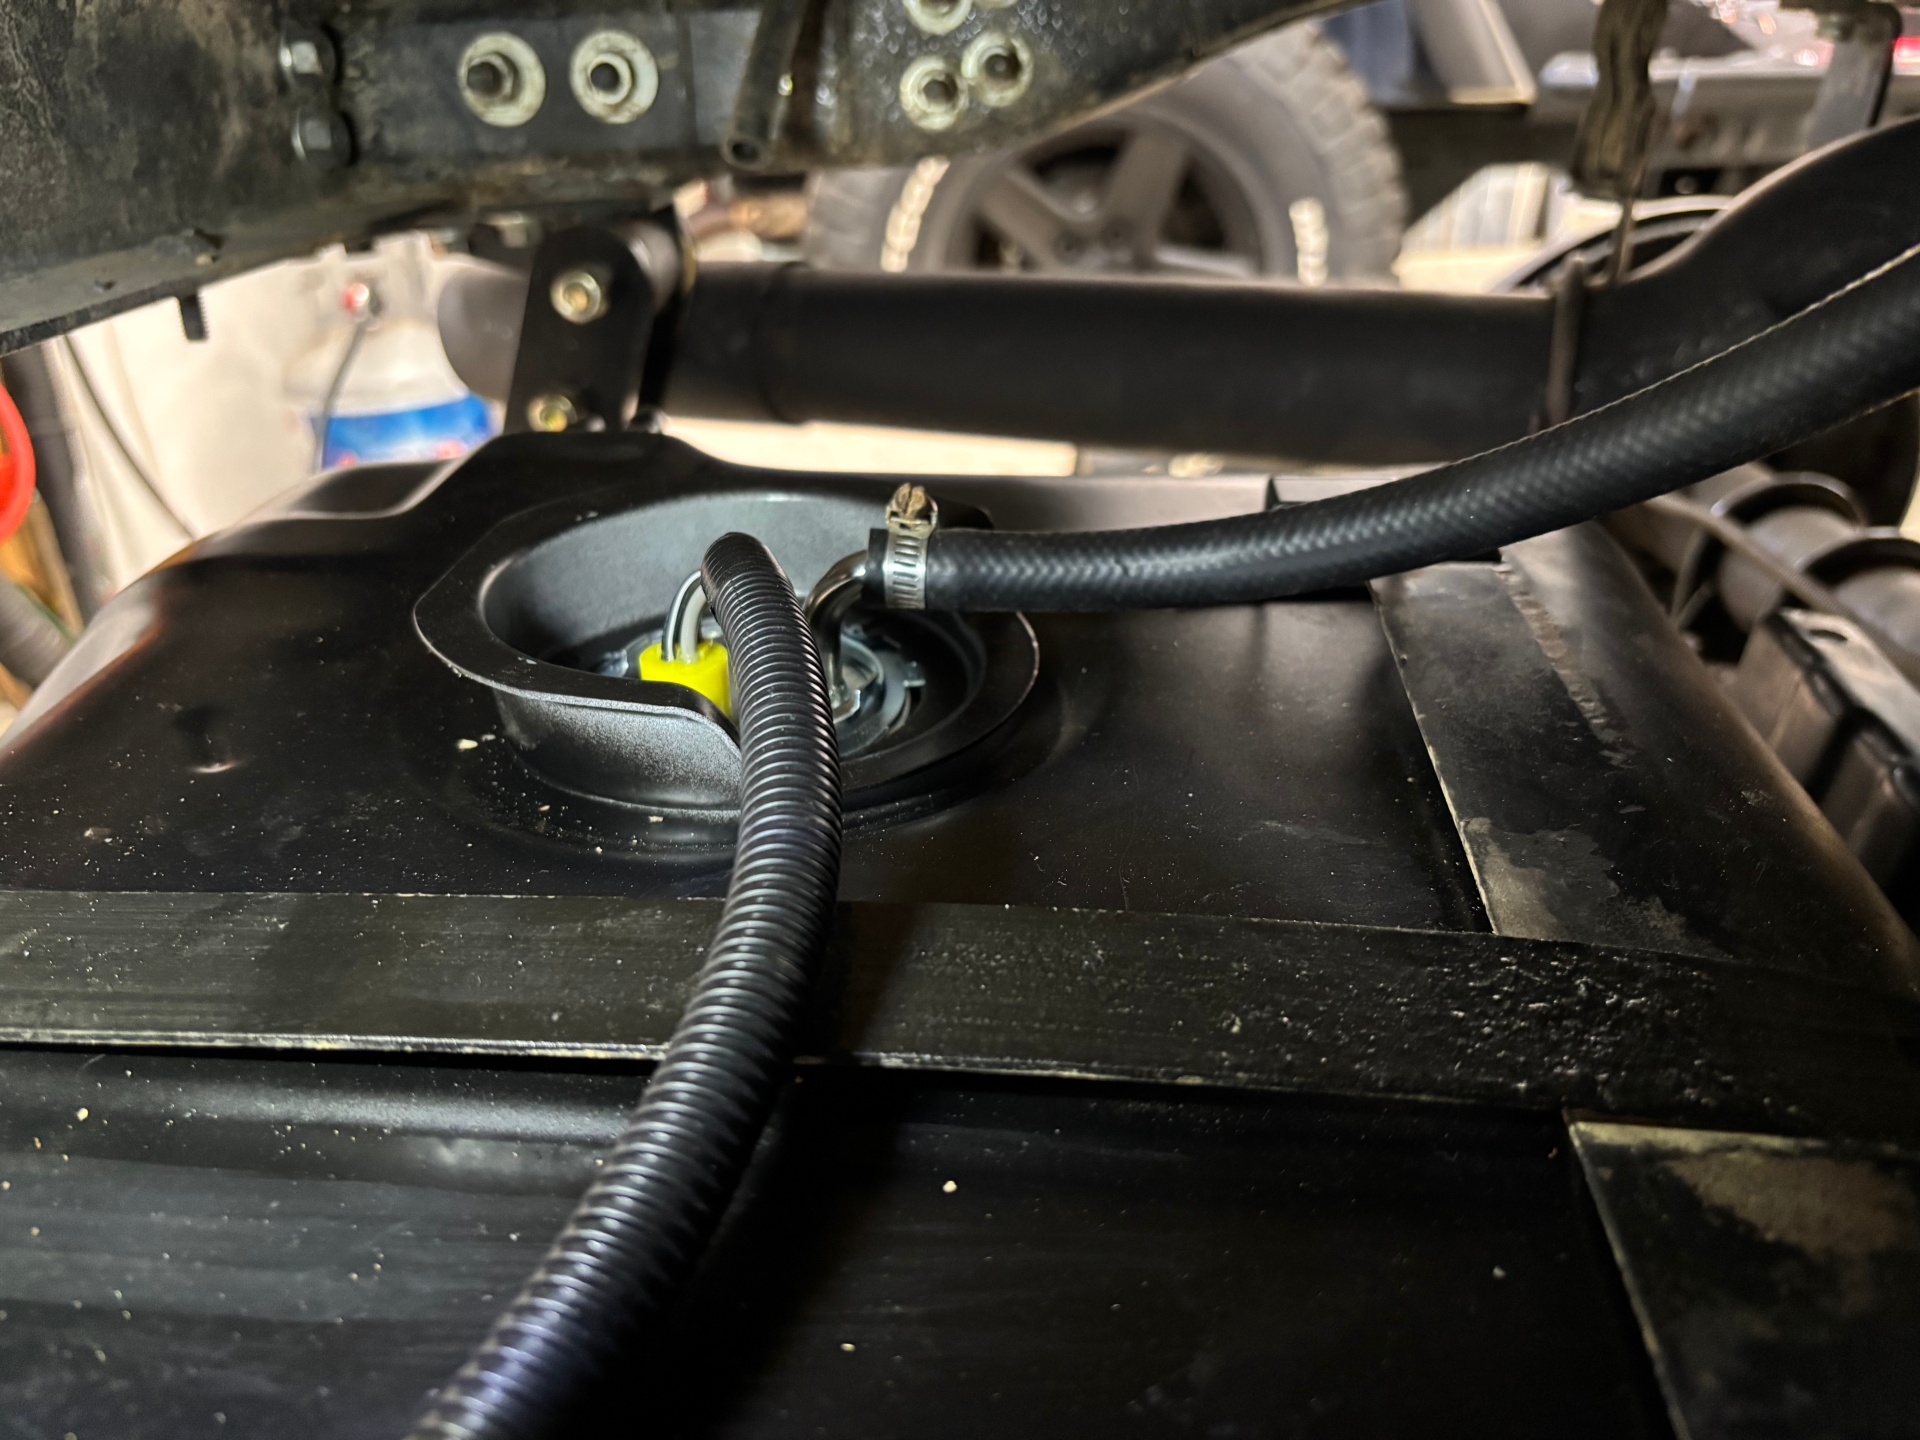
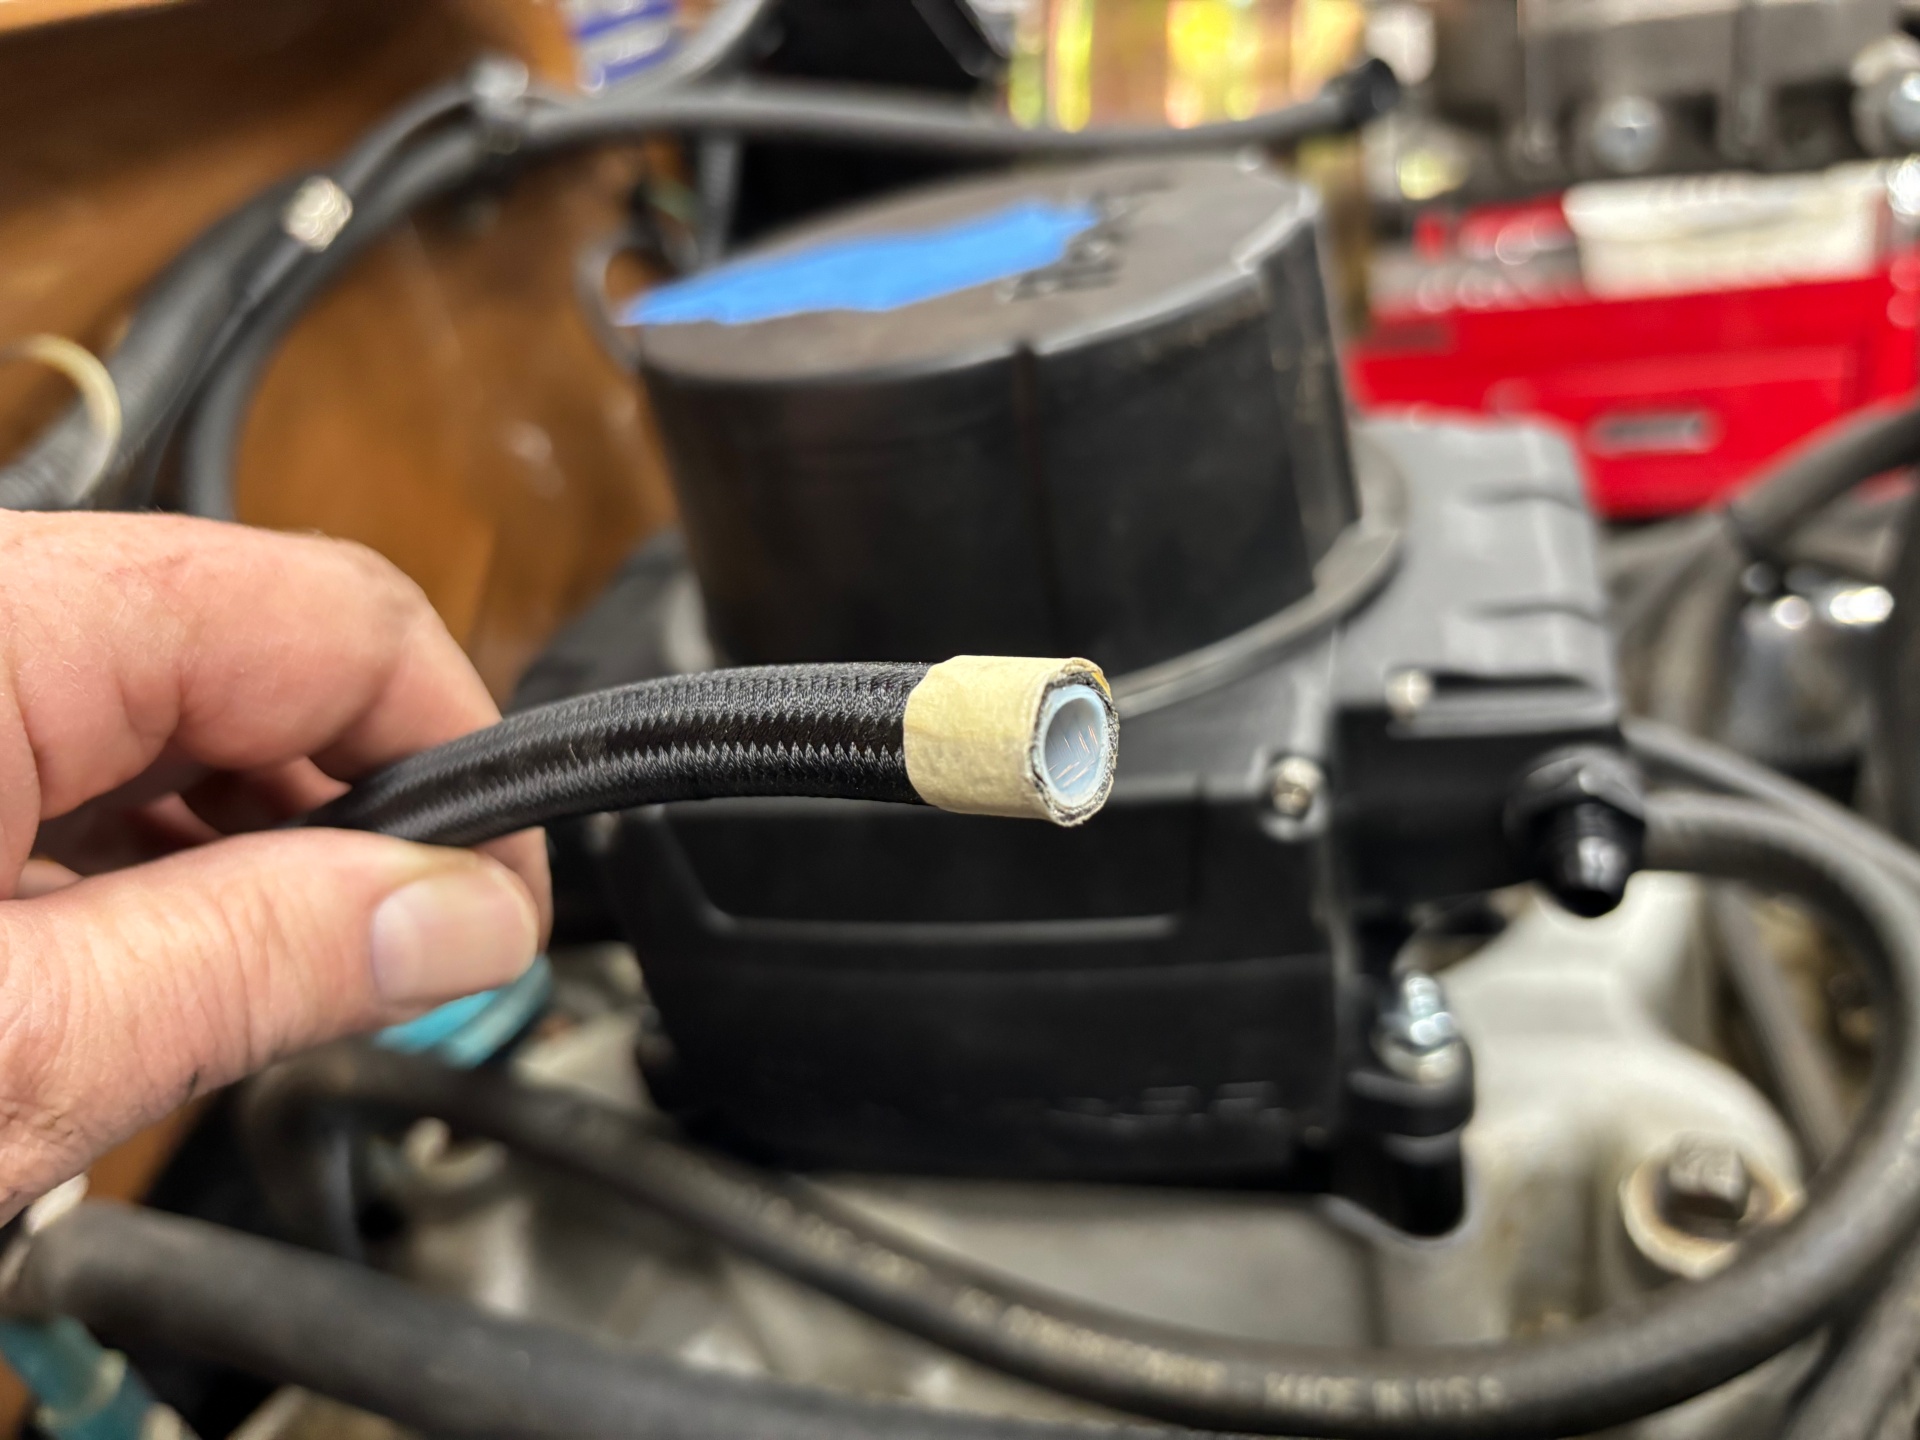
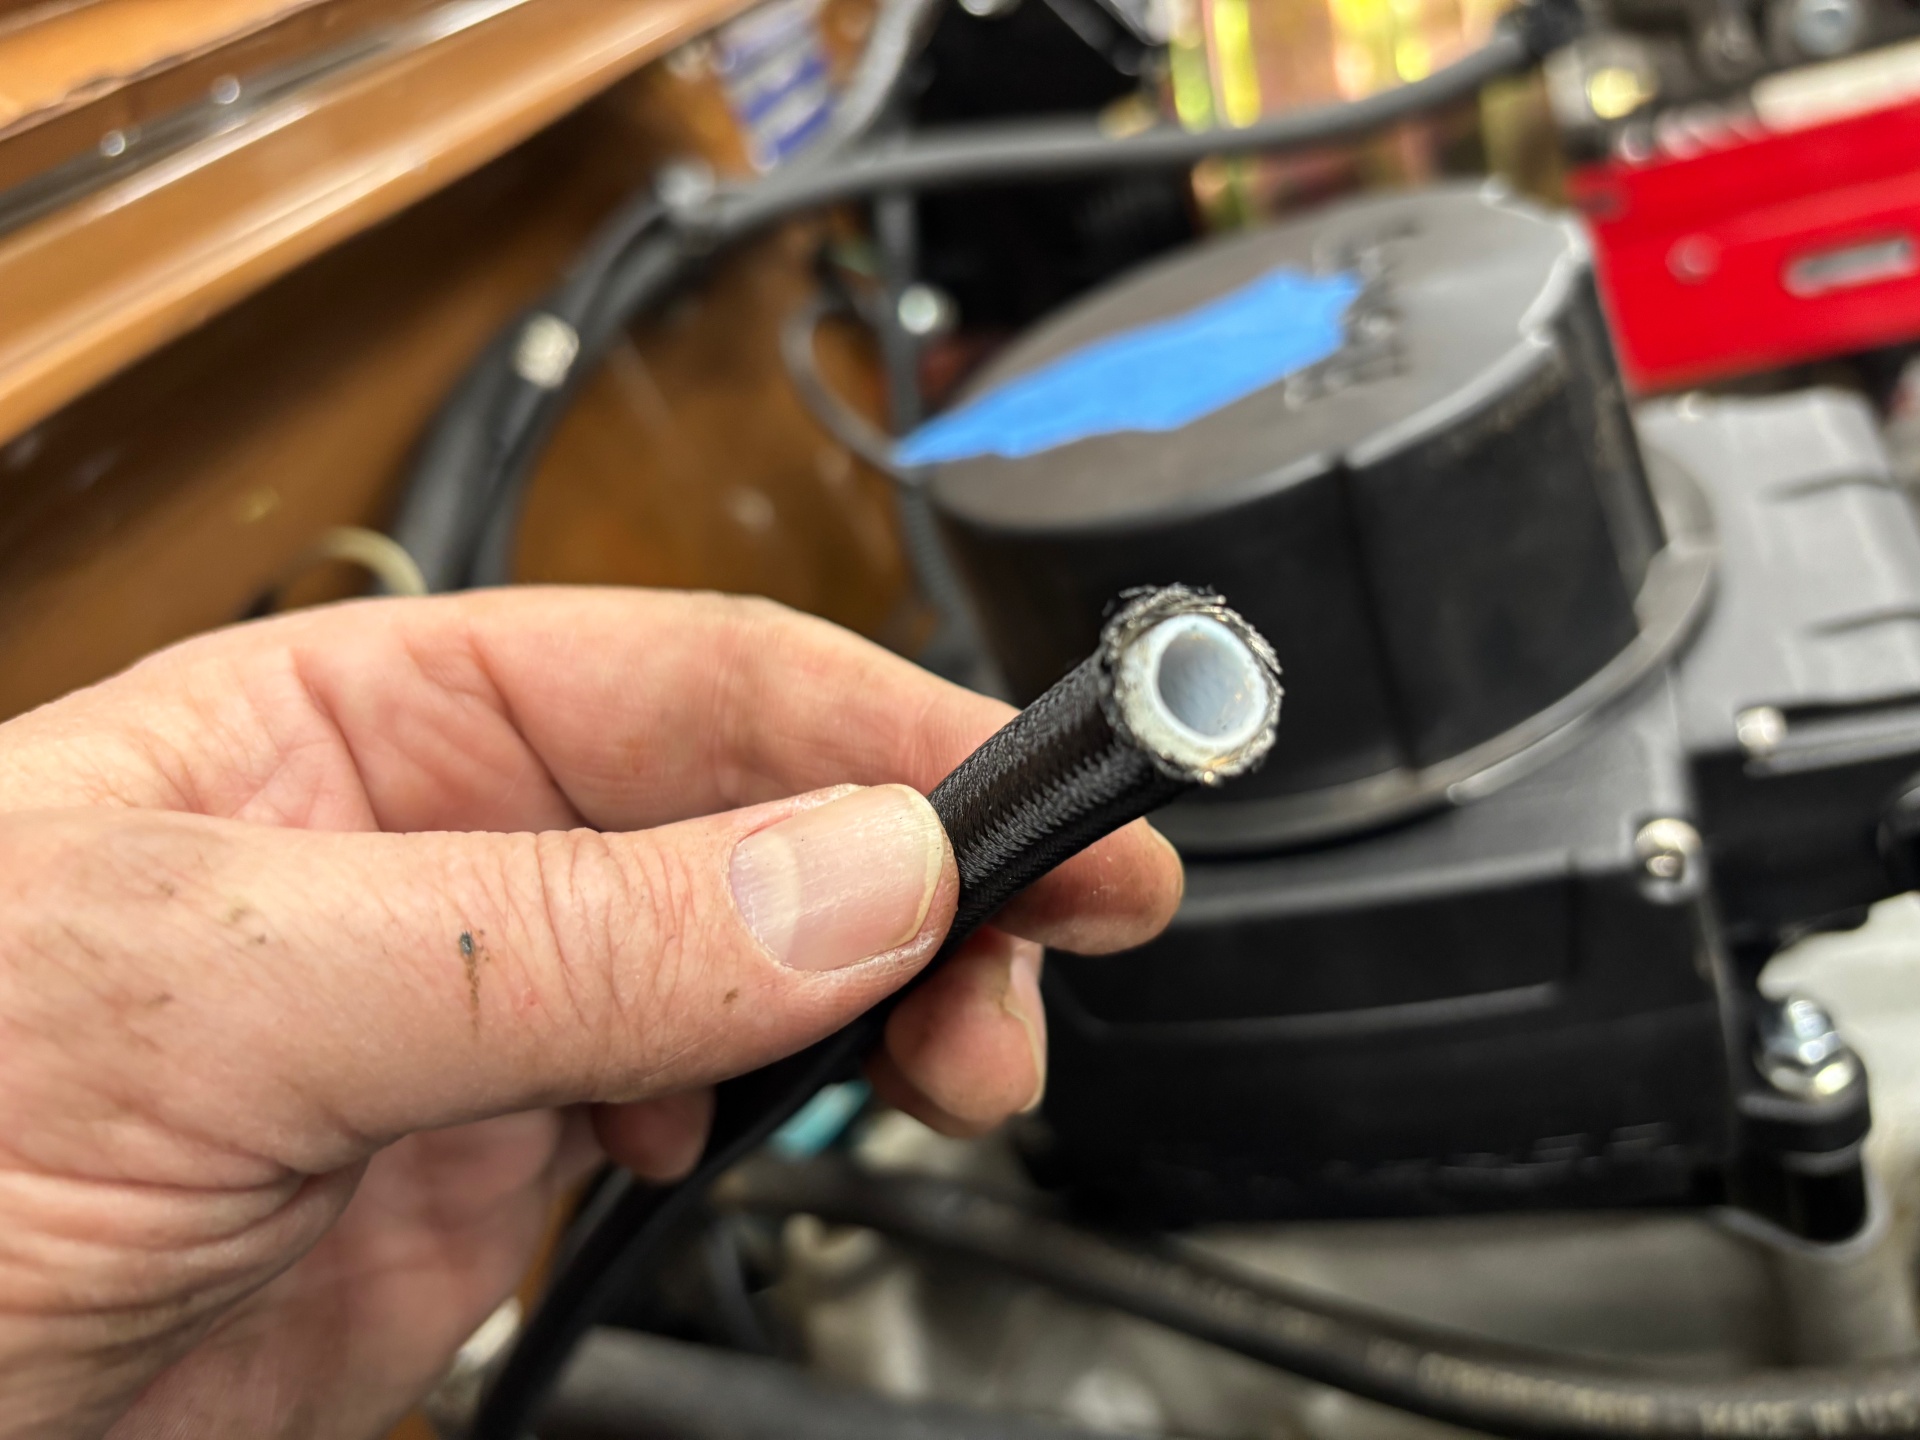
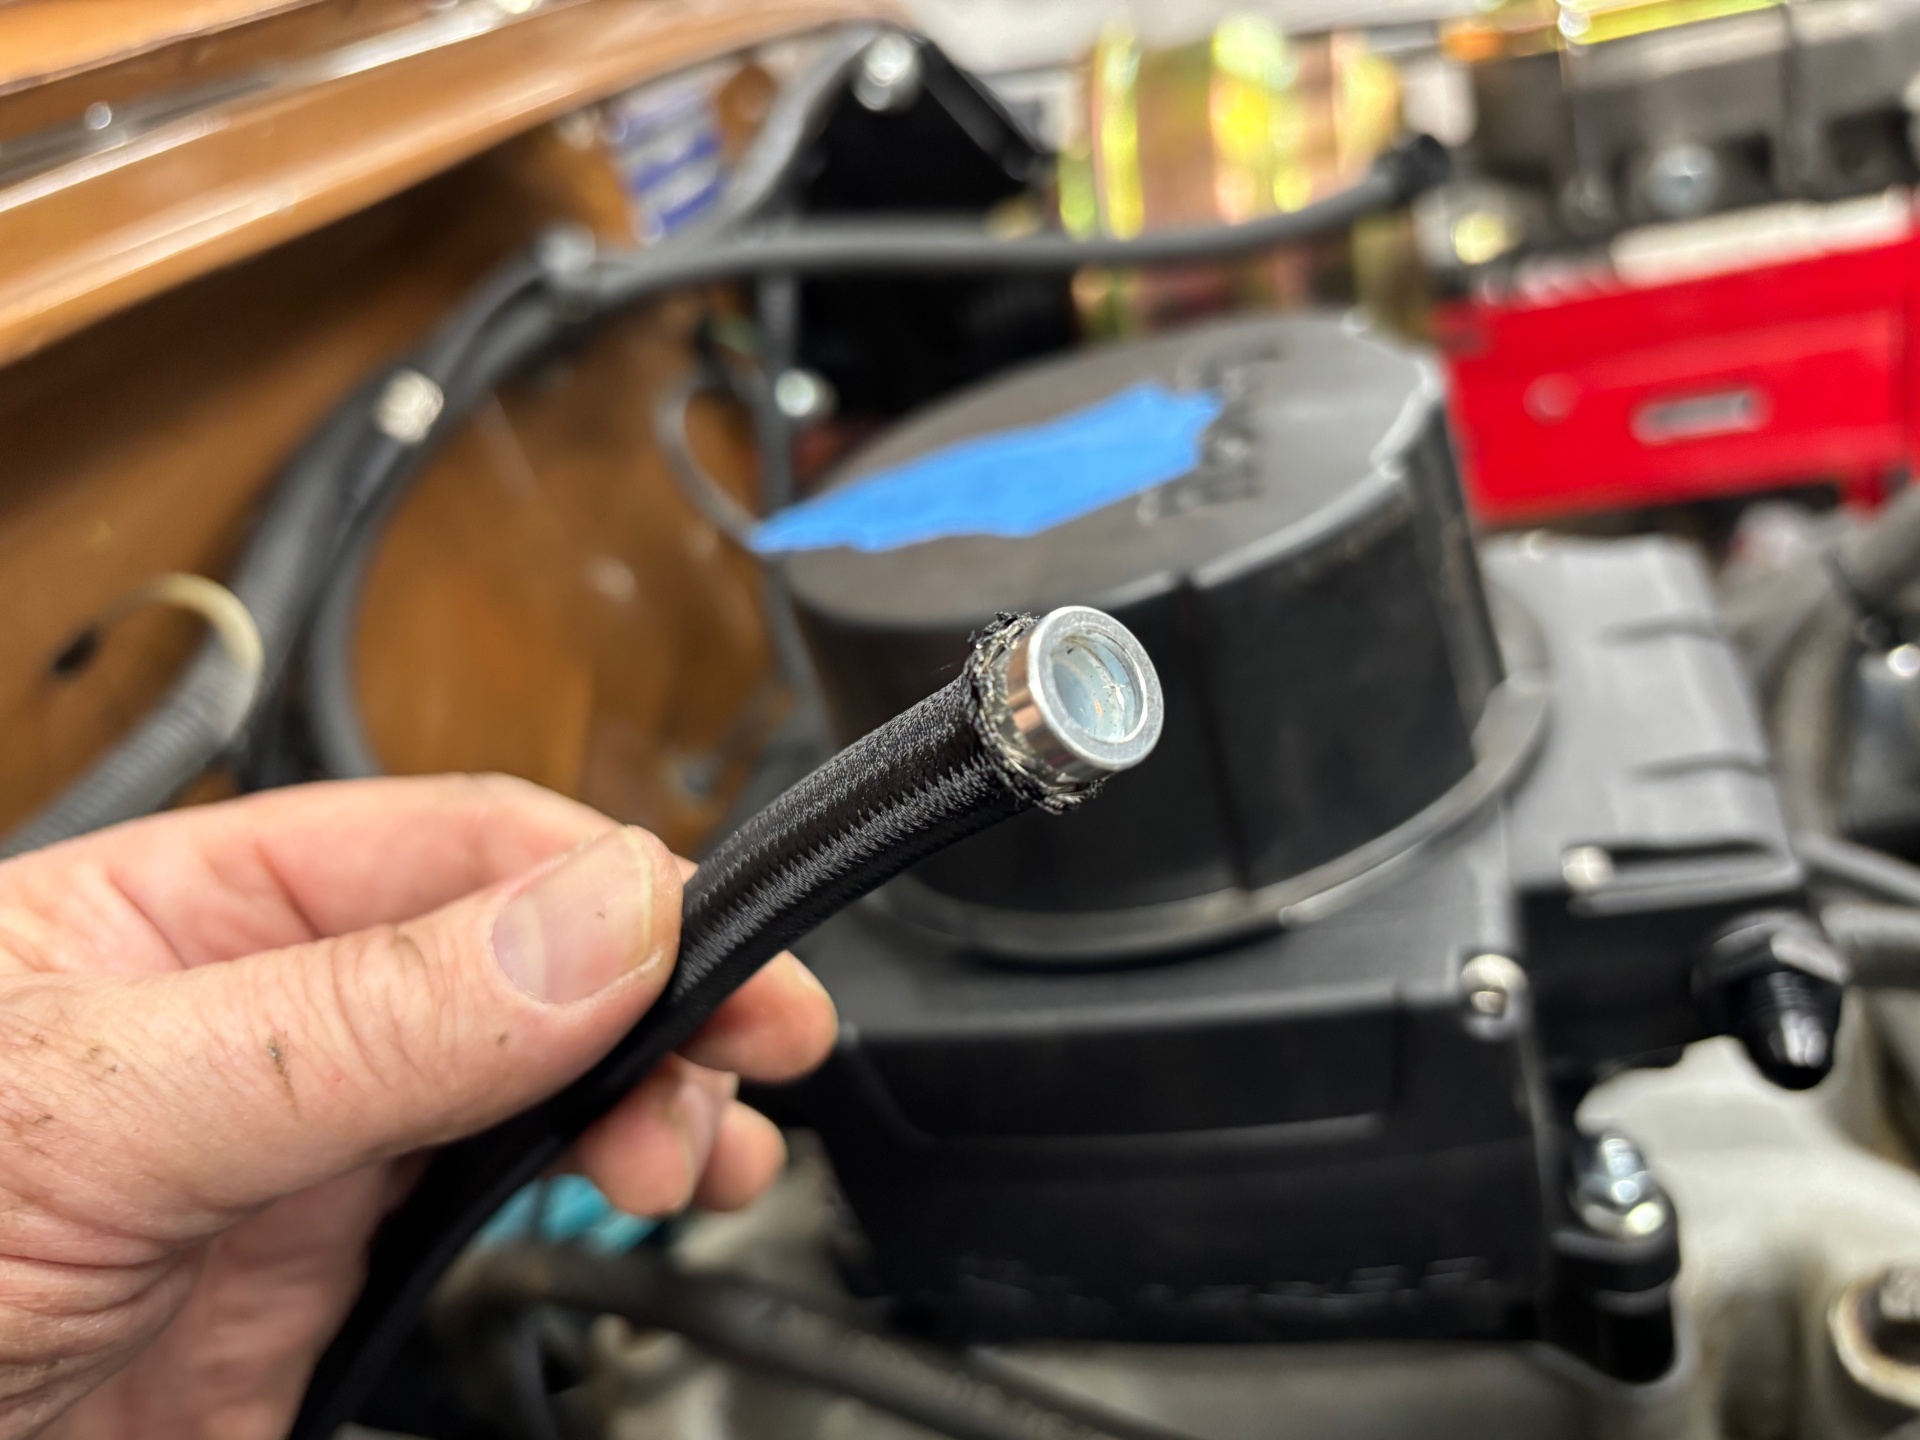
It’s best to keep the length of rubber line to a minimum and since the holley pump uses a push on style outlet we used about 1 foot of rubber line to go from the PTFE line tank end fitting to the tank. Be sure to use rubber fuel line that is fuel injection rated. The wiring for the fuel gauge and the pump is part of the assembly. Make sure you have good grounds and good crimp connections for everything.
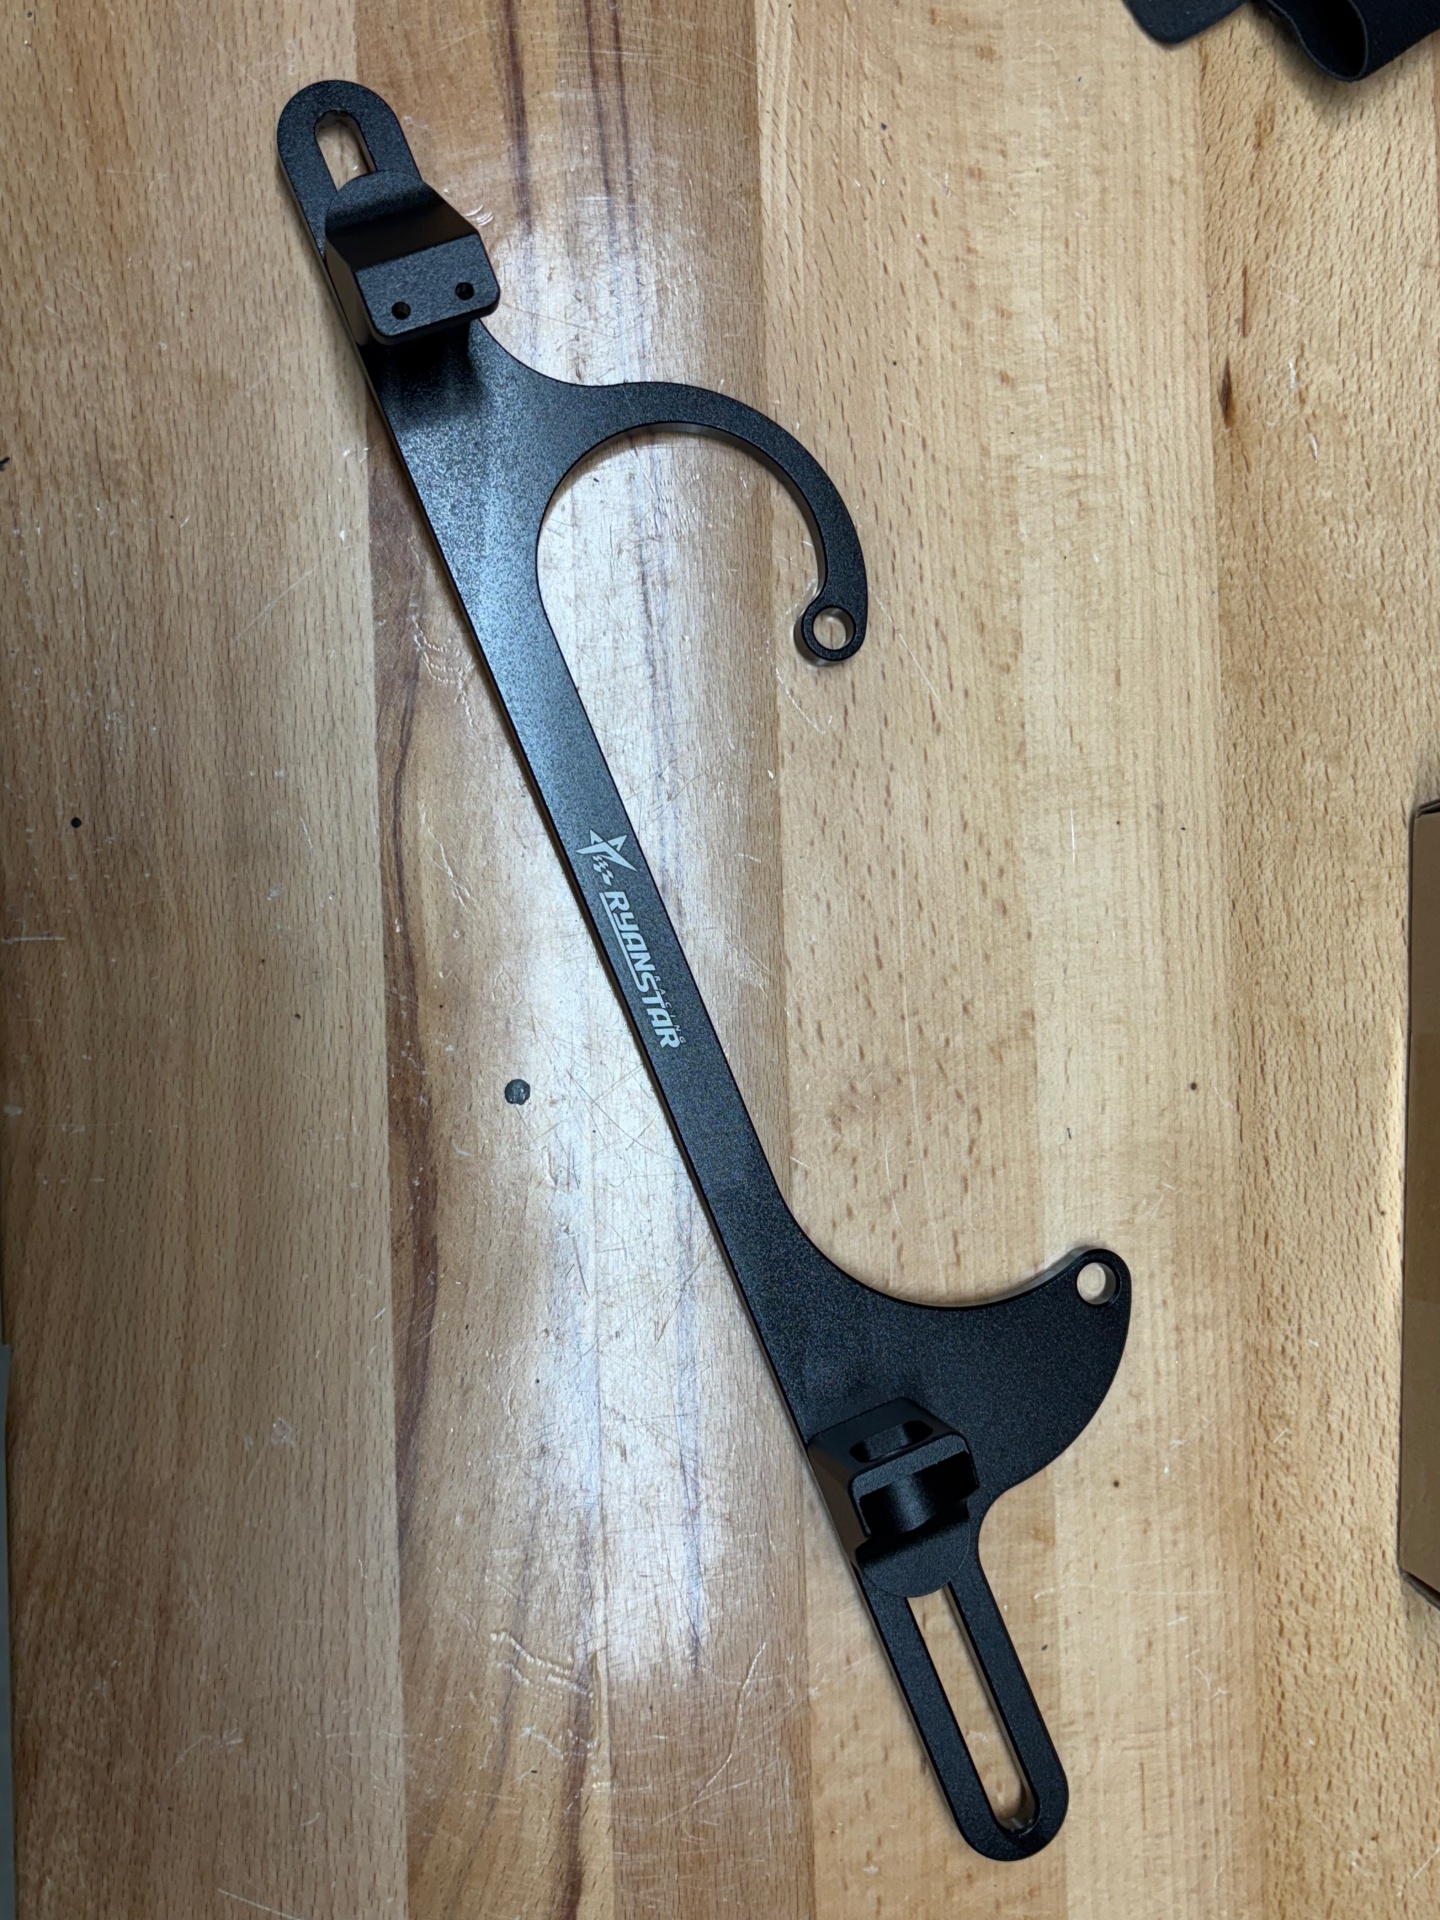
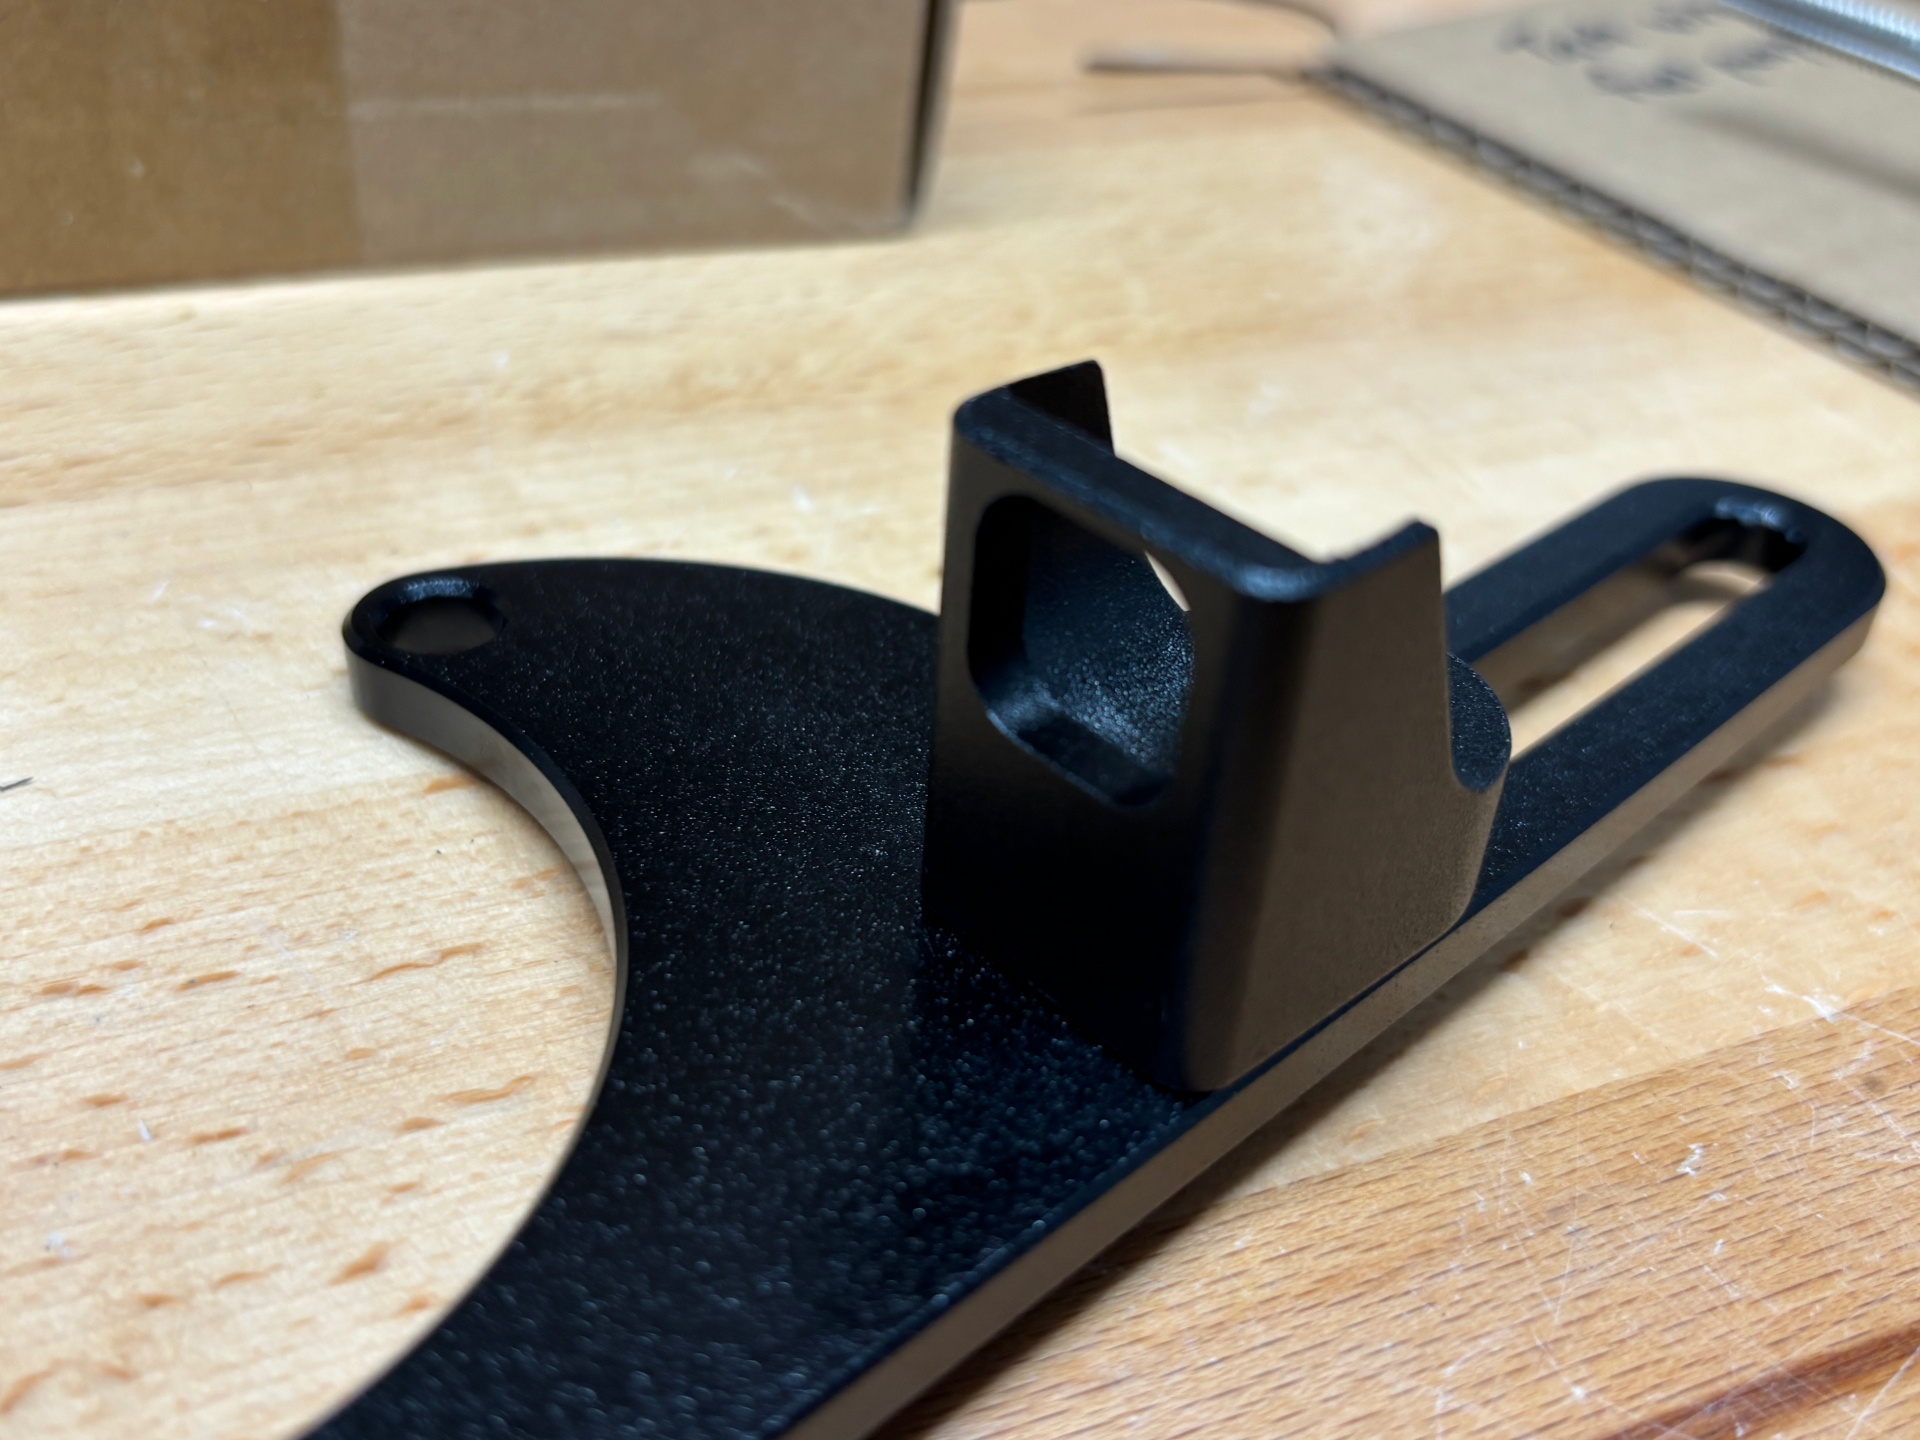
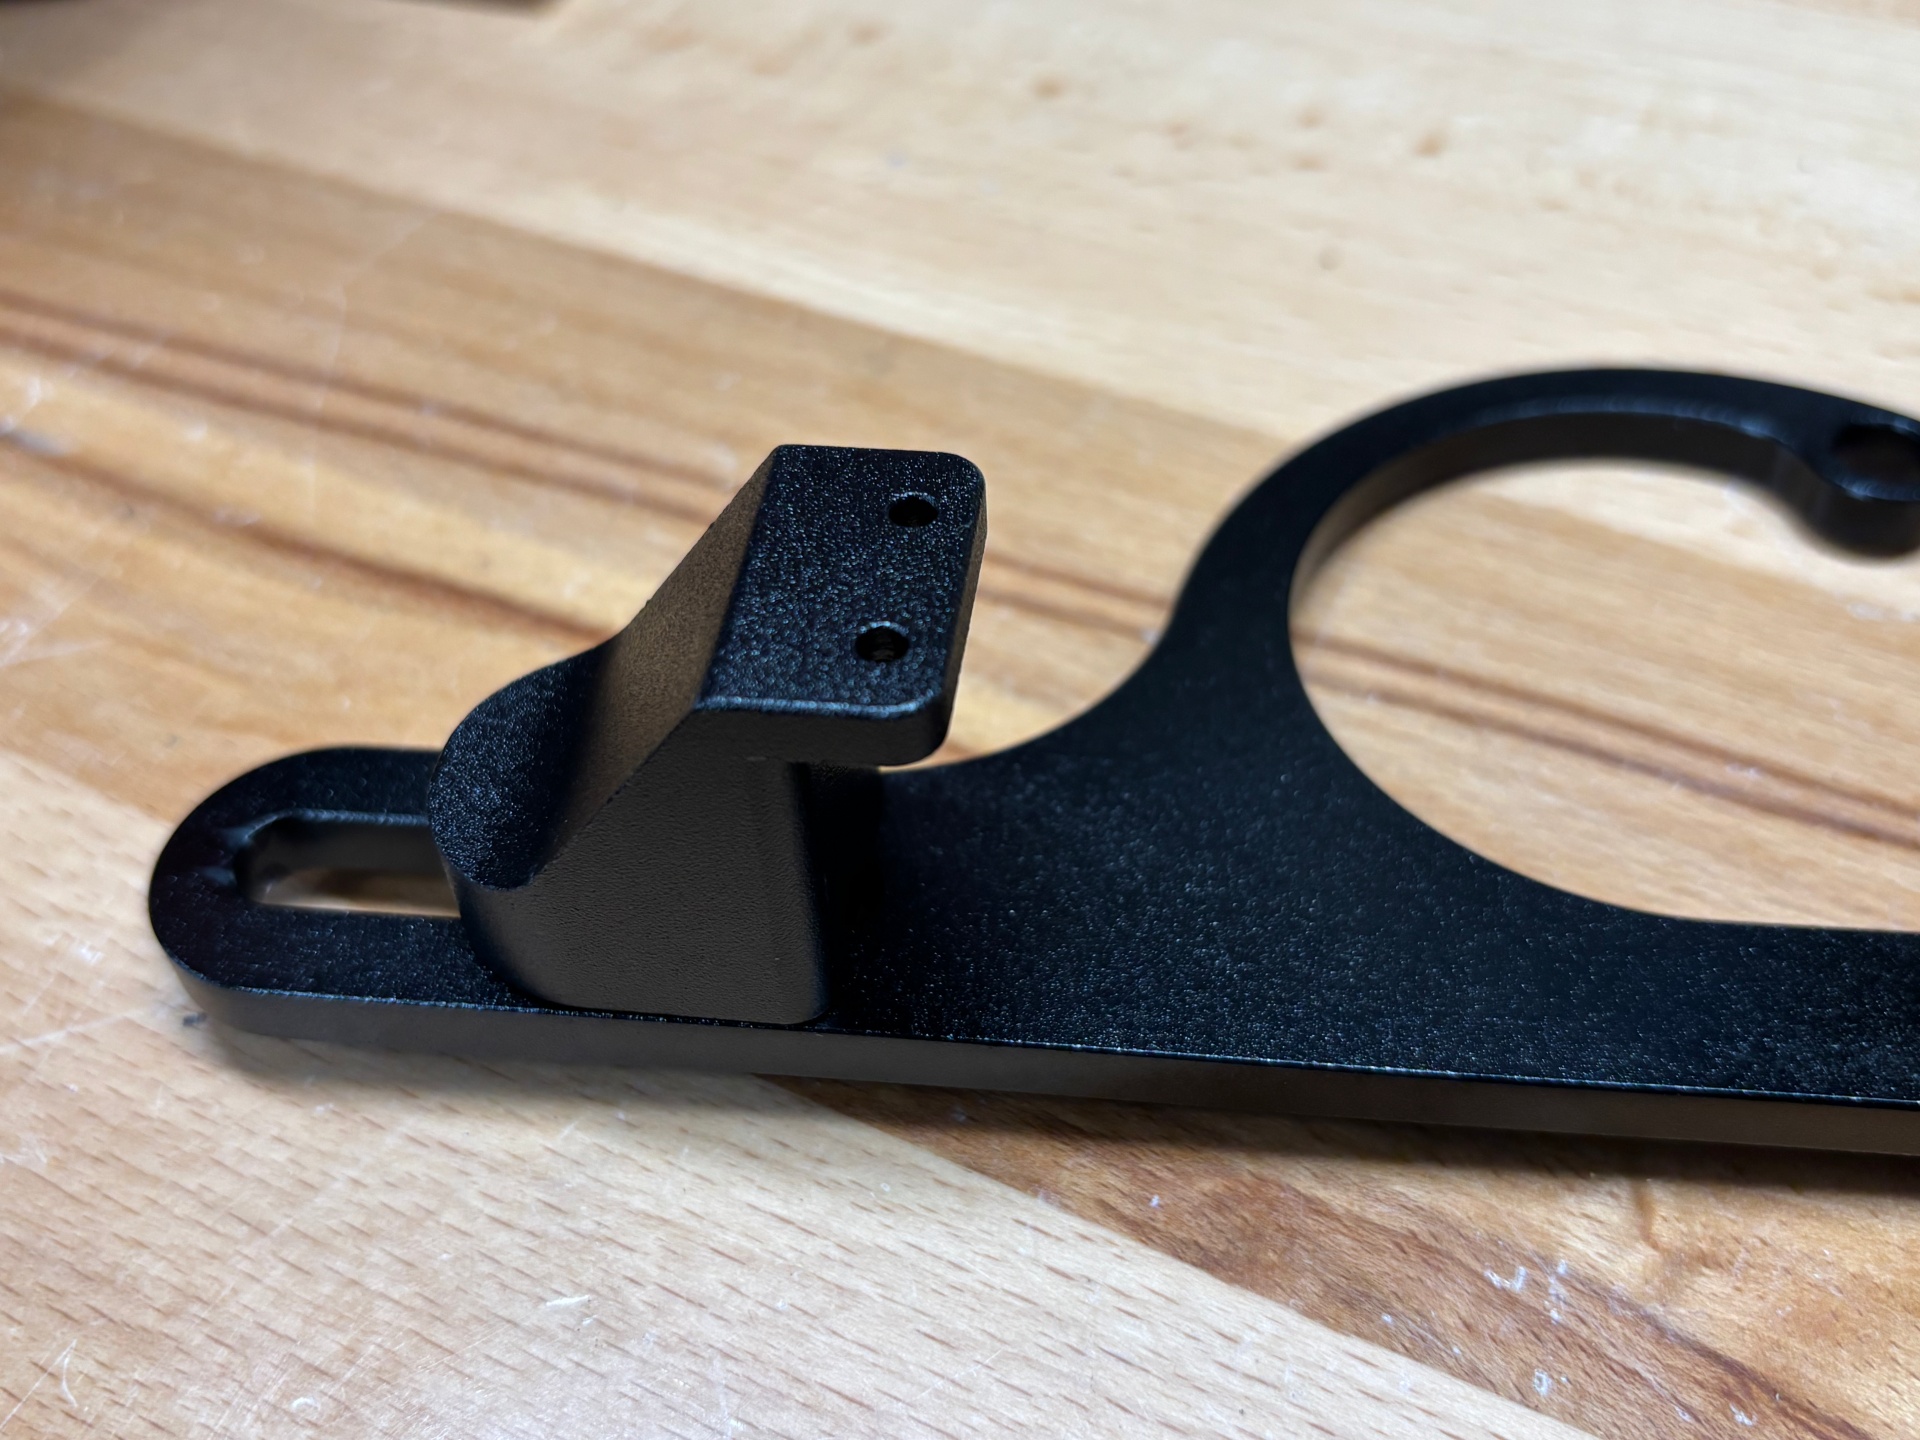
Throttle Cable
The connection on the Holley carburetor and EFI are essentially the same and the factory Jeep throttle cable will attach to the snap on ball without any real modification. We have been using a throttle cable bracket from a past install and it wasn’t really going to work great for this install. We found a really nice bolt-on aluminum bracket from Ryanstar Racing that did the trick. This bracket is somewhat universal to a square bore mount and has a few options to get things set up correctly.